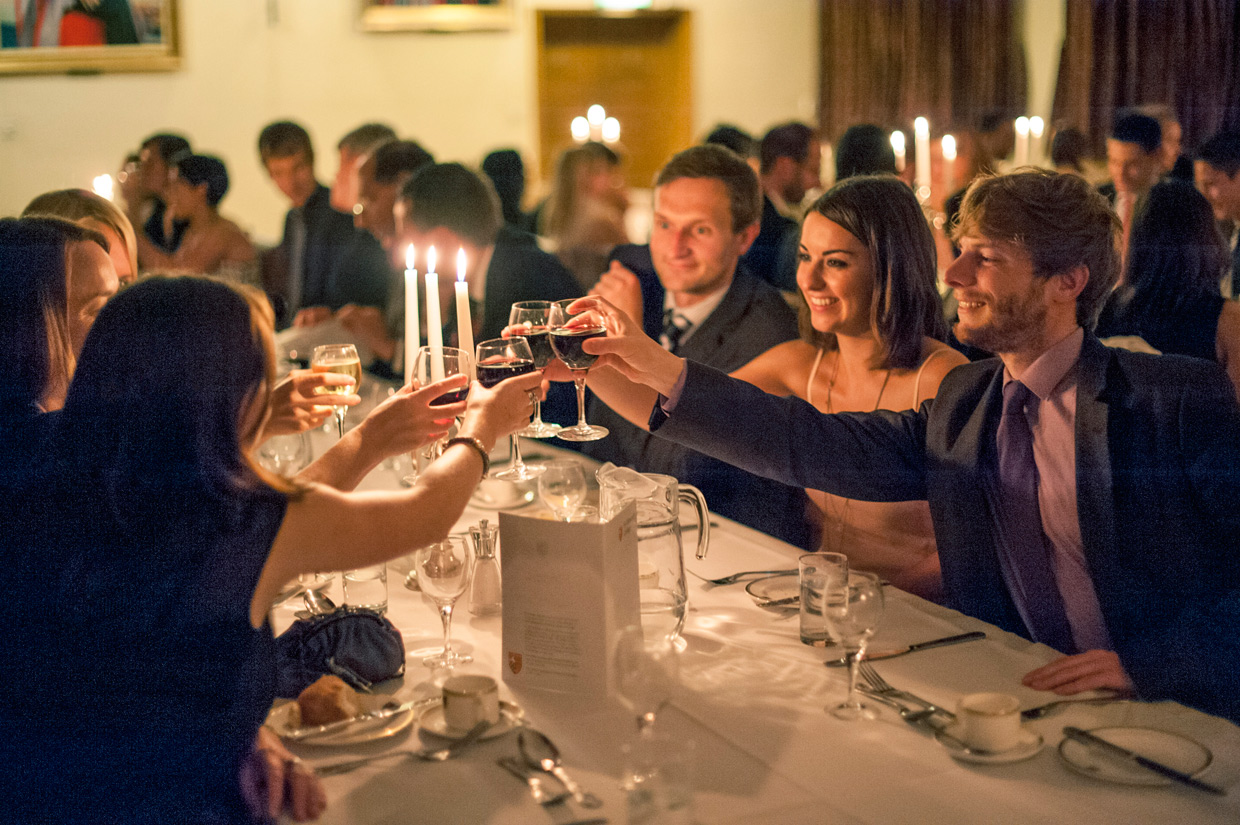
When photographing in low light conditions you are forced to make compromises. You can either increase the shutter time, use a larger aperture or increase the ISO. The third option does not affect the sharpness of the photo, but the other two will. Let’s say you took your photo at a party with dimmed lights and it looked blurry, what can you do to make it sharper?
I should say that I am here assuming that you are stuck with the light level. Of course if you have the chance then bring some candles closer or move to a window for the shot. Even using a mobile phone as a light can help. Try and avoid the on camera flash as it will make the image look very flat.
The first thing to check is that you have your subject in focus. This might sound like a no brainer, but if you have a prime lens or a good zoom that allows you to photograph with large apertures then your depth of field (the distance from your camera which is sharp) might be very narrow. For example if I shoot with my 50 mm at f/1.4 and have my subject at a distance of two meters then the depth of field is only 14 cm. If your focus is a little bit off, the eyes will look blurry. Also if you have several subjects that you want sharp then make sure they either have their eyes at the same distance from your camera, or you need to increase the depth of field by either taking a few steps back (depth of field increases with distance to the focusing point) or using a smaller aperture. By stopping down to f/4 you get 40 cm of depth of field at a distance of two meters and 93 cm depth of field at a distance of three meters. This region will be roughly divided as 1/3 in front of the focusing point, and 2/3 behind. So choose your focusing point accordingly. When you look through the viewfinder of a DSLR the aperture will be fully open to create the brightest possible image for you, however this does not represent what the camera sensor will see when you press the shutter if you shoot at a smaller aperture. On high-end cameras there is usually a button next to the objective which allows you to momentarily shrink the aperture. If you press it you will see the viewfinder getting darker, but you will also see it getting sharper as the depth of field increases.
Let’s say now everything looks sharp in the viewfinder, but your photos still come out blurry. If you decrease the aperture from f/1.4 to f/4 then the sensor is receiving roughly eight times less light, so odds are that if you shoot in aperture priority mode your shutter time is now a lot longer. This will cause motion blur, either because your subject moved, or because you were unable to keep the camera steady. If the latter then make sure you are holding your camera steady with both hands, maybe you could lean on something or support your elbows on the table. You can also increase your ISO to allow a shorter shutter time, or turn on image stabilisation if your lens has that function. I have never had a lens with that, but from what I hear it can really help. Another thing I often do especially if the light is bad is not just to take one photo, but several in rapid succession. That will increase the odds that you managed to get one when you were holding the camera still enough to get a sharp photo.
Let’s say you took the photo of your friends, and on the little screen it looked great but when you view it on the big monitor at home it is not perfectly sharp. This can be really painful since by now you won’t be able to take another photo. There are some things you can do in post processing to sharpen your image. What I will talk about here, after this somewhat long introduction, is Photoshop’s new feature “shake reduction”. This will not work if your image is focused incorrectly or if your subjects moved, but it will help if you have moved the camera during exposure. Shake reduction tries to estimate how the camera moved during the exposure time. Imagine you have a really small light in a completely dark room. If you take a perfect photo of this light only one pixel becomes lit up. Now, because we are humans holding the camera, it won’t be perfectly still, this will cause the light to make a trail over many pixels. Photoshop tries to estimate this trail (the blur kernel) and then calculate what original image (without the shake) would have created the image you got (a process called deconvolution). This of course is complicated by the fact that things at different distances will make different trails as you move the camera, so there will be artefacts in the photo, but even so the results can be pretty impressive.
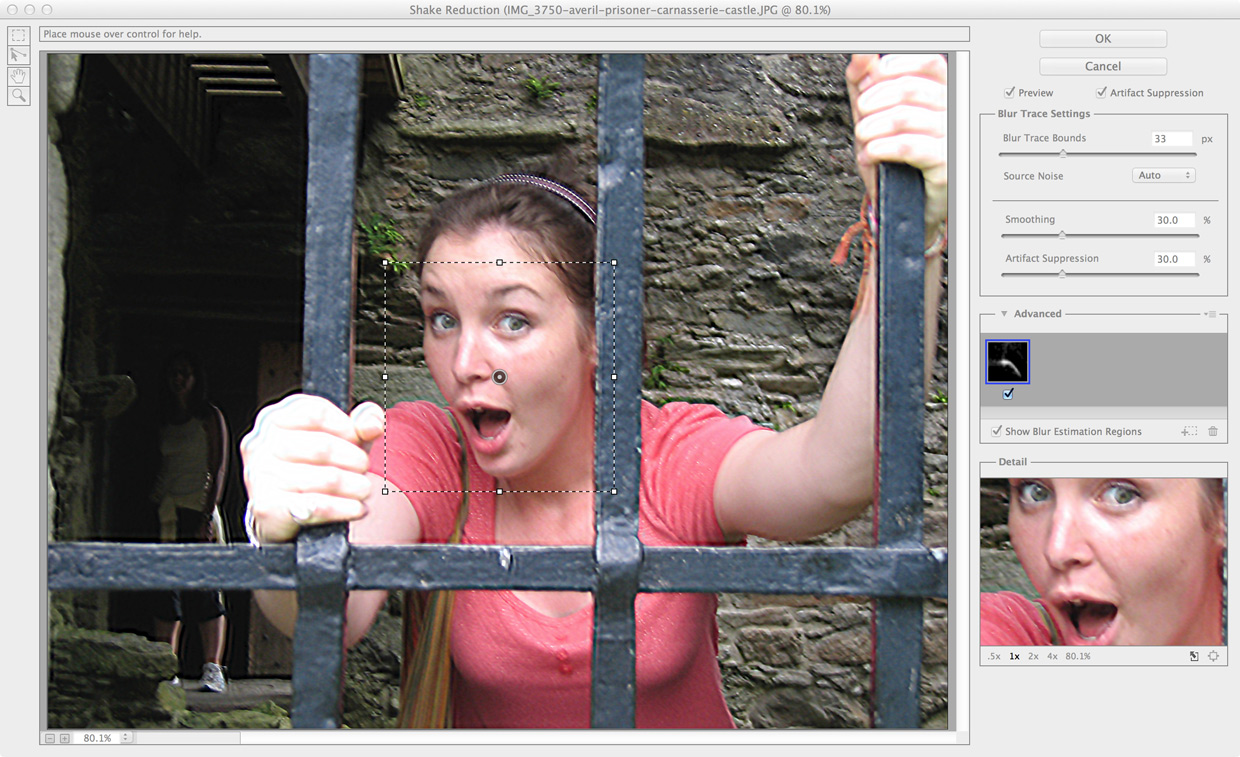
Let me give you two examples. The first example photo was taken during a backpacking trip in Scotland back in 2006. I had been to a neuroscience conference in Edinburgh and a postdoc at Karolinska Institutet had recommended I take the opportunity to go with the MacBackpackers on a week trip around Scotland. I met some great people there, and took a lot of photos. Most of the photos turned out great, but in this example I will talk about a photo of Averil behind bars in Carnasserie Castle which did not turn out as planned. I remember wondering if I had moved the camera while taking the photo, but looking at the little display on my pocket camera it looked fine. It was not until I got home that I realised it was blurry. For some reason I had heard about Rob Fergus’ work, he is a researcher at MIT that was working on advanced techniques to sharpen images, and he offered to send me his Matlab code. My inner nerd awoke! I was fascinated by the fact that his program could do a reasonable estimate of how I had shaken the camera. Unfortunately after burning a lot of CPU time there were simply too many artefacts in that photo and I ended up moving it to the reject pile.
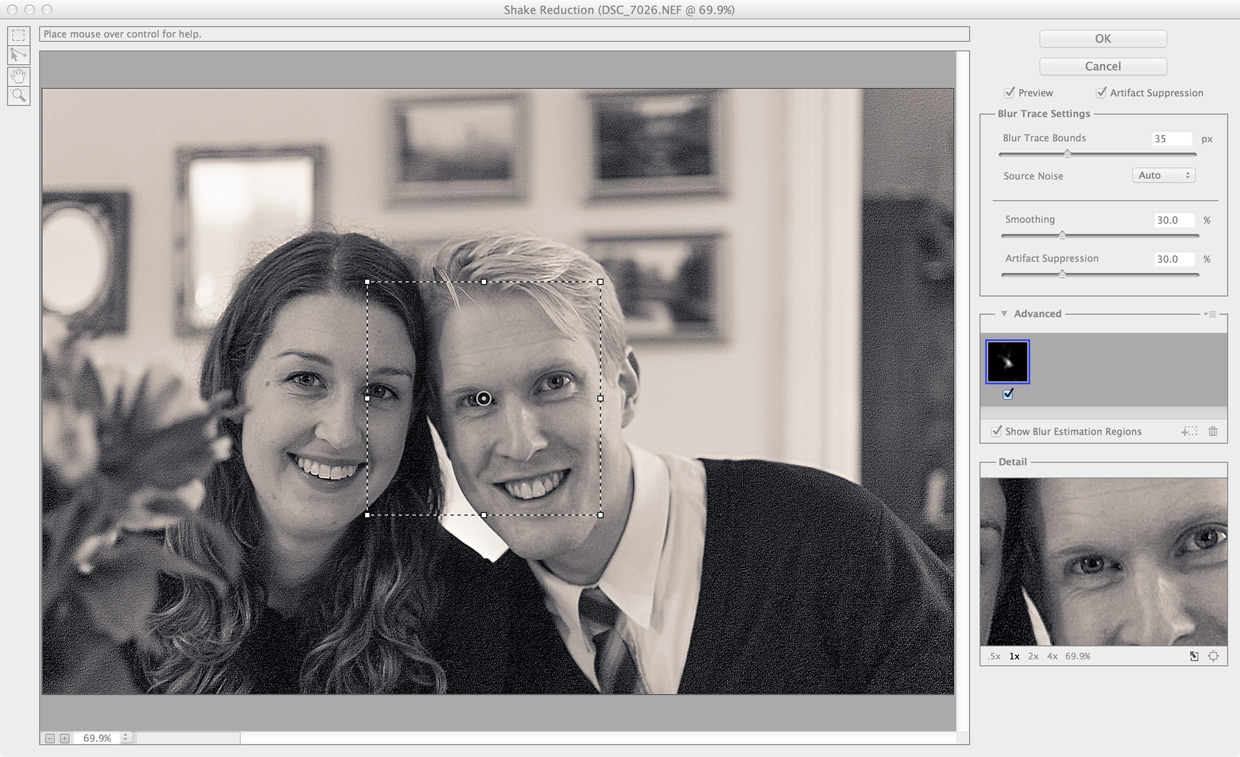
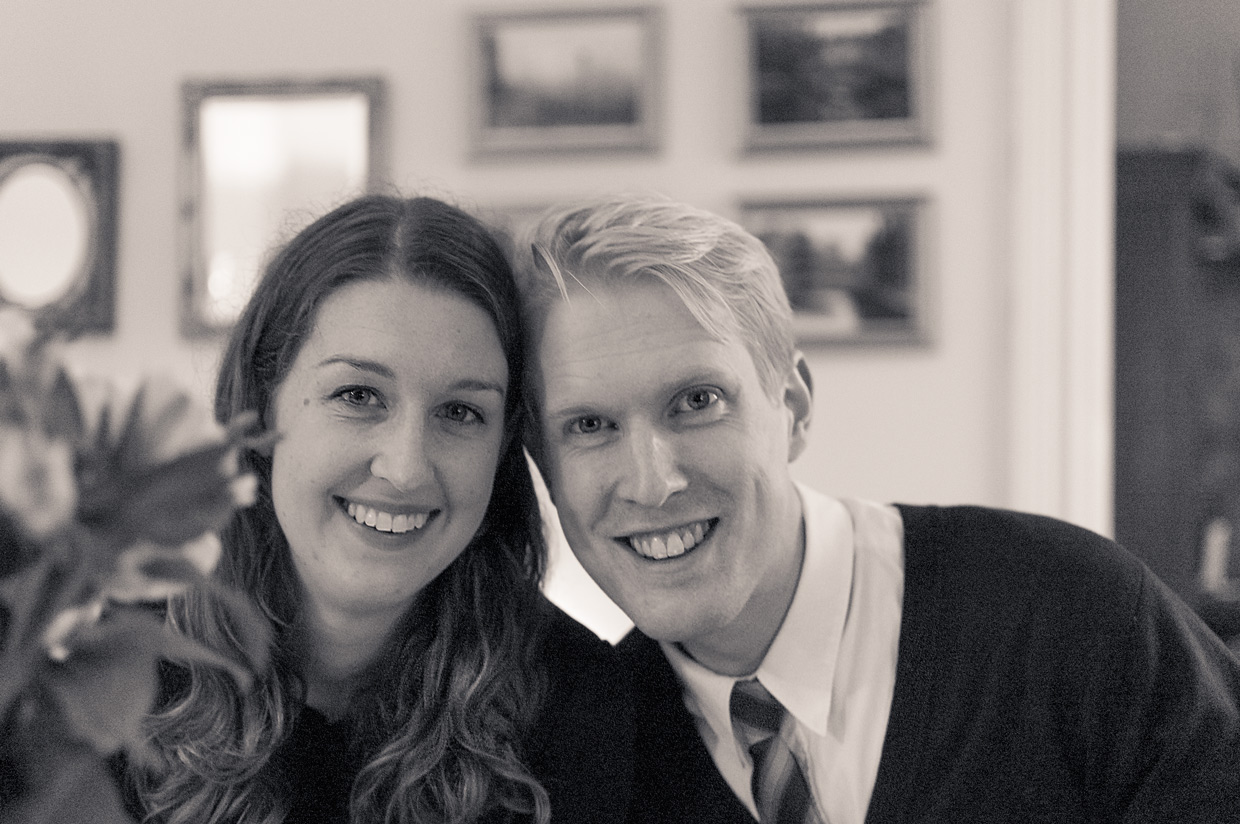
The second example has a happier ending (otherwise I’d not be writing this blog post). I am slowly going through pruning my selection of photos since I am running out of disk space. Unfortunately I am not doing a good job at reducing my storage footprint, there are a lot of previously rejected photos on my backup disk that I add back to my archive, so it is not really going as planned. Anyway, this morning I was looking at some photos from my mom’s birthday in 2012, which coincidentally was the day my brother Josef and Sophie told us that they got engaged during their trip to New York. There are two photos of them that I particularly like, one is sharp the other one is blurry and the second photo has a better expression. Last time I used the shake reduction I was not particularly happy with it, but because I really wanted to save this photo, I decided to try and see if it could improve this photo.
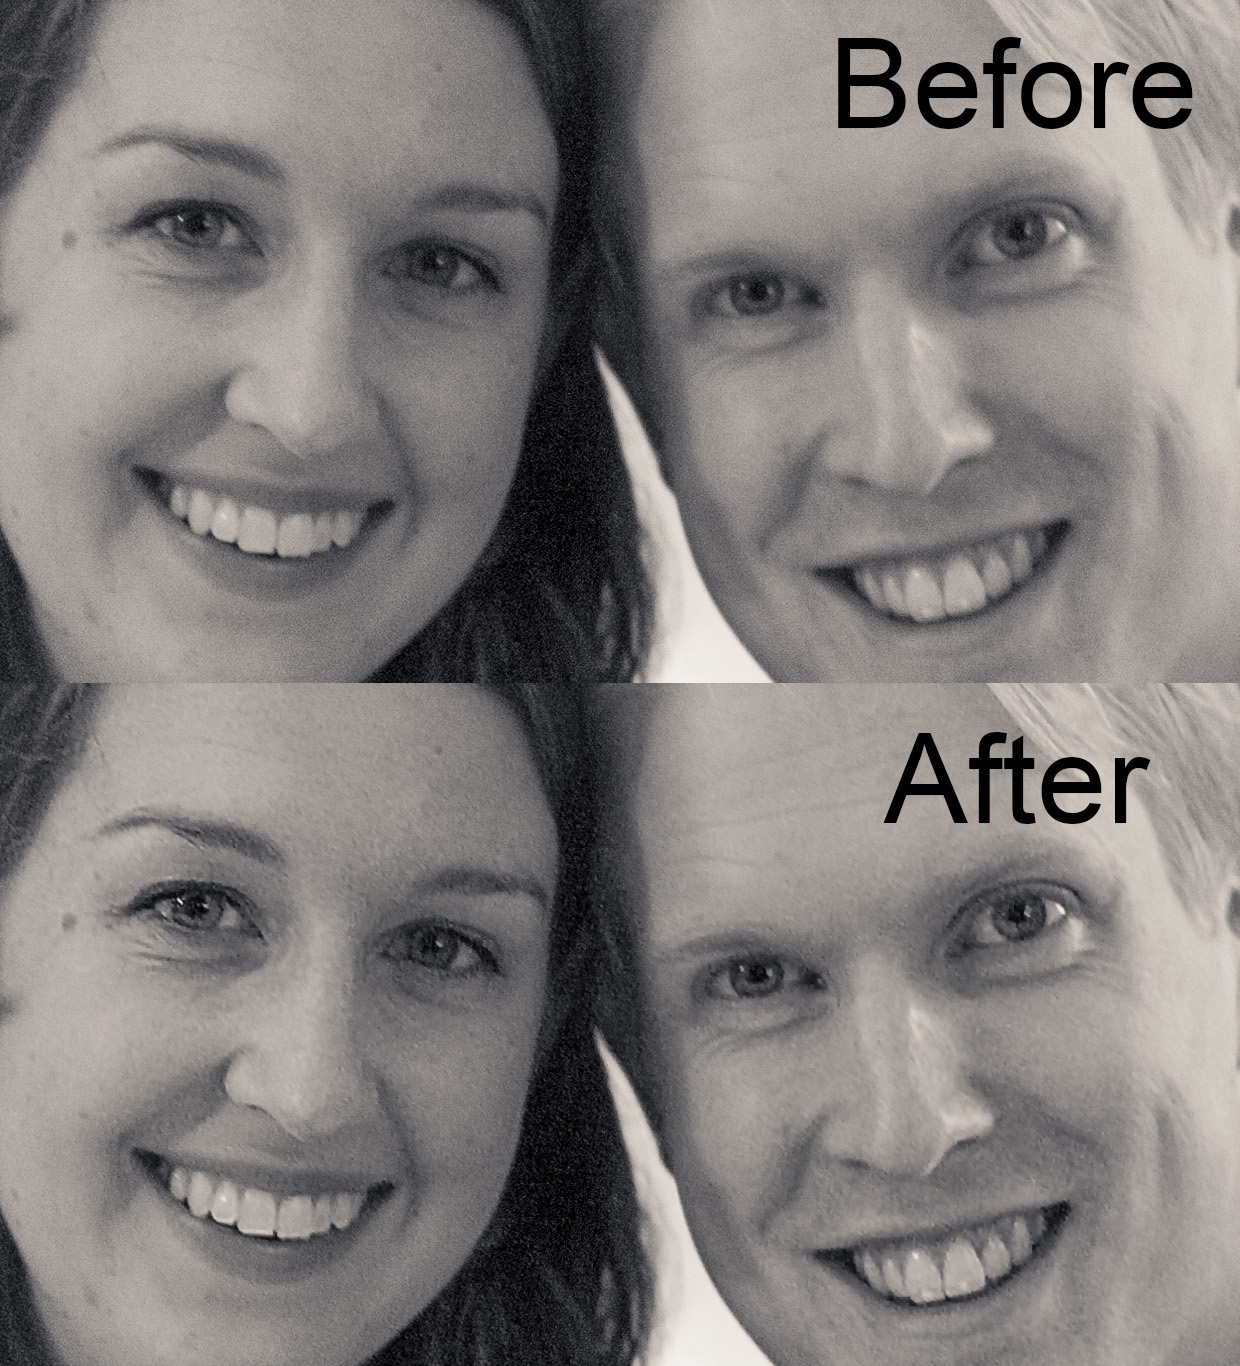
So the lesson is always try to get it right when you take the photo, by increasing the light level on your subject and making sure you have a short enough shutter time to avoid camera shake blur and a small enough aperture to include all that you want in focus. However if things go wrong then there are some things you can do and if you are lucky then the Shake Reduction function in Photoshop CC will be able to recover the sharpness that was supposed to be in your photos.
– Johannes
Be First to Comment