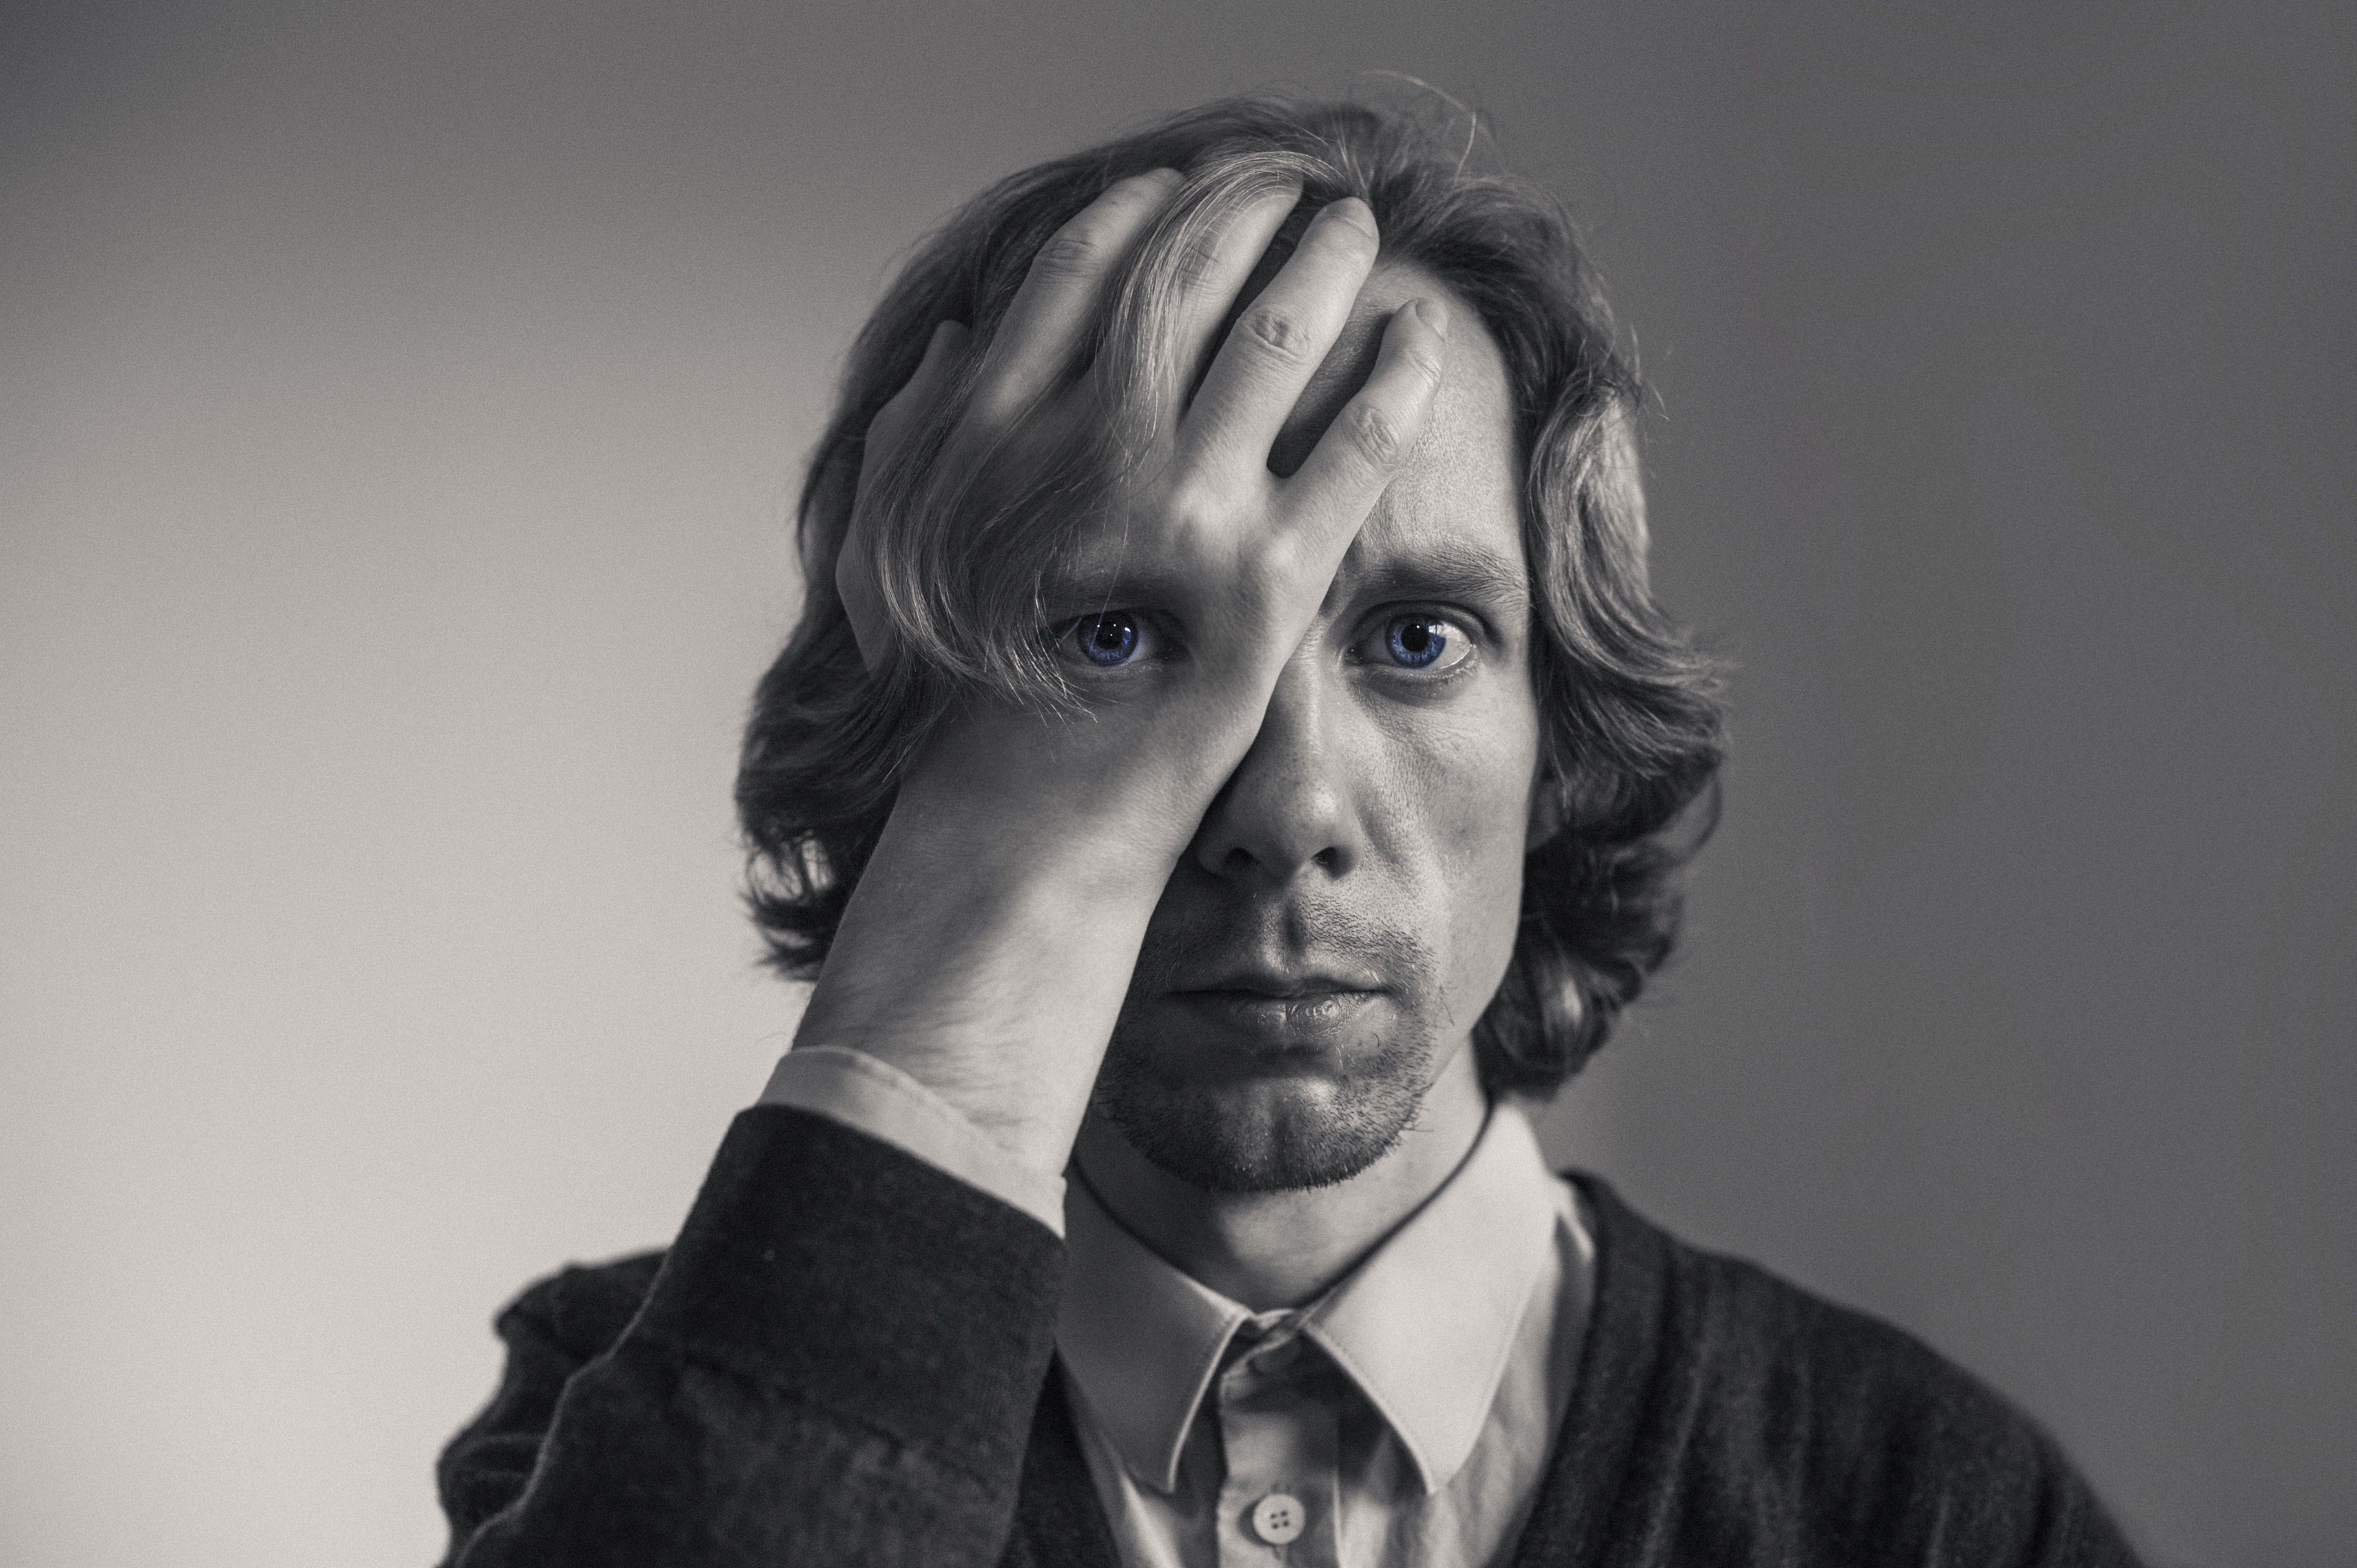
This is an old image I did back in November 2013. I had seen a few other similar pictures, and wanted to do my own take on it. The lighting comes from a big French window to my side. I was using my 50 mm lens which goes all the way to f1.4, but shooting it wide open has the effect that only the eyes are in focus. By stopping down the lens a bit I can get more in focus. The depth of field can also be increased by moving the camera away from the subject. Here the aperture was f3.5 and the focusing distance was only 0.84 meter according to the EXIF information. Writing this I got curious, and had a look at an online depth of field calculator, and those settings give a depth of field of only about 5.5 centimeters! It worked well, but it might have been a good idea to stop it down a little bit more.
I turned on the camera’s delayed shooting function, and connected my remote trigger. That way I did not have to move from my position in order to trigger the shot. This was crucial since I wanted to take two photos, one with just my face, and the second with my hand covering the face. The idea was then to blend the two photos in photoshop using a carefully selected layer mask, so that it looked like one photo. The camera was fixed on a tripod, and I was sitting on the armrest of my sofa, but when I moved my hand in and out of the frame I slightly shifted my weight. In retrospect what I should have done was to use the layer alignment function to correct for that making sure that the two images of my head were aligned, but when I eventually thought of that I had spent way too much time already blending the two images in photoshop. So my eye under the hand is a little bit too far to the left. I was painting in the layer mask with a low flow rate on the brush to make it seamless. Having a tablet really helps here, because you have more control and you can change your pressure of the pen to adjust the flow rate.
I also desaturated the image but for the eyes which I kept blue to draw the attention to them. Originally they were even more blue, but I toned the saturation down to make it more subtle. Creating the layer mask for the eye itself was pretty straight forward, but getting the hair to look natural over the hand took a lot of work. I also increased the clarity on the image, and removed a part of the bookshelf in the background. I think that was pretty much it, I am quite happy with the result.
– Johannes
Be First to Comment