Candle photoshoot with Demelza

I met up with Demelza Fox at Lammas Land this past Sunday for a photo shoot. The plan was to take some nice sunset photos, but unfortunately it was a bit overcast. Luckily Demelza had brought lots of candles, so we did some nice photos after sunset. I also played around a bit with in-camera double exposures.
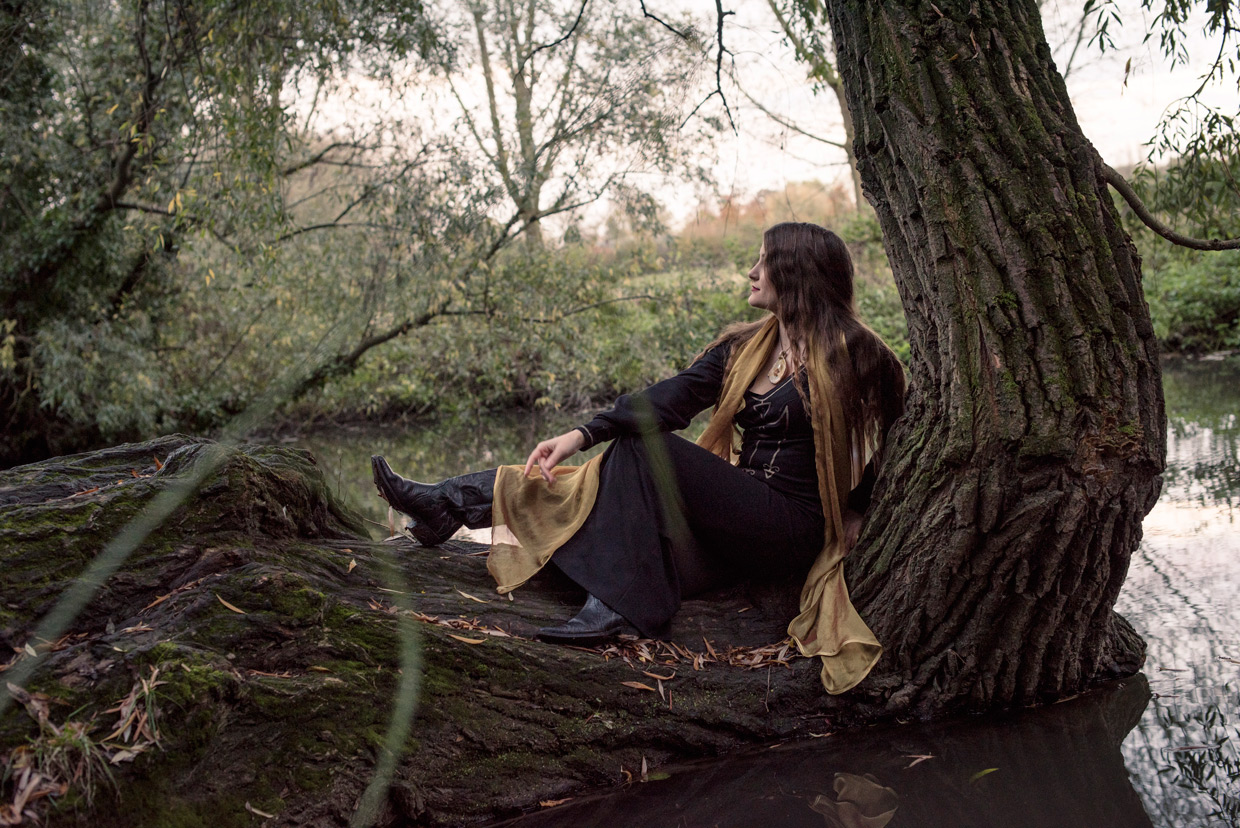
hjorthmedh-demelza-tree-trunk
I read a blog post by someone a while back about the different ways of creating depth in a photo. One of the ways you could do it was with contrast. For some reason the memory of that was triggered while I was editing this photo. Here I added a curves layer on top of the entire image that reduced the contrast, and then painted in the layer mask with black over Demelza and part of the tree trunk. I am quite happy with the result. Do you get a sense of depth when looking at this photo? The leaves in the foreground might help a little bit with the depth effect as well.
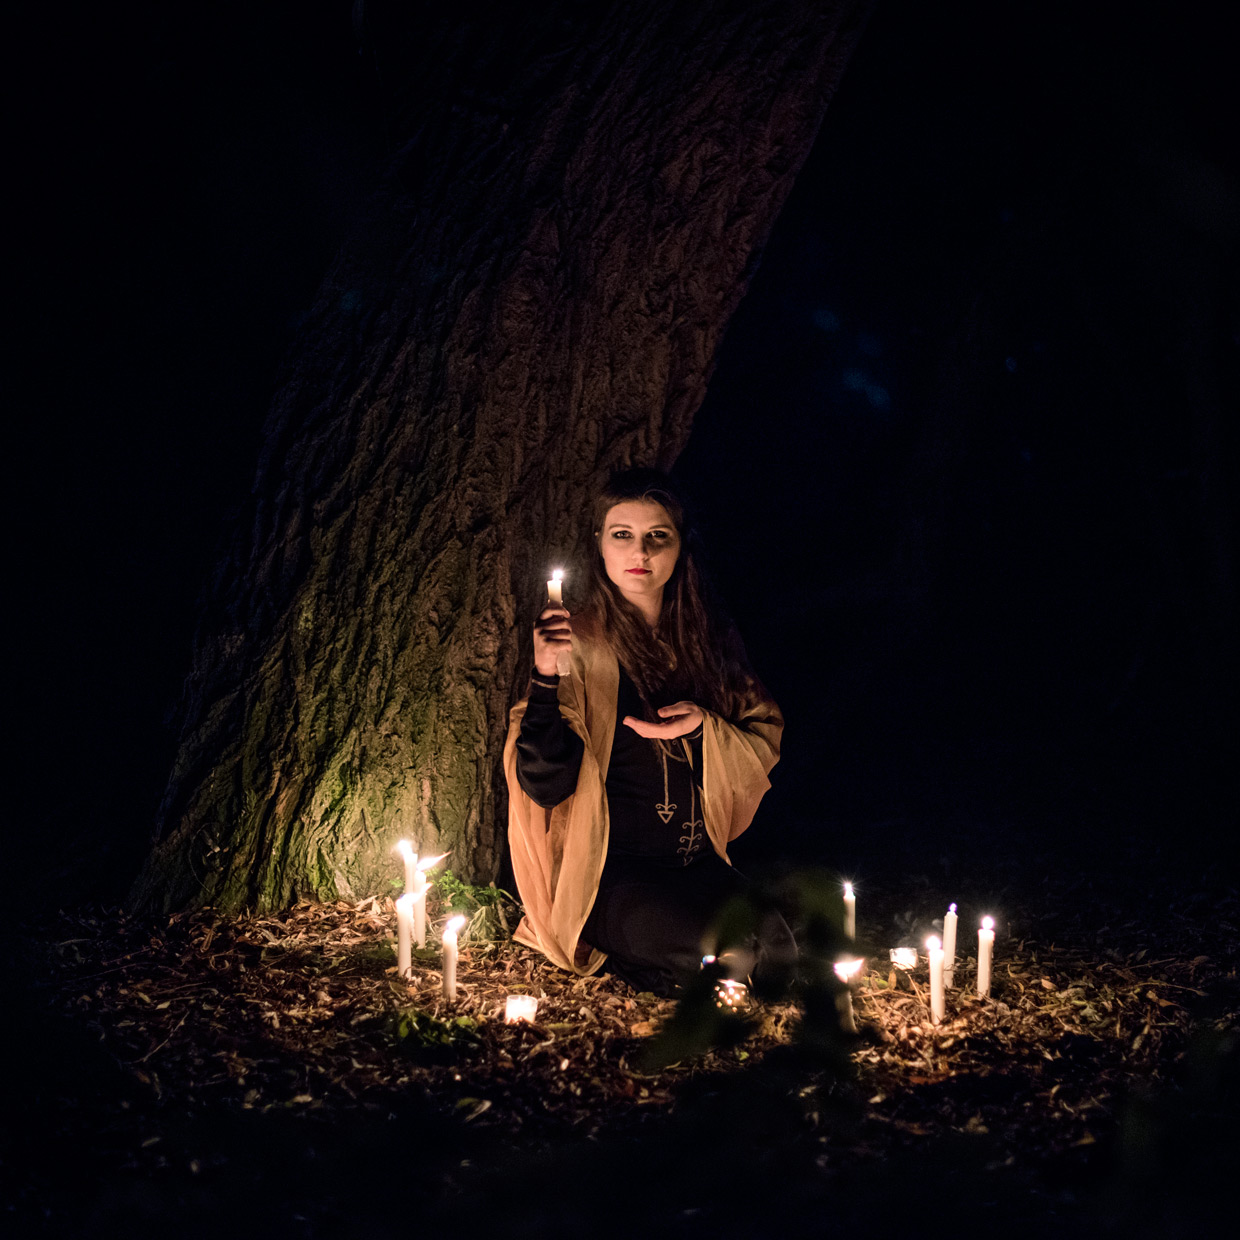
hjorthmedh-demelza-tree-candles
We wanted to light this photo pre-raphaelite style using candles. It is surprising how much light you can get with a bunch of IKEA candles. This photo is taken with 1/60s, f/1.8 at ISO 2000.
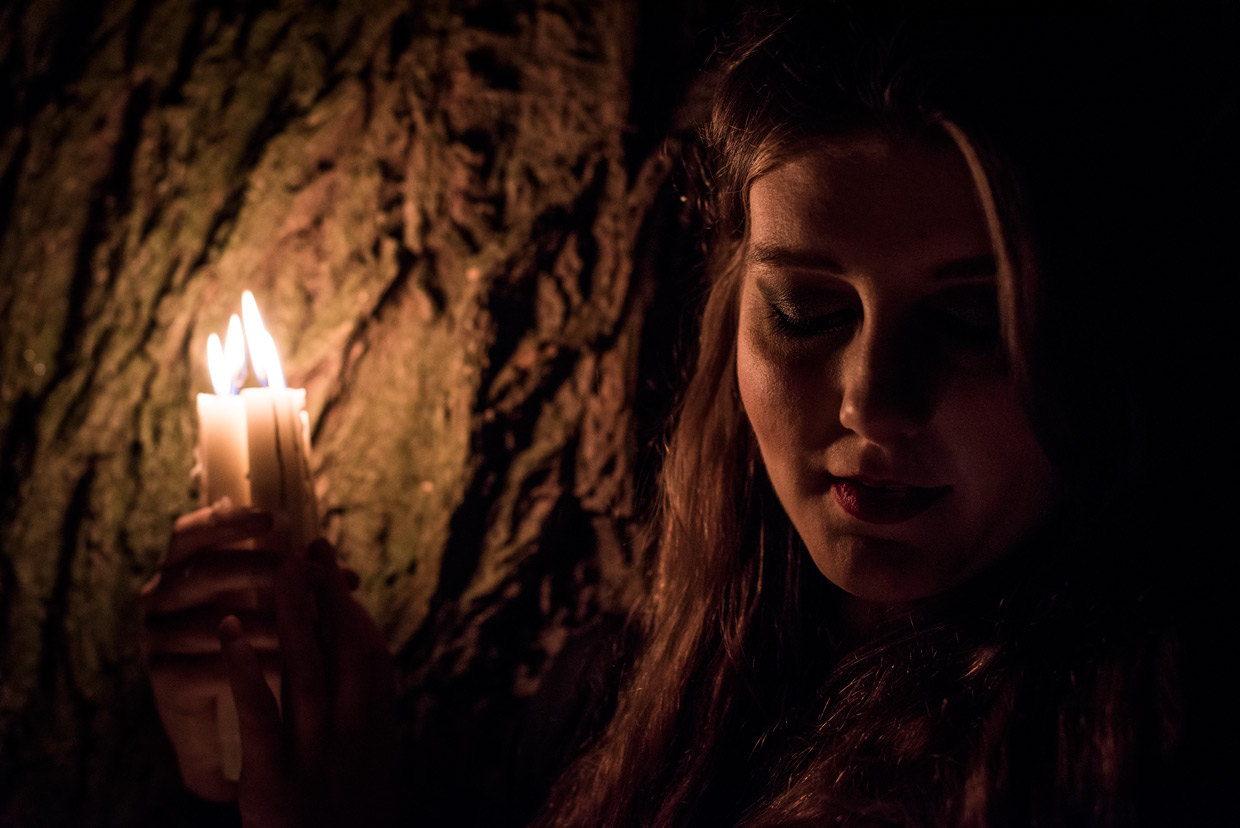
hjorthmedh-demelza-tree-candle-lit-face
A fist-full of candles is all you need to get enough light for a portrait with lots of atmosphere. The tree trunk in the background provides some nice texture. Perhaps the one thing we should have done was to have the candles a little bit further from the tree, to make it less bright.

Now for something in a completely different style: an in-camera double exposure. When doing these double exposures we exploit the fact that a bright sky will mask out anything that is in that region of the frame. The pixels in your sensor count the amount of photons that hit them, but there is an upper limit to how far they can count. If you reach the limit in the first exposure, the second exposure can not affect that pixel. The first shot is of the model silhouetted against the sky, the second shot is of some trees with my camera turned around so the sky is now at the bottom. This way I will mask out the lower half of the model. Now if you are unlucky it might look like she has hairy armpits, or a beard, or maybe that is the look you are going for? Afterwards in Photoshop you might want to play with the curves a bit to perfect the photo.
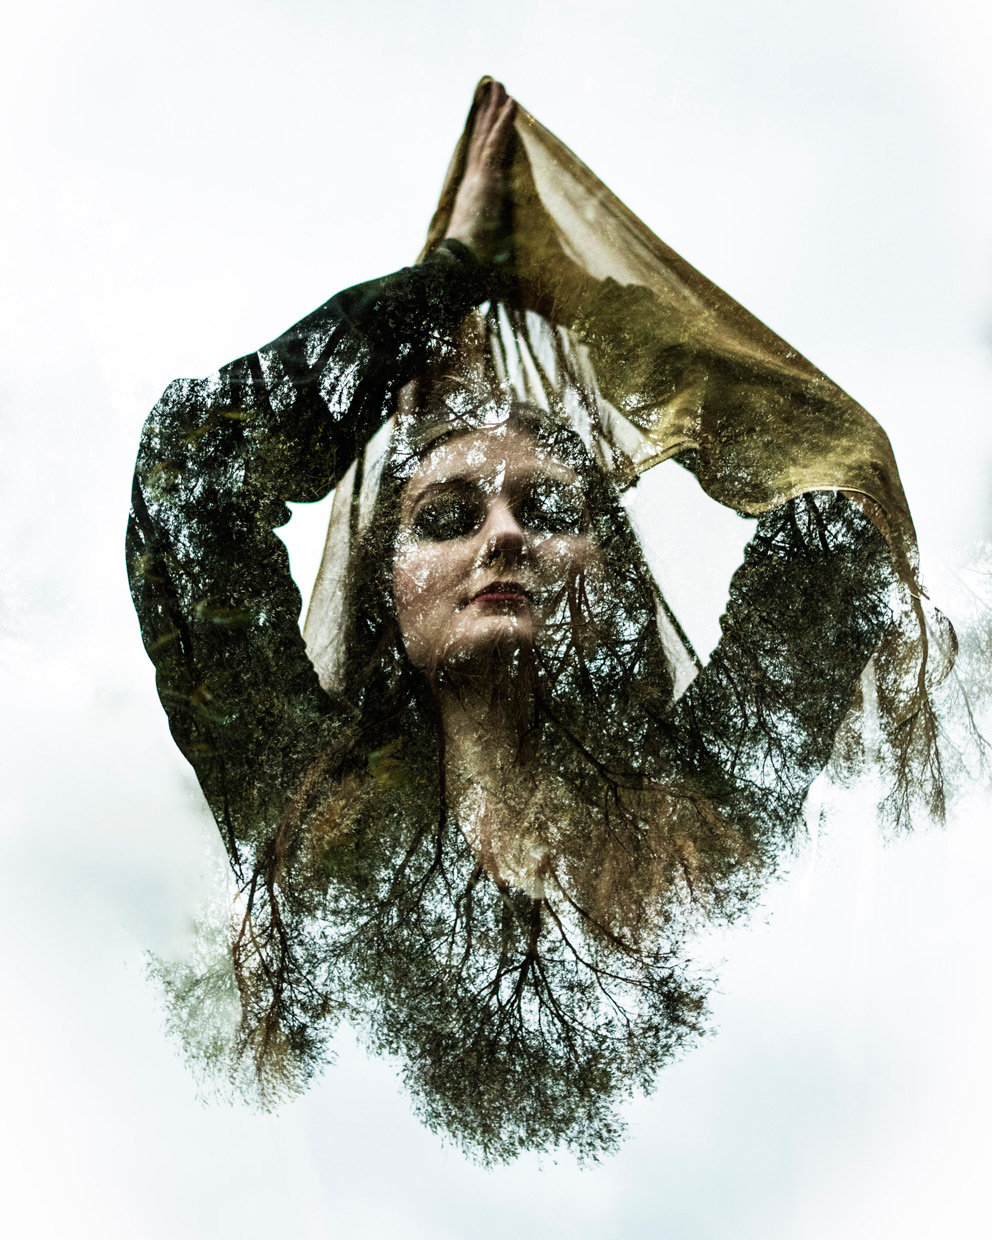
hjorthmedh-demelza-double-exposure
This was shot using the in camera multi-exposure function. This is something that Canon does better than Nikon. On my camera I have to do it blind while on some Canon cameras you can choose an old photo as the first image, and then see in live-view how the final photo will look.

It is fun to photograph with a few props. If you cannot do multi exposures in camera all is not lost, you can do it in Photoshop also. Put your two photos in different layers, then change the blending mode of the upper one to screen. Doing it this way has the benefit that you can fine-tune your composition.

— Johannes


Written by:

Be First to Comment

Leave a Reply

Your email address will not be published. Required fields are marked *

This site uses Akismet to reduce spam. Learn how your comment data is processed.