This is my first blog post written some 12 kilometers up in the air. I’m on my way to Strasbourg for a few days. Unfortunately this medieval airline does not provide WI-FI onboard, so I’ll have to post the blog post after we land. Strasbourg might be the topic of a later blog post, this one will be about my new toy that I got yesterday, an ND filter.
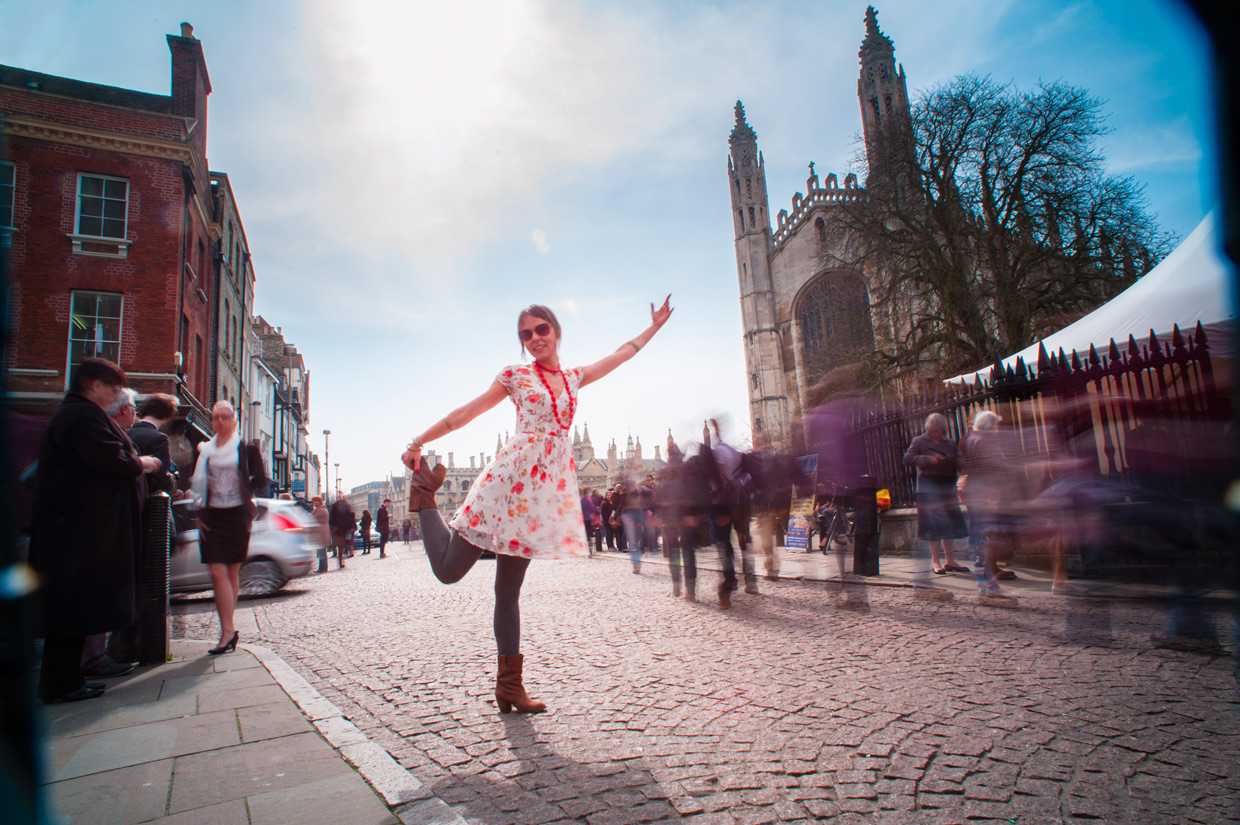
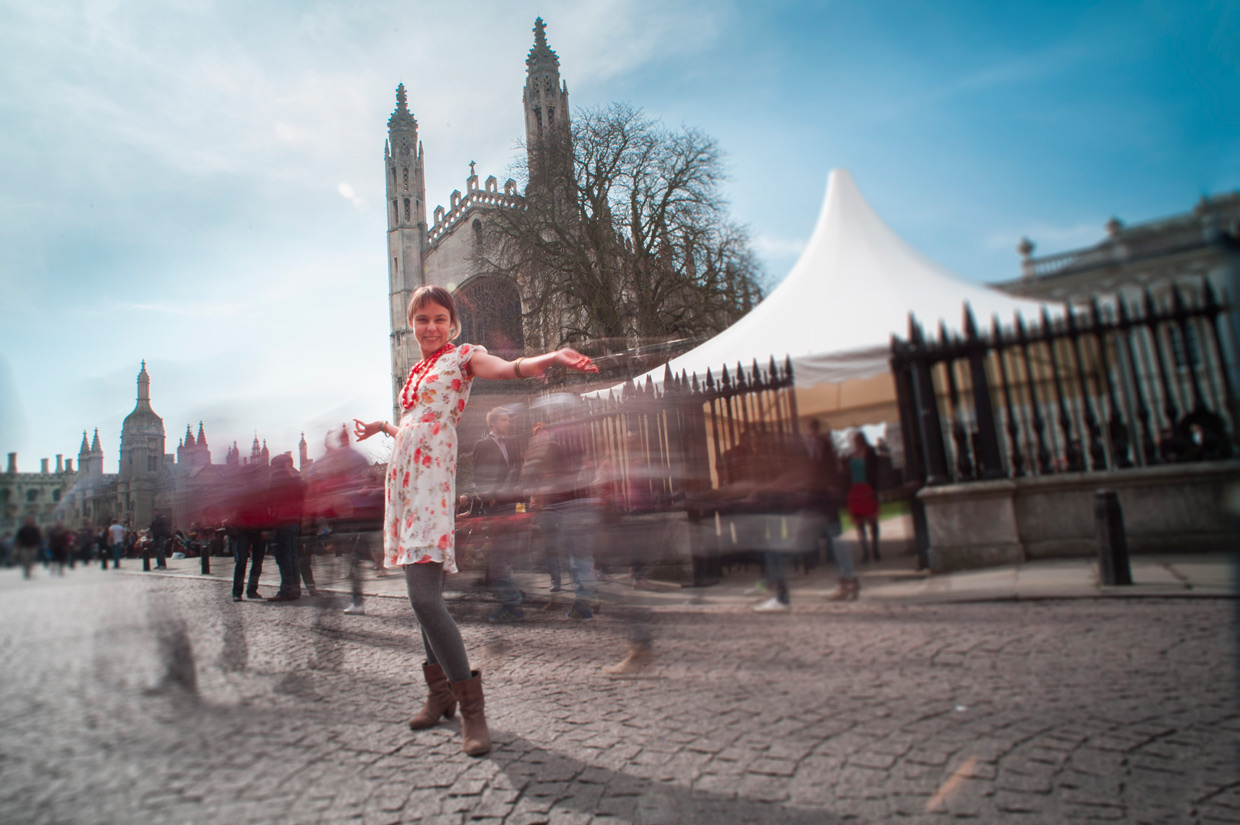
At our first workshop JF’s slides had a photo that was shot in a crowd with something like 1/10 of a second shutter time. The main subject was standing still, while everyone else was moving and thus blurry. I thought that looked spectacular, and wanted to do something similar. I was meeting Eva Serrao in town, we had talked about a few photo ideas with composite shots the day before, so I had my tripod with me. It was a very sunny day in Cambridge and around 17 degrees. Normally I shoot at ISO 200 whenever possible, however my camera has a few other ISO settings below called LOW1, LOW2 and I think LOW3. I tried the most extreme, together with my smallest aperture, but I could not get the shutter time below 1/10 second. The weather was just too good.
I sort of anticipated that the low ISO setting would not be enough, and had a backup plan. There is a camera store close to the market square which I had called earlier in the morning to check the prices on neutral density filters, ND filters for short. An ND filter reduces the amount of light that the camera sees. They come in a few different variations. You can either get a round screw-on filter which fits a specific size of lens, or you can get a square filter which needs a filter holder and a ring to attach to the lens of your choice. The former is a simpler and cheaper, but the latter offers more flexibility as you just need to buy a new ring to be able to use it on a lens of different size. I decided to go for the latter, and also bought two rings so I could use the filters for both my 50 mm and my 20 mm lens that I had with me. It ended up costing more than the £10 I had envisioned while browsing amazon online. I paid something like £90 for the kit but you can probably get it cheaper online. That included three ND filters that I could stack in front of the lens. They also sold polarising filters, and graduated filters, but I am saving that for another day. Using all my filters stacked in front of the camera, the smallest aperture and ISO 200, I could now shoot with a shutter of 1–3 seconds in bright daylight.
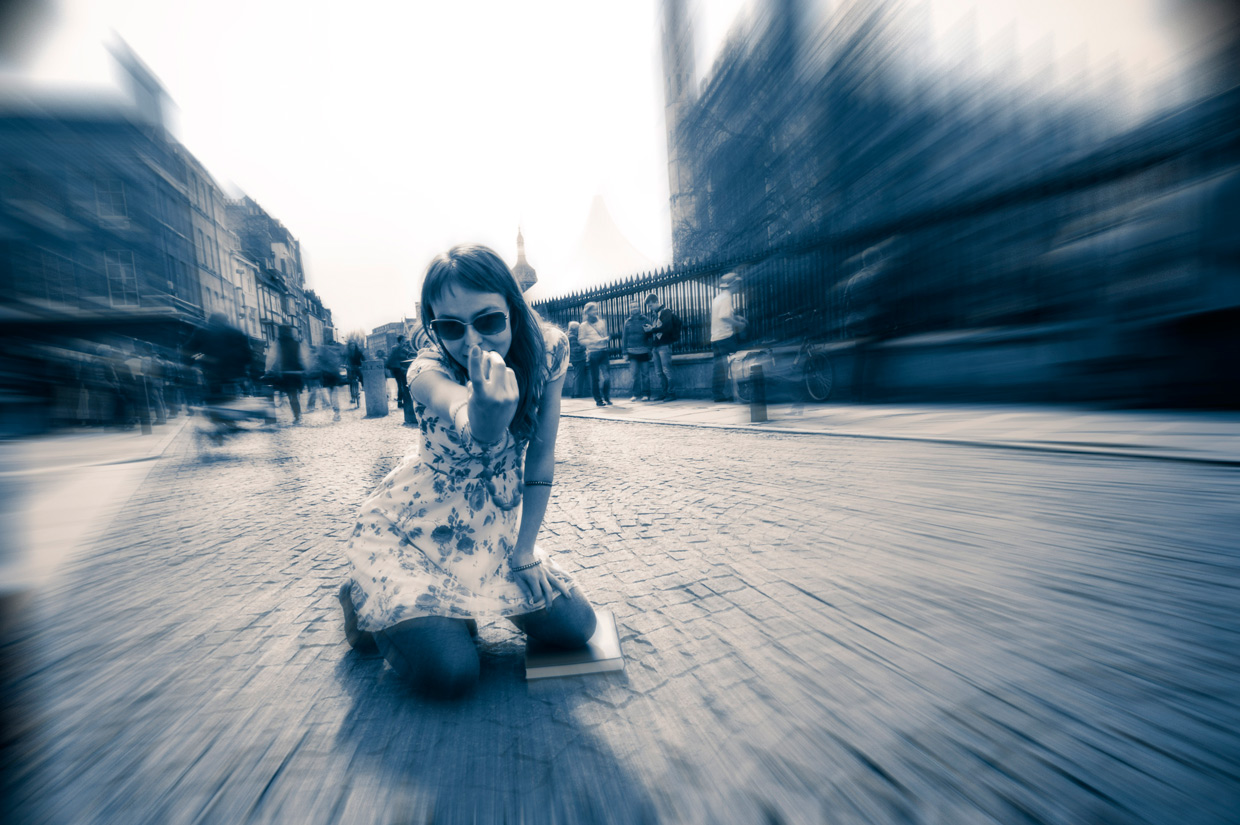
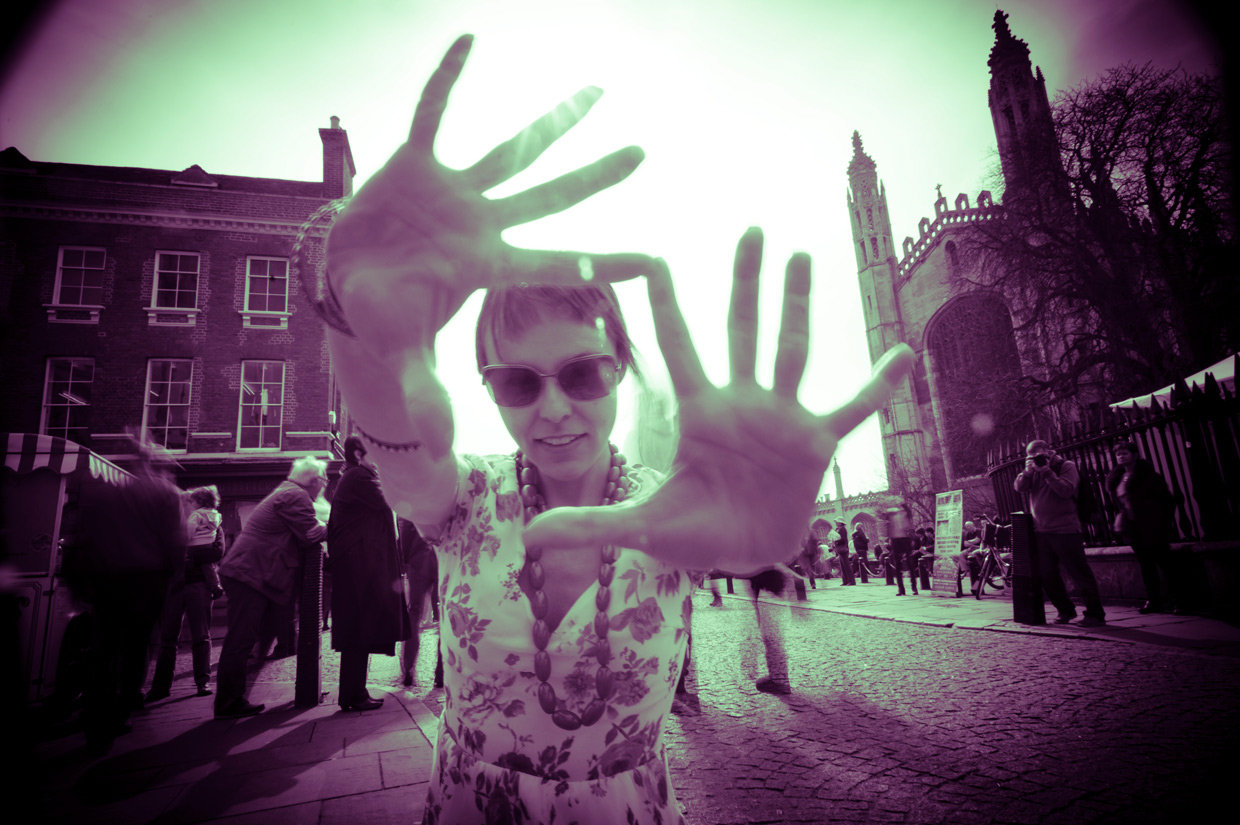
The plan was simple, Eva would be standing still while people flowed around her. Unfortunately the British psyche seems to be one of politeness, and too many went the extra mile to stay out of our photos. So we would find a good crowd, set up the camera, but before we knew it there was this zone of emptiness around us. Normally that would be great, but this time we actually wanted people in the shot. So a few times we ended up having to ask people to come walking in front of the camera. People would look confused when I said “Please walk in-front of the camera.” “Sorry, did you ask us to go into the shot?” but most people were happy to oblige.
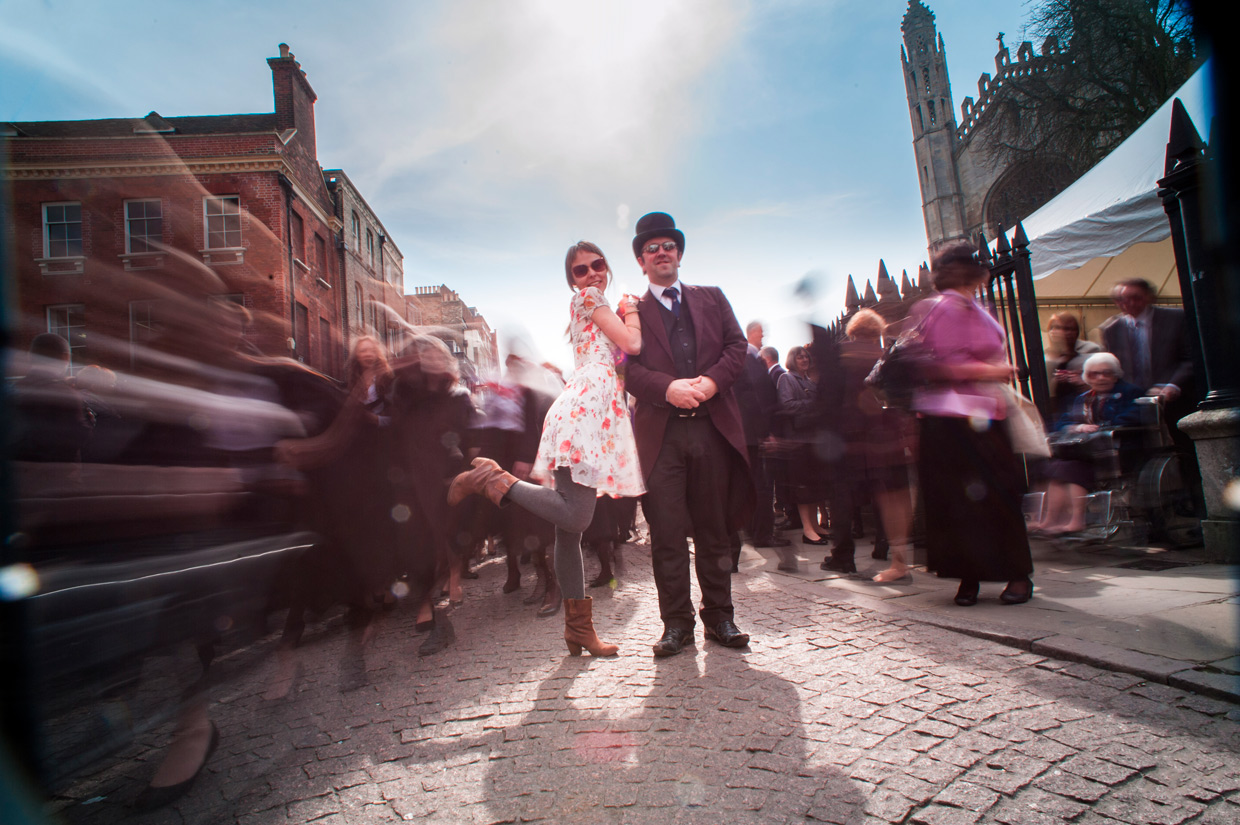
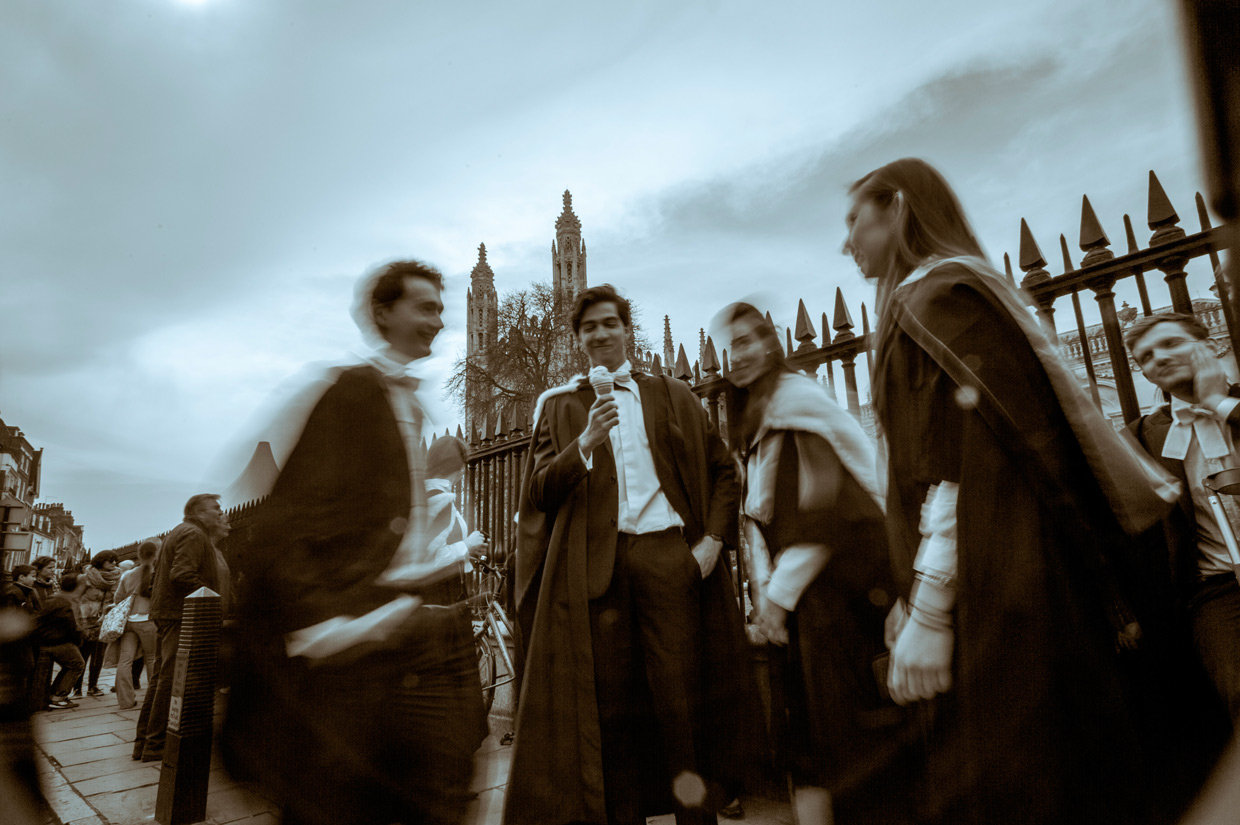
We got a few quite nice photos, but it is fun to evolve, so after having a bit of sushi we decided to try and take it to the next level. With a long exposure you expect a static subject, because movement gives blur. This is somewhat limiting in posing, so we came up with the idea of having Eva jump in one shot with a short exposure, and then overlay that on a longer exposure to get the walking people blurred. This meant having to take the filters on and off a few times, which was a bit of a hassle, but the result was well worth it. The first shot had a bit of a boring background, so not showing it here, but we took the next one in front of St John’s. While we were at it, we decided to put several Evas in the photo. The thing to remember when doing the short exposure photo which will be overlayed is to make sure there is a clean background, because otherwise there will be a lot of work to get it to look good.
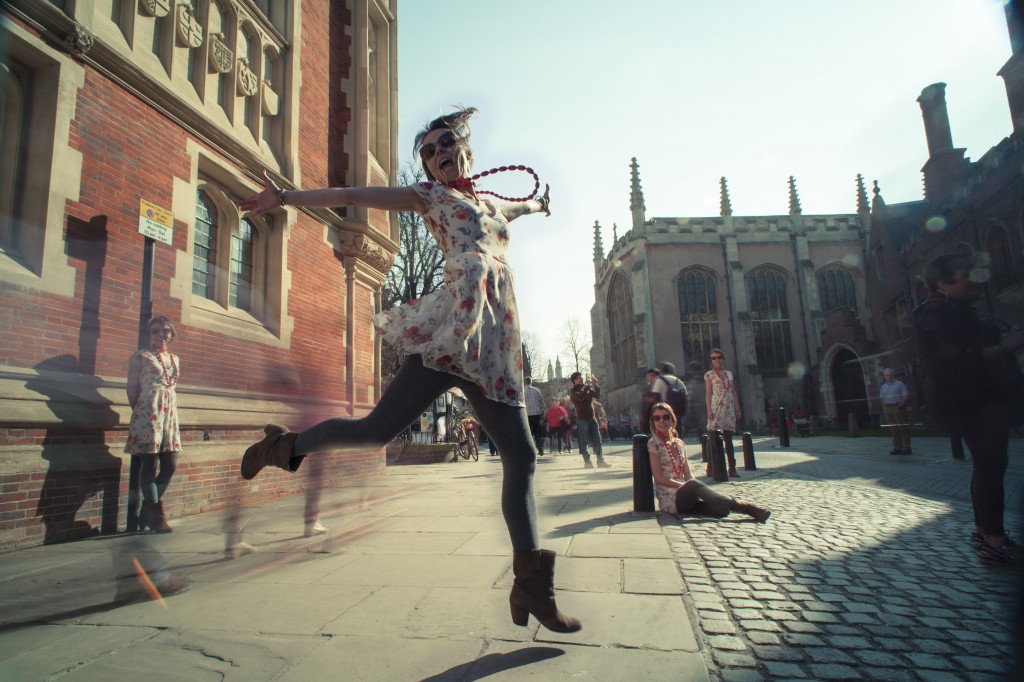
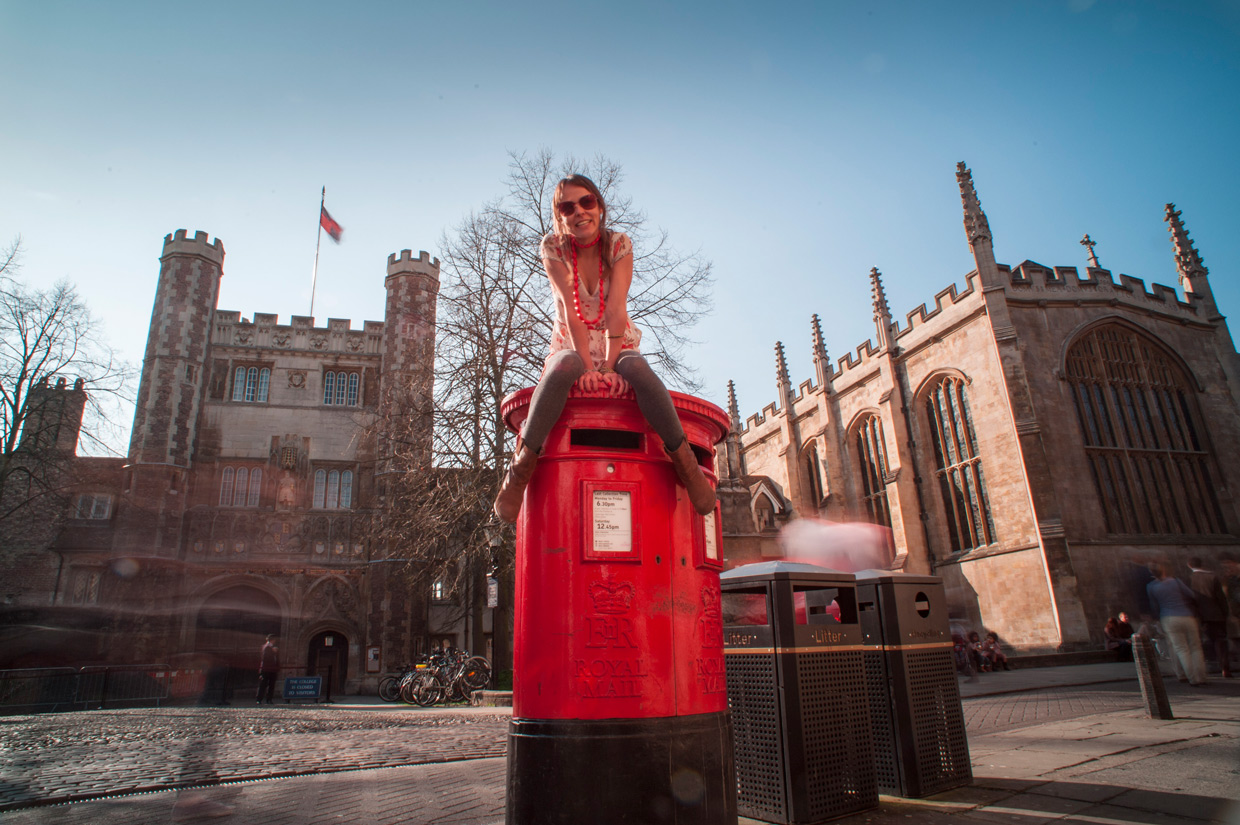
This was a great day! If you have not tried ND filters before, consider adding it to your toolbox, it allows you to do quite interesting photos. If you think it is a bit expensive then have a look at the DIY instructions for using welding glass instead. Those add a bit of tint, but you can correct for that in Photoshop. I like how the blur on everyone and everything that move adds atmosphere and brings the focus on the main subject that is standing still. Big thanks to Eva for joining me and coming up with lots creative ideas and poses! To be continued…
– Johannes
Be First to Comment