I stumbled upon a facebook group titled “Let’s Get Creative 2014” by Nathalie Donado and Ella Ruth. The purpose of the group is to take 52 self portraits with different themes during the year. This week’s theme was “sky”, so after a bit of thinking I decided to try something different. Instead of an outdoor shoot, I took my camera and tripod and locked myself into the bathroom with only a LED lamp to provide light. It is not every day you take photos of yourself in the shower, so you have got to make the most of it. My idea was to have one of the tiled walls be a portal into another world, I would place a photo of the sky there, and sit facing it with my hands stretched out. I have a small bathroom, so to get as much as possible into the shot I switched to a 20mm lens. Given that I was taking the photos myself I wanted a bit of depth of field to ensure that I would be in focus so used f5.6. I carefully measured the approximate distance with an A4 paper and felt like Mac Gyver. After some fiddling with the exposure I settled for 1/20s and ISO 500.
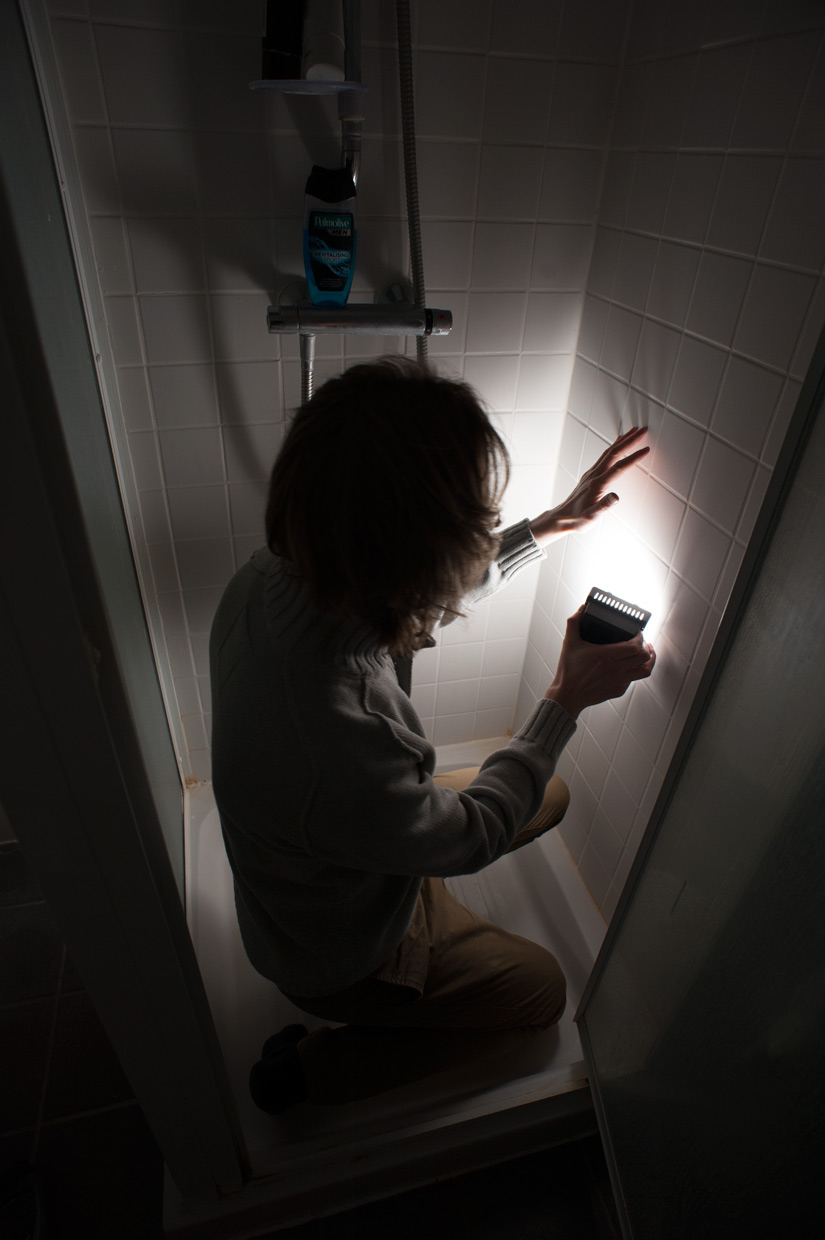
I sat on the floor of my shower and pointed the lamp towards the tiles, my plan was that the reflected light would look like the real light source in the photo. First I held the lamp with my left hand, but after a few shots I realised I wanted both my hands in the shot, so I took some photos where I held the lamp with my right hand instead, that way I could combine them together into one shot with two arms. It was not the most comfortable of work places, and after a while I decided to put a remote trigger on the camera so I would not have to get up and press the shutter timer button all the time. It also made my pose in the photos more similar, and easier to combine into a seamless final photo. Unfortunately, or perhaps fortunately, my LED lamp suddenly ran out of battery. I went to charge it and realised that the charger had blown a fuse, so that put a natural end to the bathroom posing, I had to make do with what I had got so far.
The idea for the sky self portrait had already started to form the day before during my very wet bike ride home from work. A wise photographer once said that the worse weather the better the photos. So I got home and changed clothes, but by the time I had cut holes in a plastig bag for my camera lens and viewfinder the rain had stopped. Anyway, I went out and hunted for puddles that the light could reflect in, and also, without thinking too much about it, snapped a shot of the sky. I am lazy, so rather than digging through my archive of old photos in search of the perfect sky I decided to make do with what I had before me.
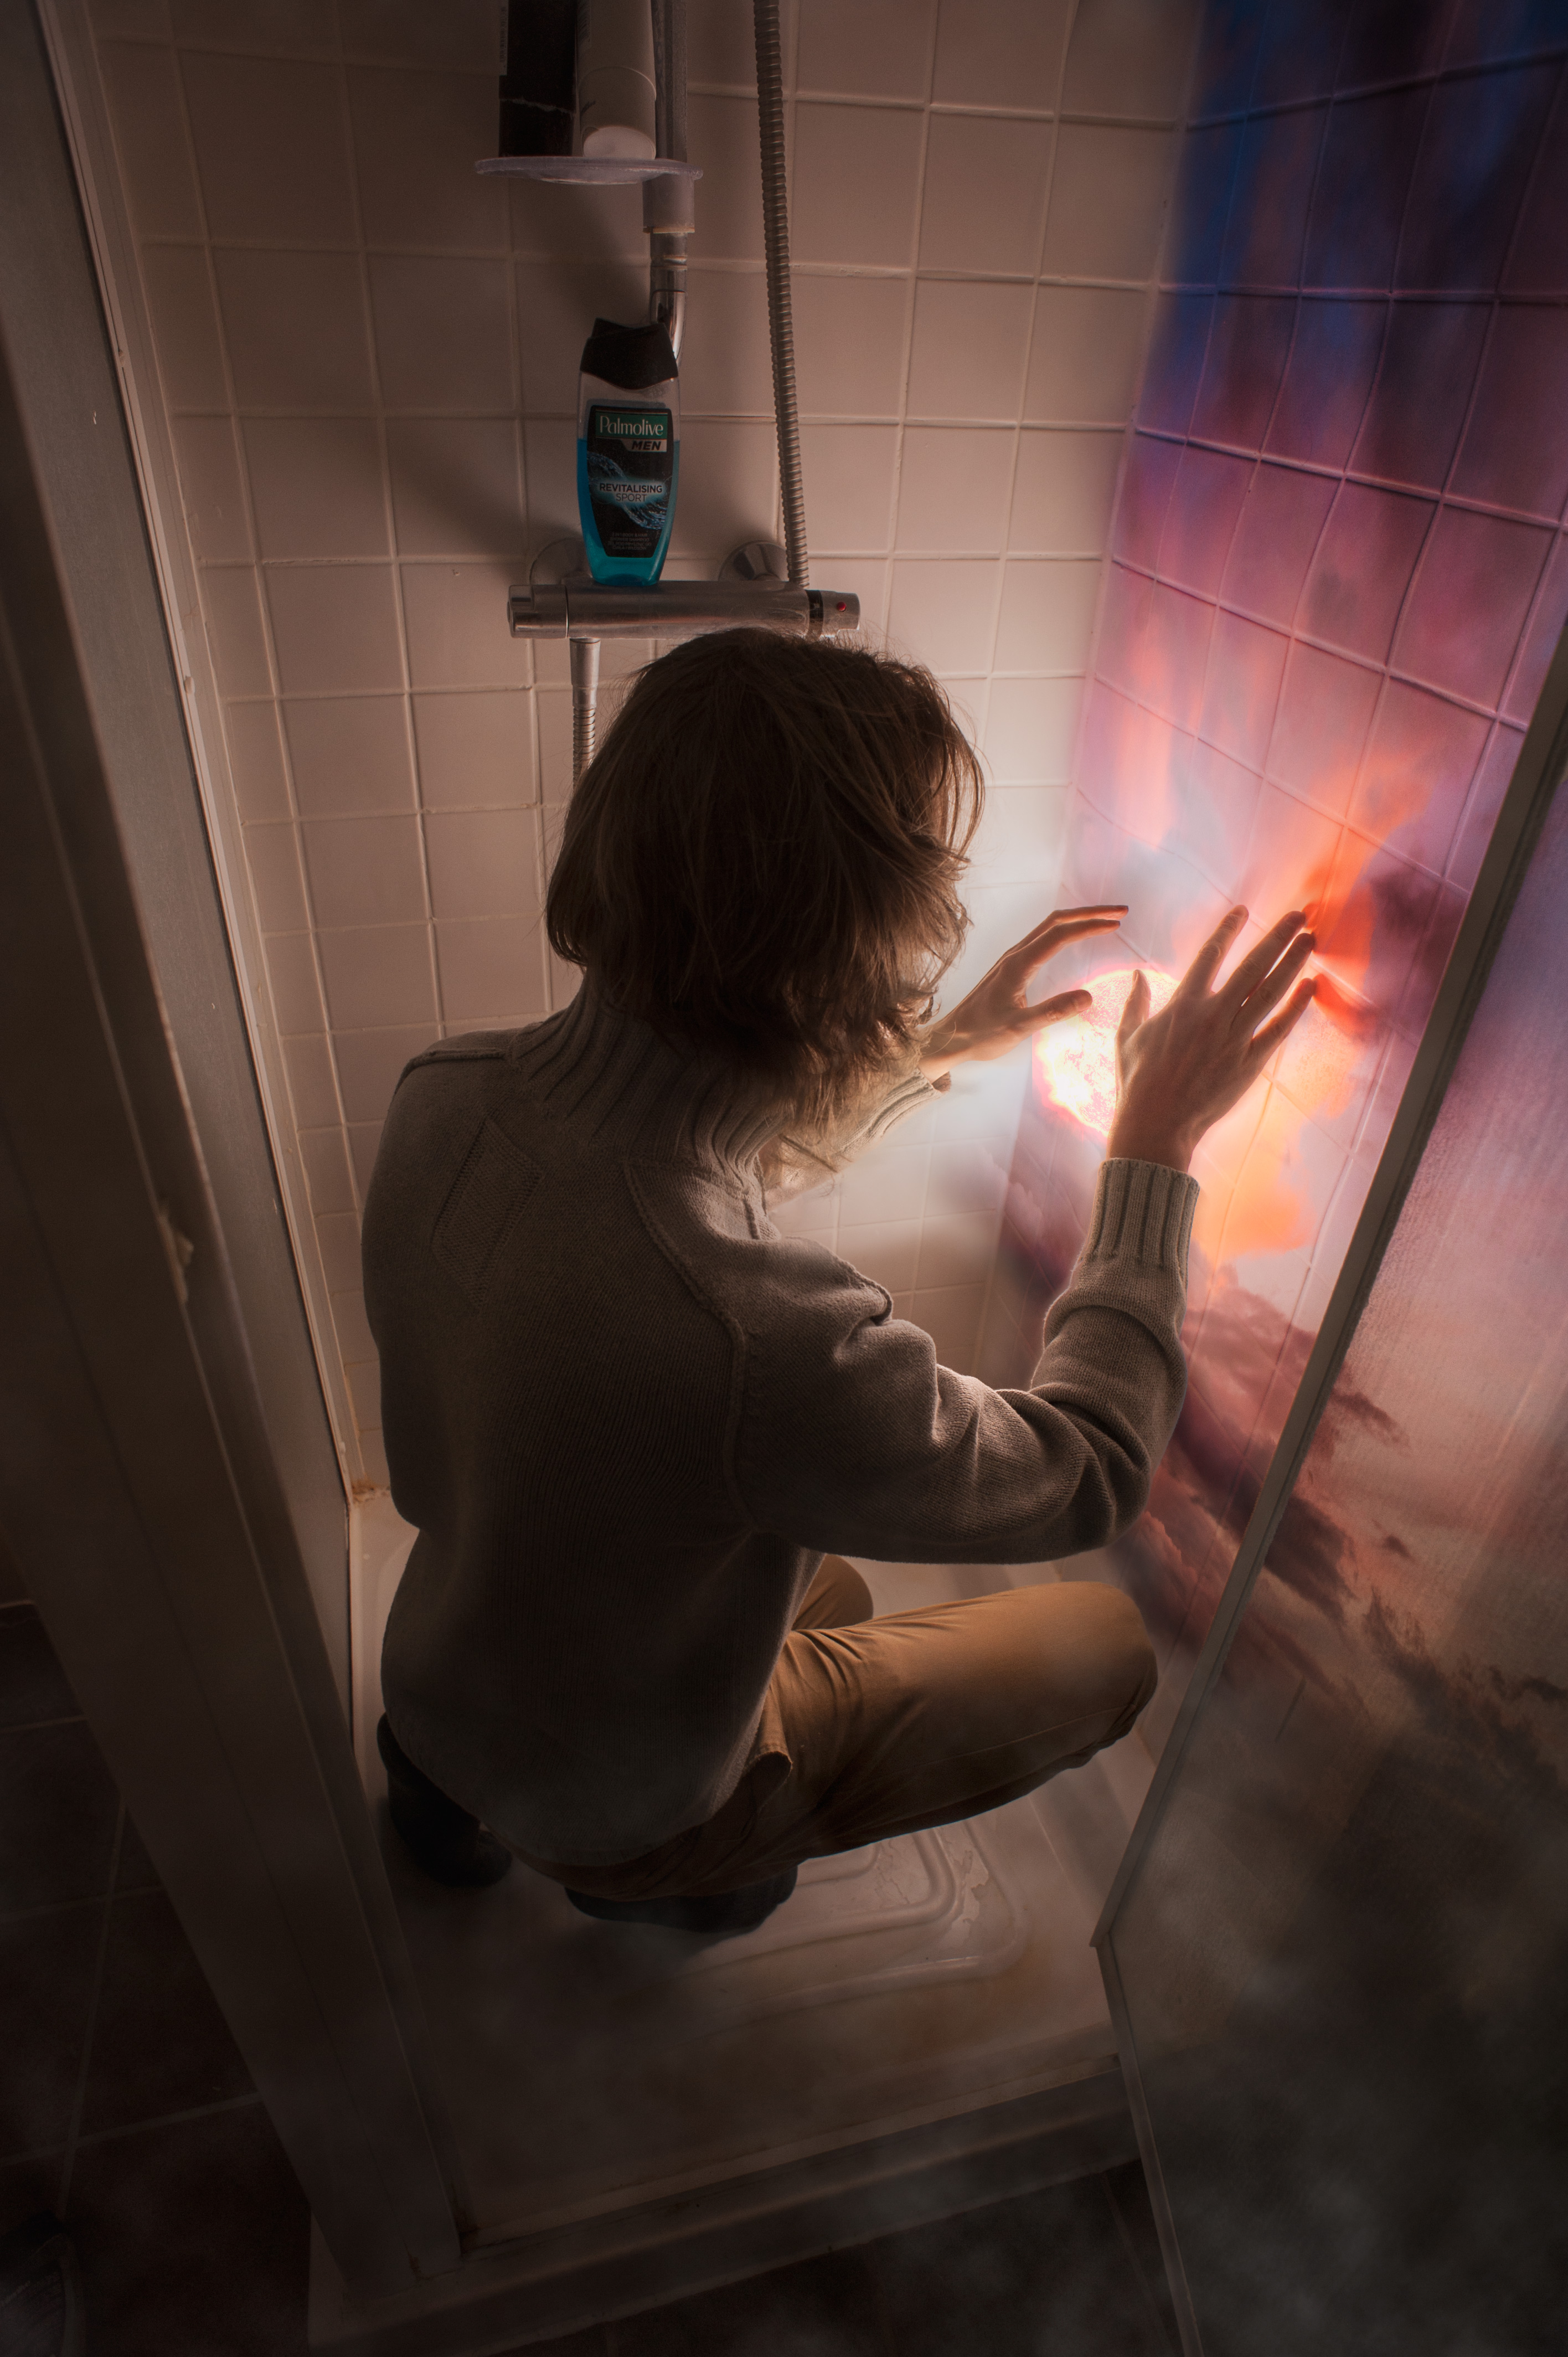
I combined two photos in photoshop, using layers and masks to make it appear as if I had two arms and the light was just coming from the bathroom wall. Part of the left arm had to be extended because I had changed my pose slightly between the two shots, content-aware-fill is magic for those things. I then used a perspective transformation to fit the sky over the tiled wall, and a bit of the glass door for the shower to give the illusion of a reflection. Photoshops refine edges function is really powerful, after making a rough selection you turn it on, and by painting in the problem regions with a brush you tell photoshop what areas need special attention. Time flies when you are photoshopping while listening to music, and layer by layer the image appeared. When staring at a photo for a long time, you become blind to it, so I like to get a second opinion from some friend. I looked on my list of friends online, by this time most people were asleep, but Dilman, who recently moved to Argentina, was online and willing to help out. Several iterations later the image was finally done and I uploaded it to the facebook page of the group, turned off my computer and went to bed. For some reason all the good ideas come when you step away and do something else. So there I was lying in my bed when it hit me that I should have put a sun into the photo. I would hold my hands around the sun, slowly pulling it out of the wall into the room. The LED lamp was broken, so I would have to hope that there already were a few shots when my hands were in the right position. I resisted the urge to go and check it out right away.
The second time you edit similar material things go a lot faster, because you are able to avoid most of the dead ends. I was lucky and found two photos that could be combined to get the hands the way I wanted them, so with “The Piano Guys” playing on Spotify I got to work. I nicked a photo of the sun from NASA’s webpage. The idea was that by taking something out of the sky I would integrate it with the rest of the photo, creating depth. I used liquify to bend the tile pattern on the wall, reflecting the fact that I was pulling the very fabric of space-time apart. Another idea was to get the clouds to continue out of the wall into the room, several layers of “render cloud” later I had a thin layer of smoke-like clouds spilling out of the sky around my legs. I also duplicated the sky, adding a second identical layer with soft light on top of the first to increase saturation. You can see the final result above.
I had great fun making this photo. The next week’s theme is patterns, and I already have an idea for what to do. The problem is I don’t think I am allowed to burn smoke pellets in my apartment so might need to come up with a plan B. Think light passing through some kind of grating, the rays becoming visible in the smoke, and finally illuminating either me directly, or the photo will be of the silhouette on the floor. We will see. I like initiatives like this that gets my creative juices flowing. Why not join yourself, you don’t have to make a photo every week, just cherry pick the themes that you like when you have time. Who knows, you might get hooked.
/Johannes
Be First to Comment