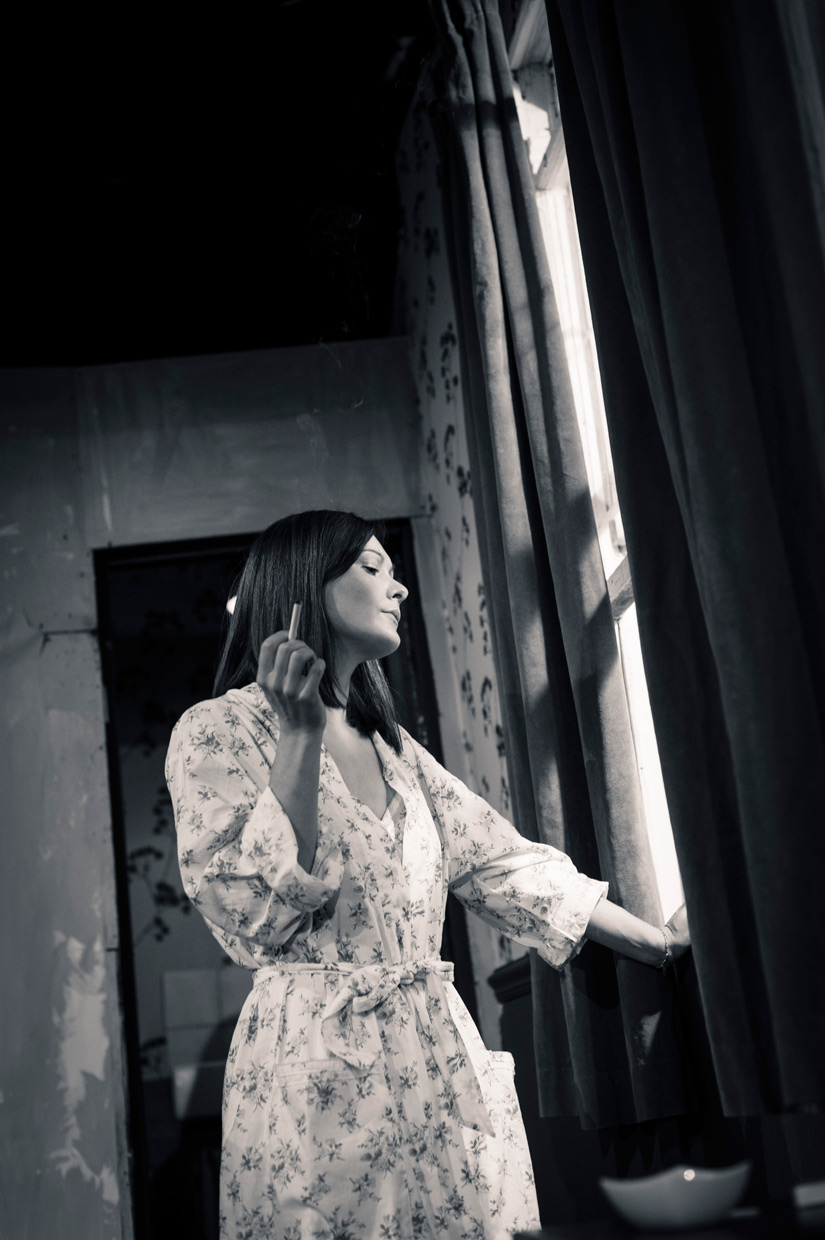
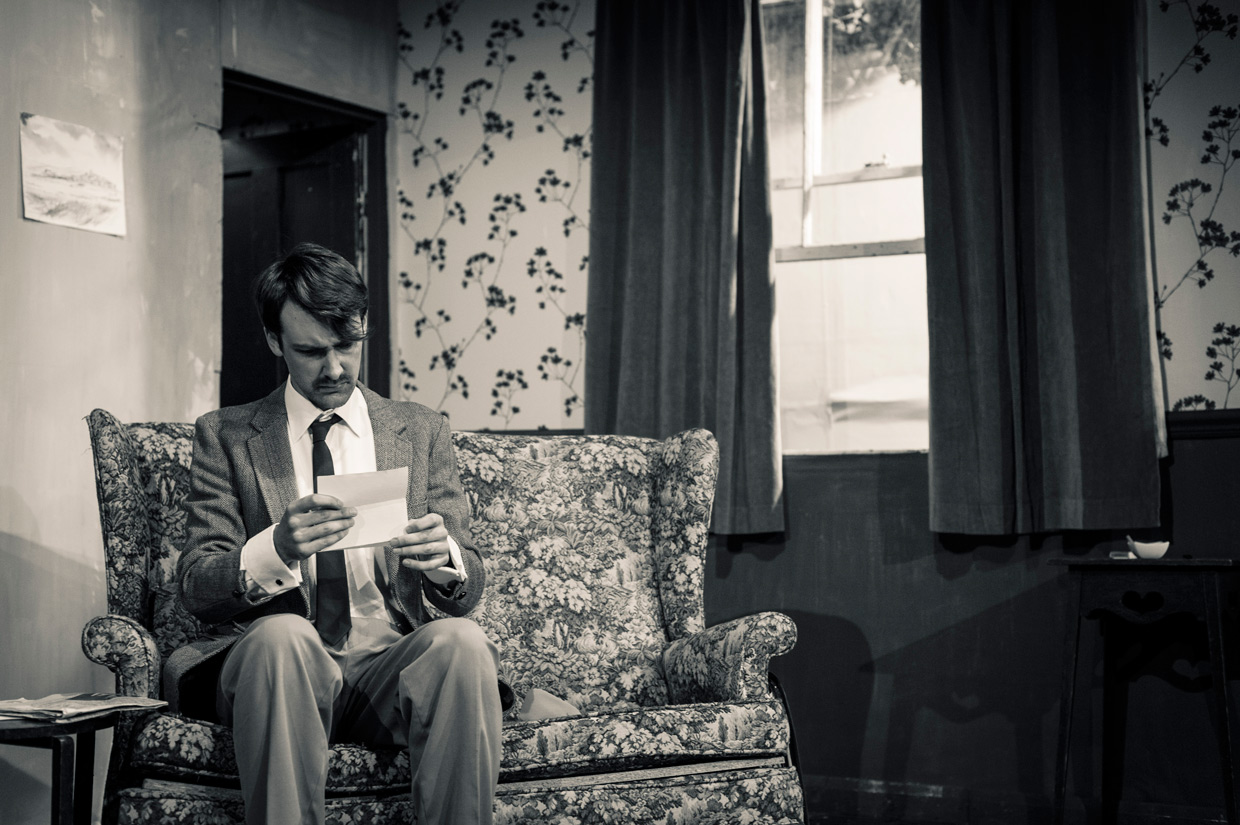
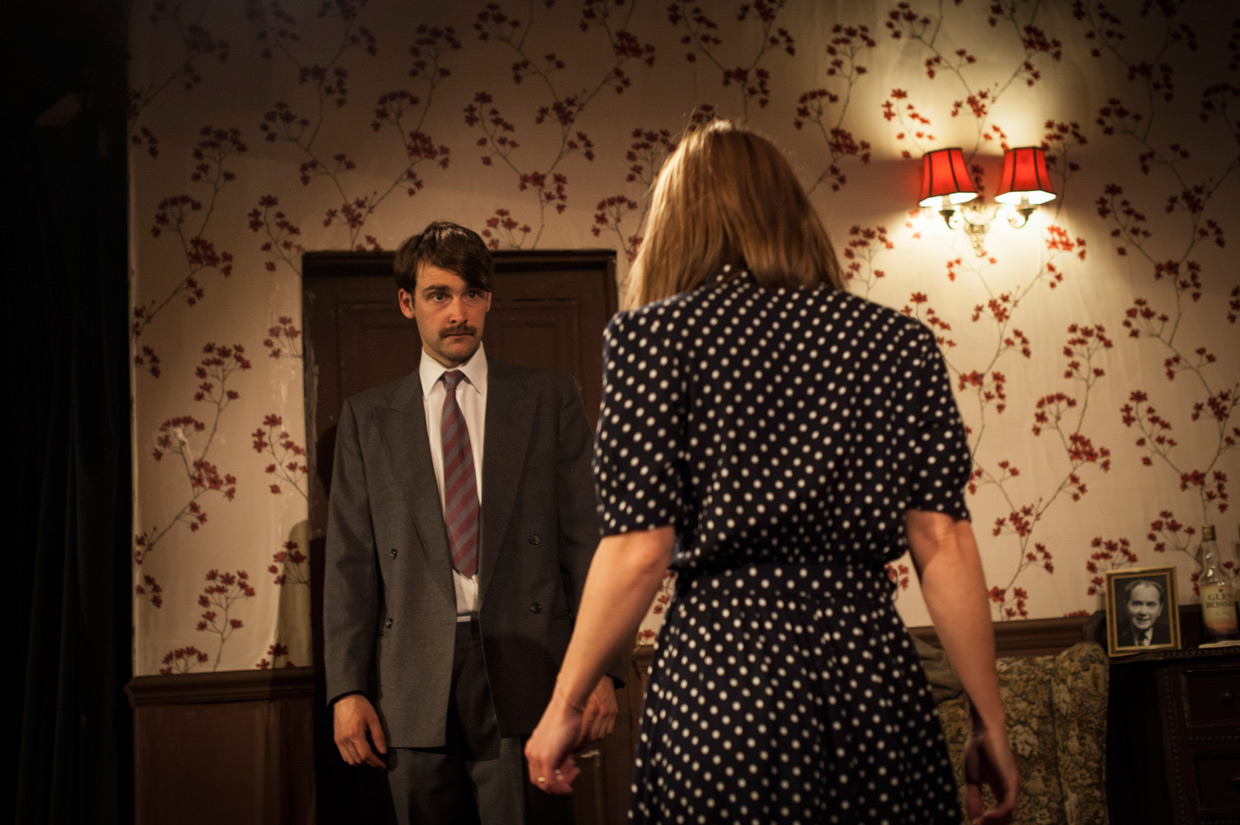
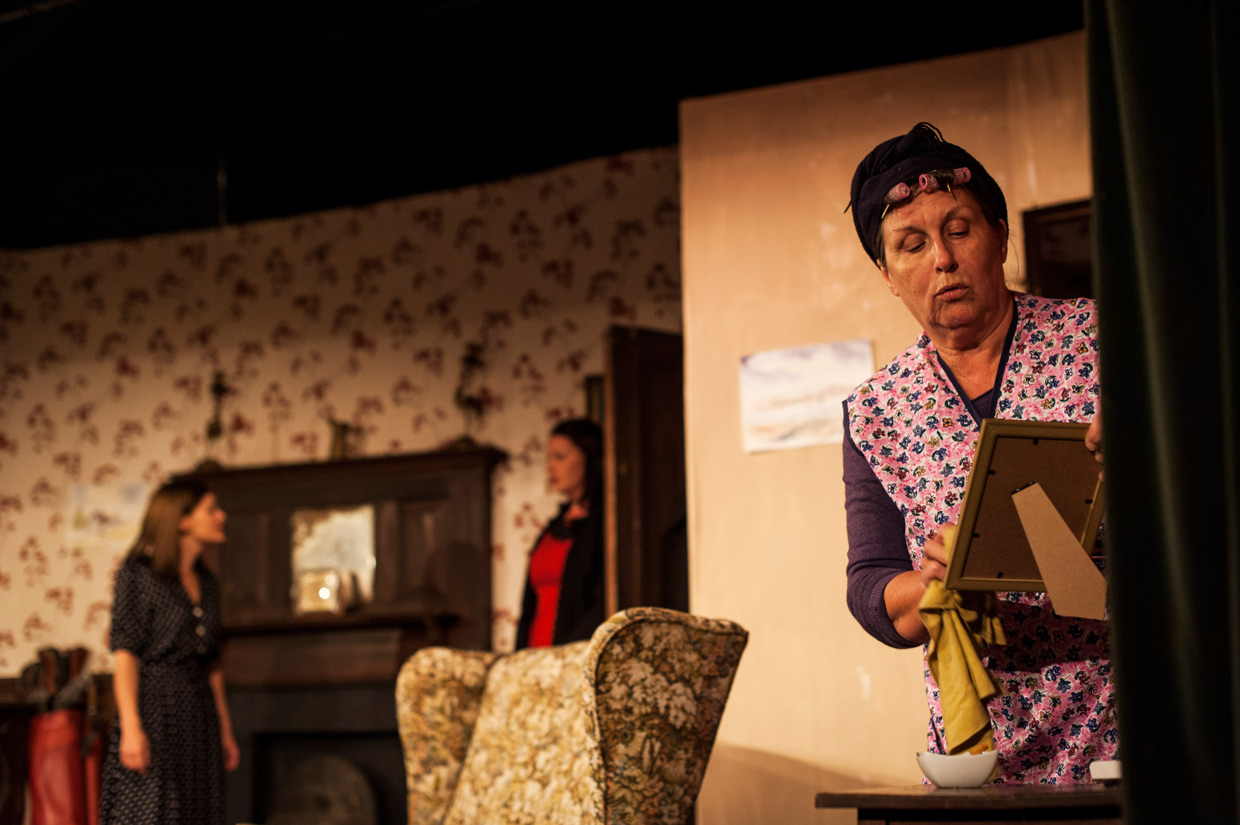
Yesterday I went to Fulbourn for the first time. It is a village outside Cambridge and the home of St John’s Players, which is a theatre group that has been putting on plays since 1947. My friend Zuzana Holubcová is a member of the group and had invited me over to take photos of the dress rehearsal of “The Deep Blue Sea“. Dilman Abu Bakr, an old friend of mine from Stockholm, was in Cambridge so I brought him along for the shoot. This meant we were two photographers at the dress rehearsal, or as it would turn out, three photographers. The St John’s Players had their own official photographer there also. It was a bit of a dance photographing so as not to get into each other’s way.
I gave some tips to my friend before and during the shoot, but I could probably have done a better job at it. As a result my plan for this blog post is to target it towards him, and others in a similar situation. Let’s assume you just got invited to a dress rehearsal, you have the very most basic Nikon DSLR (or some other camera brand of your choice), how can you prepare?
First off, let’s have a look at your lens. The basic entry level Nikon comes with an 18-55 mm kit lens. If you look at the lens it says f3.5-5.6, which means that your aperture will depend on how much you have zoomed in or out. If you zoom in, the maximal aperture is going to decrease, this means that if you are struggling with long shutter times and high ISO, then one thing to try could be to zoom out to 18mm and then walk in closer using your feet. This will increase the maximal aperture, letting in more light on the sensor.
Next up, flash. Turn it off. Your photos will look better if you use the natural light in the scene. A flash would give you flat light and also disturb the actors. Also theatres usually have people lighting the stage, to make sure it looks good, don’t spoil their careful work.
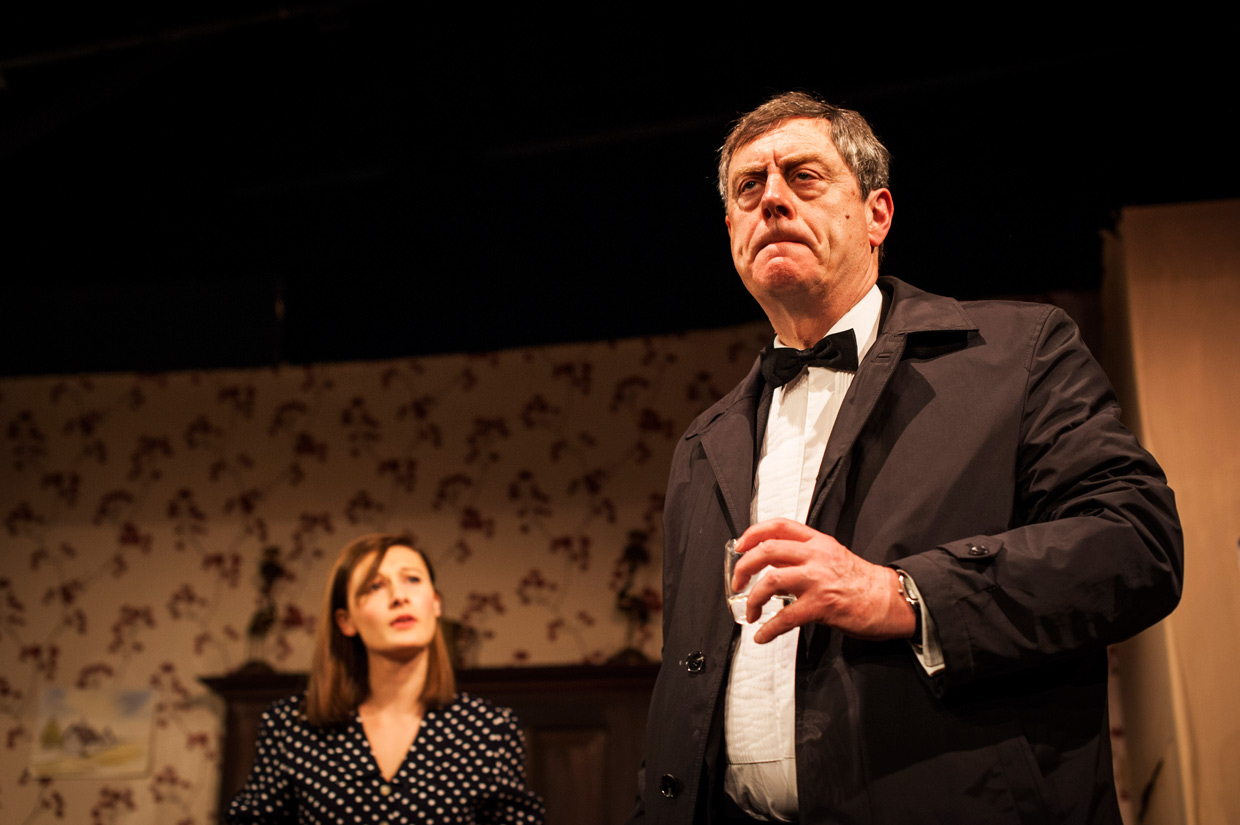
Let’s talk a bit about camera settings. Your camera has several different levels of yielding control to you. There are the fully automatic modes (auto and P) which will decide aperture, shutter time and ISO. Then there are semi-automatic modes, which let you decide one of the variables. For example aperture priority mode (A) will let you set aperture priority, this is useful if you want to control the depth of field. The shutter priority mode (S) will let you set the shutter time. In both these modes the camera will create a default exposure level, but if it is too bright or dark, then you can use the exposure compensation (+/- button) to adjust it. Here you tell the camera to intentionally expose the photo brighter or darker than it would otherwise do. The third level of control is manual mode where you get to control everything manually.
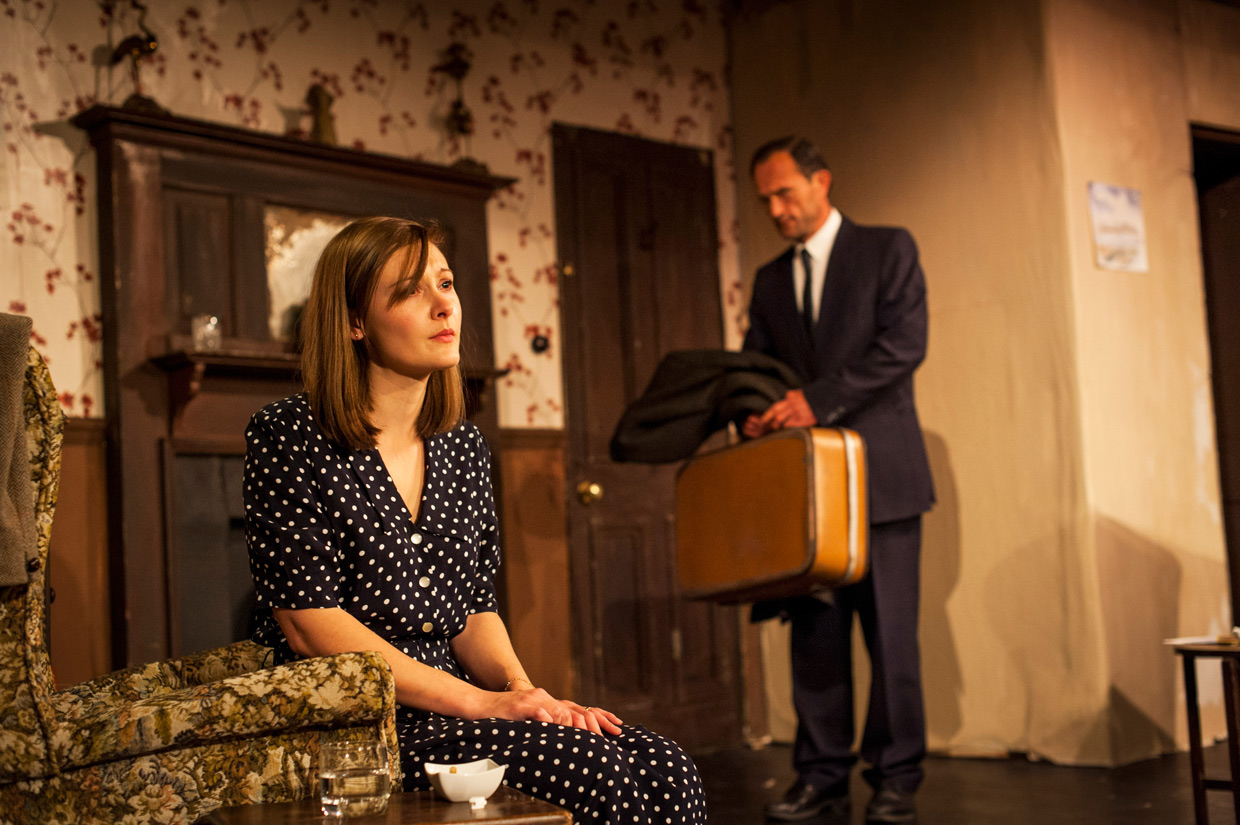
Ok, you took a photo and it came out blurry. What could be the possible reasons? First check the shutter time used, if it was too long you would not be able to hold the camera steady. Try reducing it, a good rule of thumb is 1/focal length, so a 35 mm lens should have 1/35 seconds shutter or shorter. Tonight I was using about 1/100 second. Also make sure you have a good grip on the camera and that you stand steady, maybe even lean on something solid as this will reduce your camera shake. You could however get blur even though you keep your camera steady simply because the actors on stage are moving.
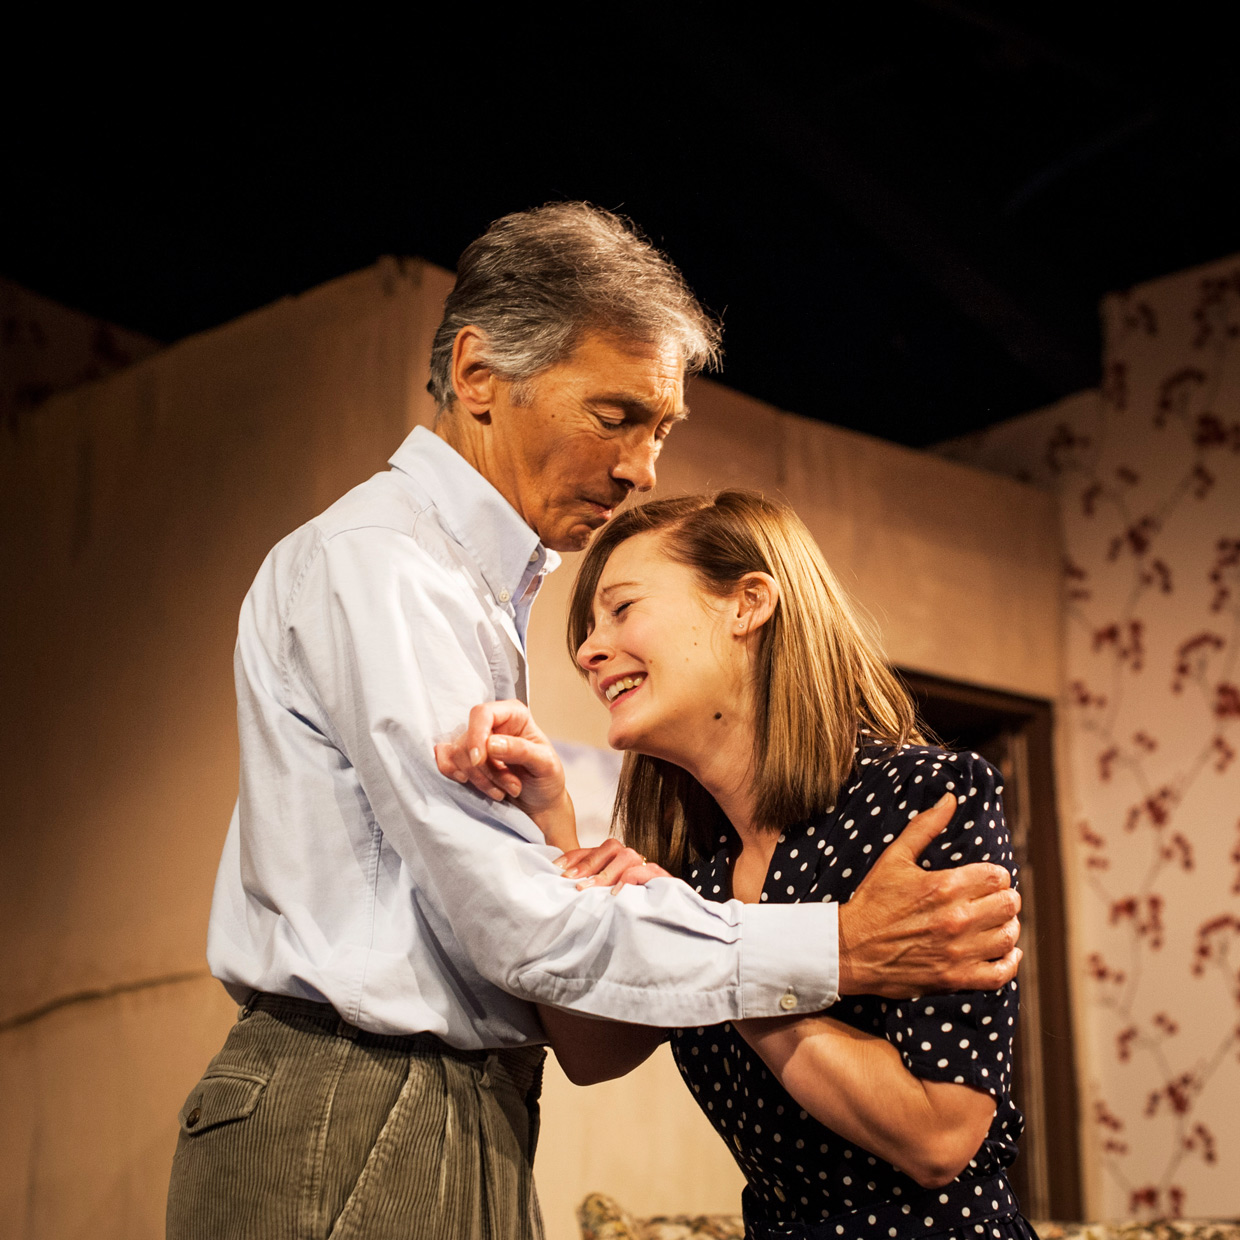
Alright, so you now have a short shutter time, the photos are still blurry. The second thing to check is your aperture, if you have a nice prime lens then one problem could be that your depth of field is too shallow. When it gets dark the auto-focus starts to struggle, and if you use a big aperture your depth of field will be very narrow, so any mistakes with the focusing is going to show up right away, there is very little leeway. This is especially the case if you use prime lenses. What you can do here is decrease the aperture, or move further away from the action. The depth of field increases the further away your focusing point is.
Both of these adjustments to the shutter time and aperture will cost you light, so be careful that you do not increase your ISO too high because that will give you a lot of noise. There is some discussion whether it is better to have high ISO and you need not do much in post processing, or to have a lower ISO and then push the shadows in post processing to get an equivalent light level. I have not tested it myself, so cannot give any advice, but hearsay is that it is better to have a higher ISO than to push shadows. I do not know which one is better, I tend to do the shadow pushing myself because I am very cautious about over exposing light sources and other bright areas (but that might be the wrong approach if you want the least noise).
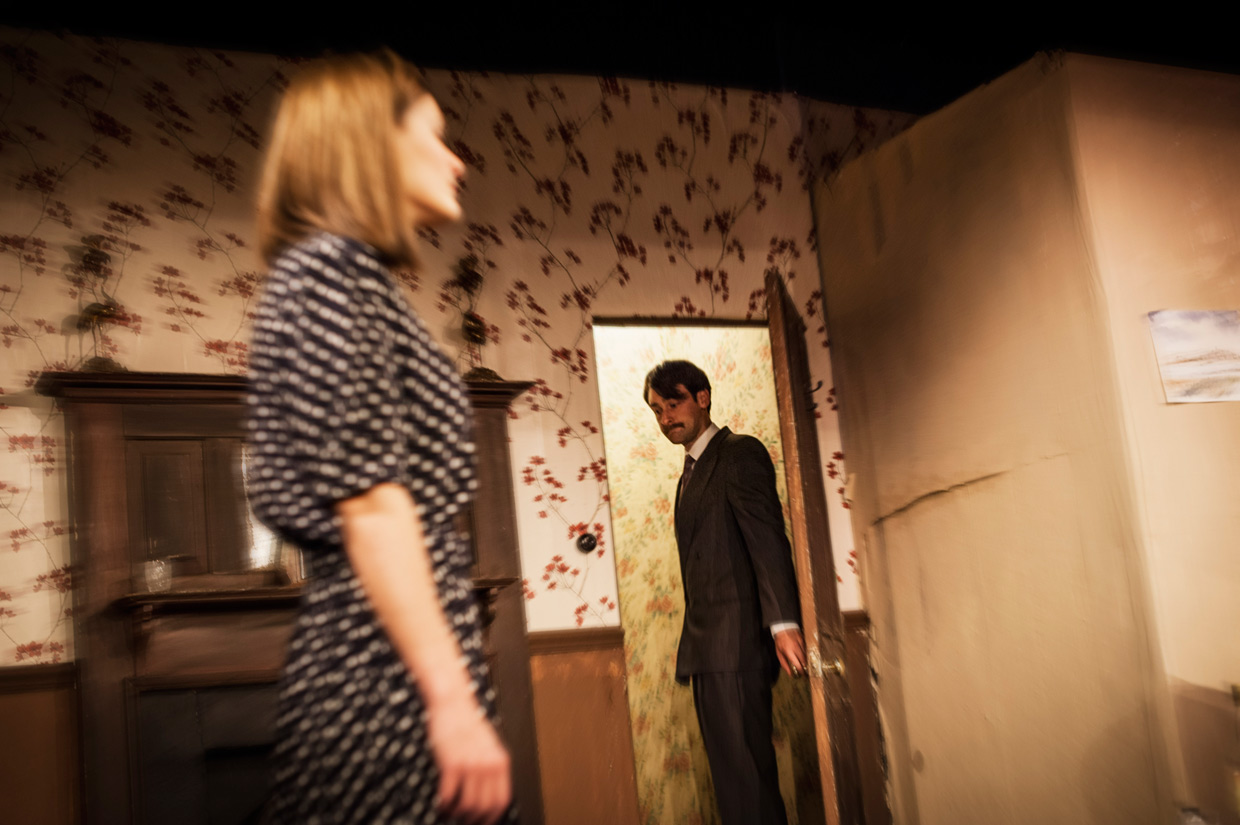
Just a quick note on composition also. I try to vary my shots as much as possible, a few whole set shots showing the entire stage, some close-ups, different angles etc. One thing that I have been working on a lot lately is to place a character in a context, for example if I have one person up close, then I try to have something (blurry) in the background to provide a bit of situational information. I hope my photos here can provide you with some inspiration.
If you want to see more dress rehearsals, check out my previous posts about dress rehearsals.
– Johannes
Cast
Hester Collyer – Fay Childs
Philip Welch – Tony Baker
Mrs Elton – Susy Worzencraft
Anne Welch – Jody Deacon
Miller – John Levantis
Collyer – George Sigsworth
Freddie Page – Chris Wakefield
Jackie Jackson – Tom Bonser
Production Team
Director – Kieron Toner
Front of house manager – Helen Leedham
Stage manager – Dean Ward
Assistant stage managers – Marian Caine / Kieron Toner
Lighting, and sound design – Graham Royston
Sound operation – Moira Stephenson
Costumes – Kieron Toner
Artwork – Chris Townrow
Box office – Pat Brown
Publicity – Dean Ward
Poster / flyer design – Kieron Toner
Be First to Comment