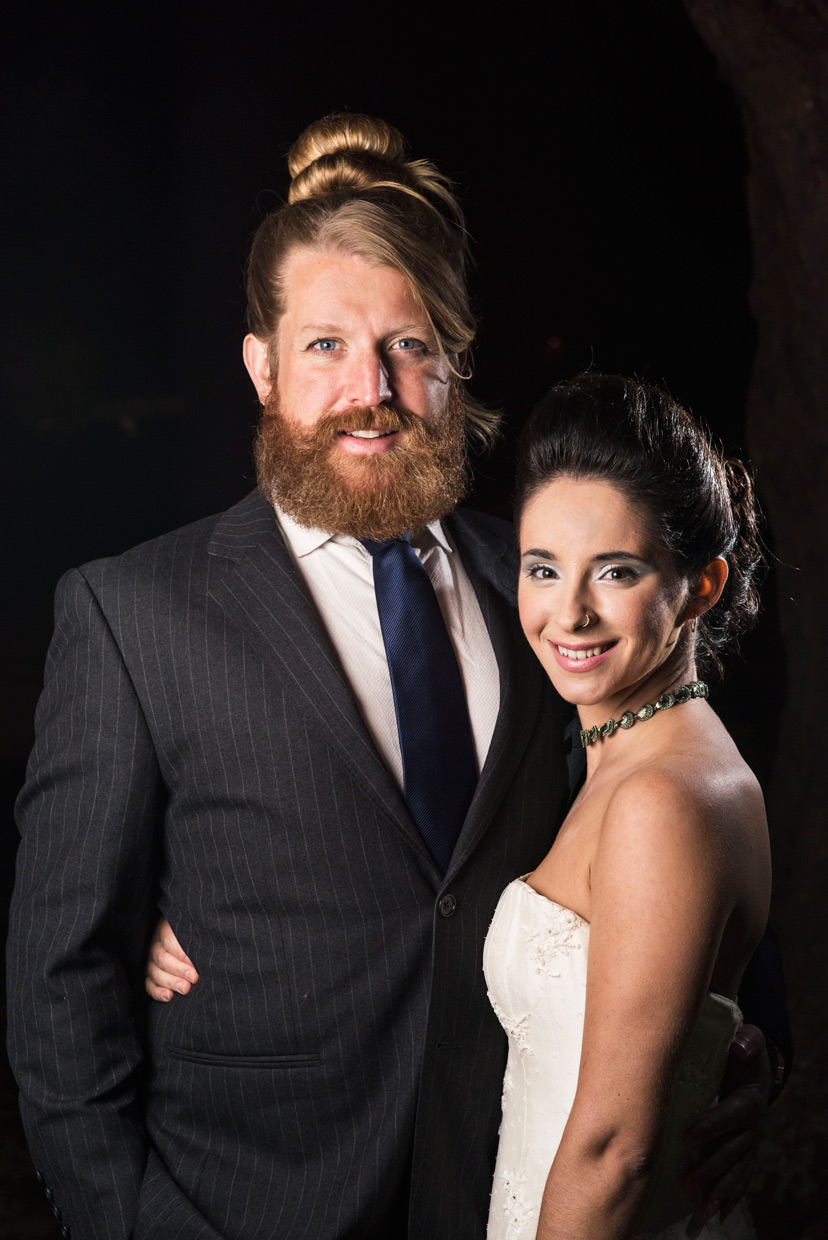
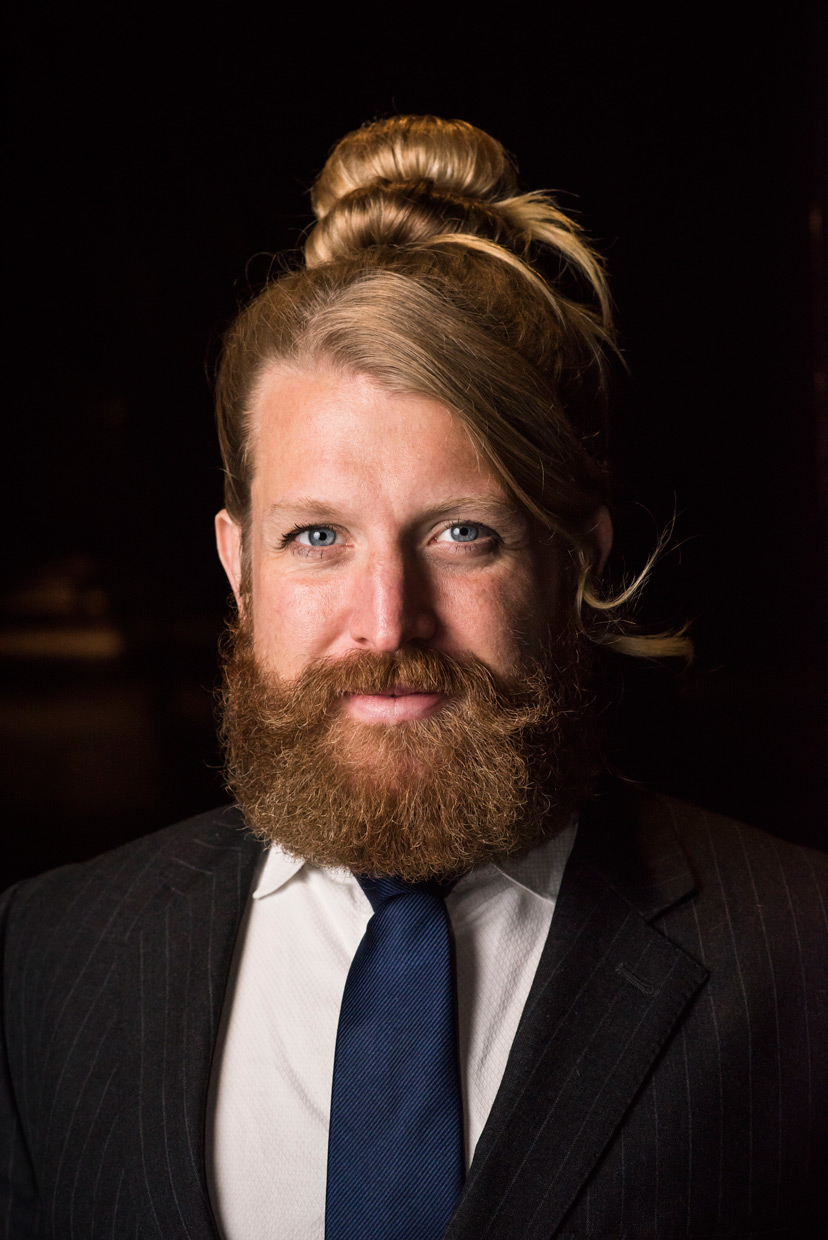
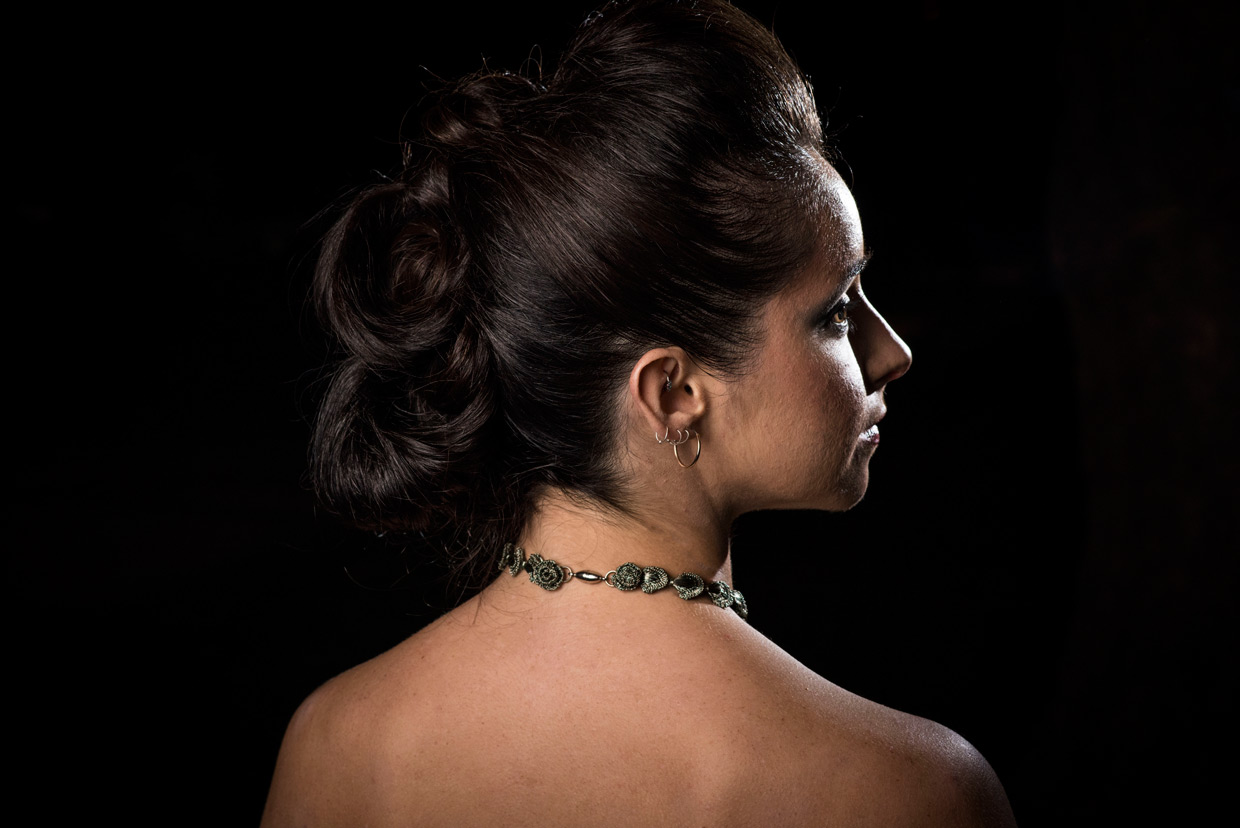
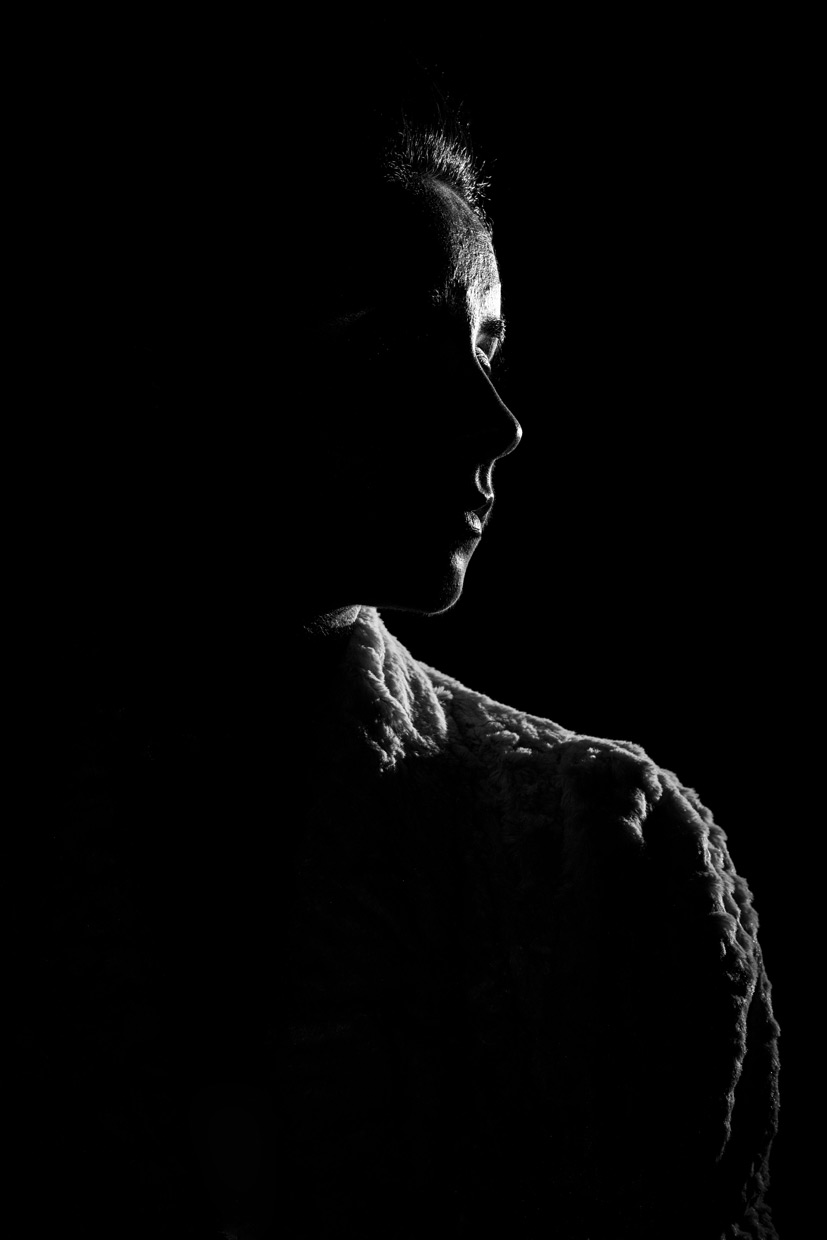
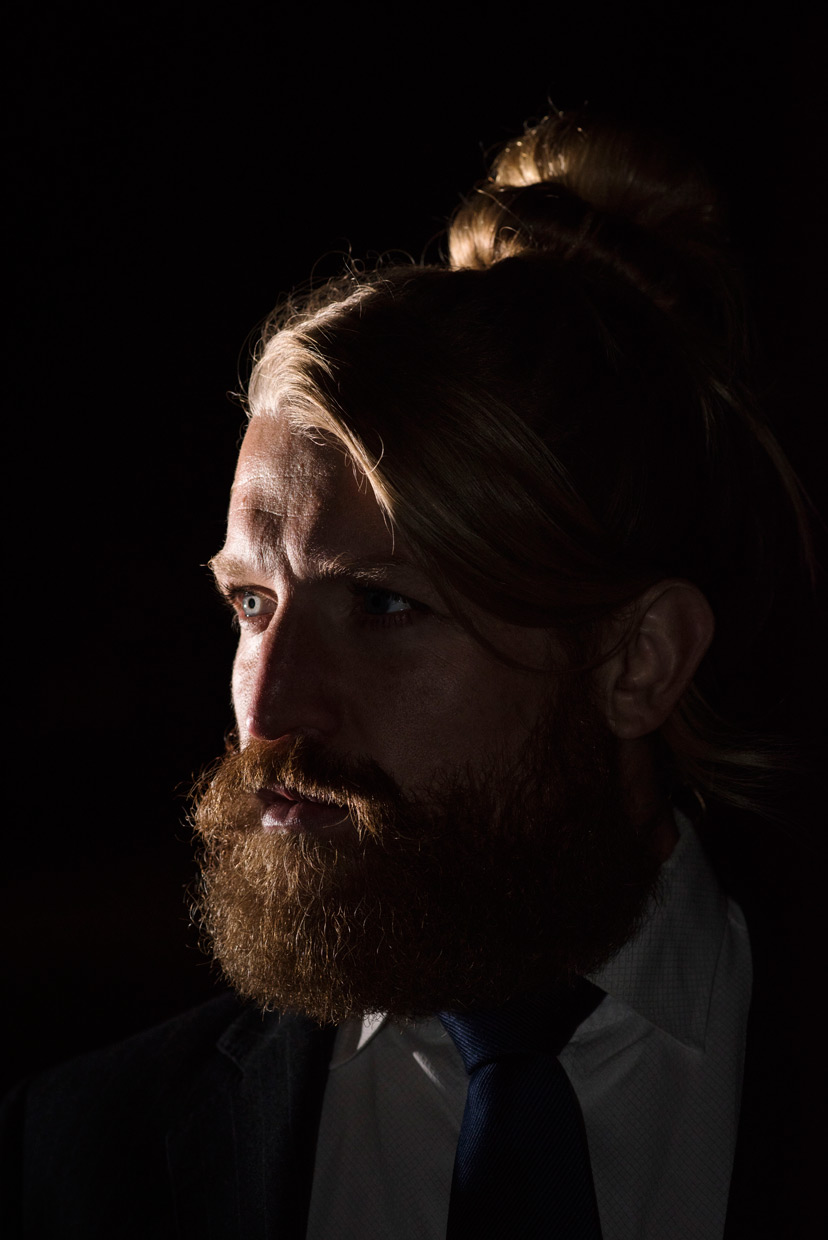
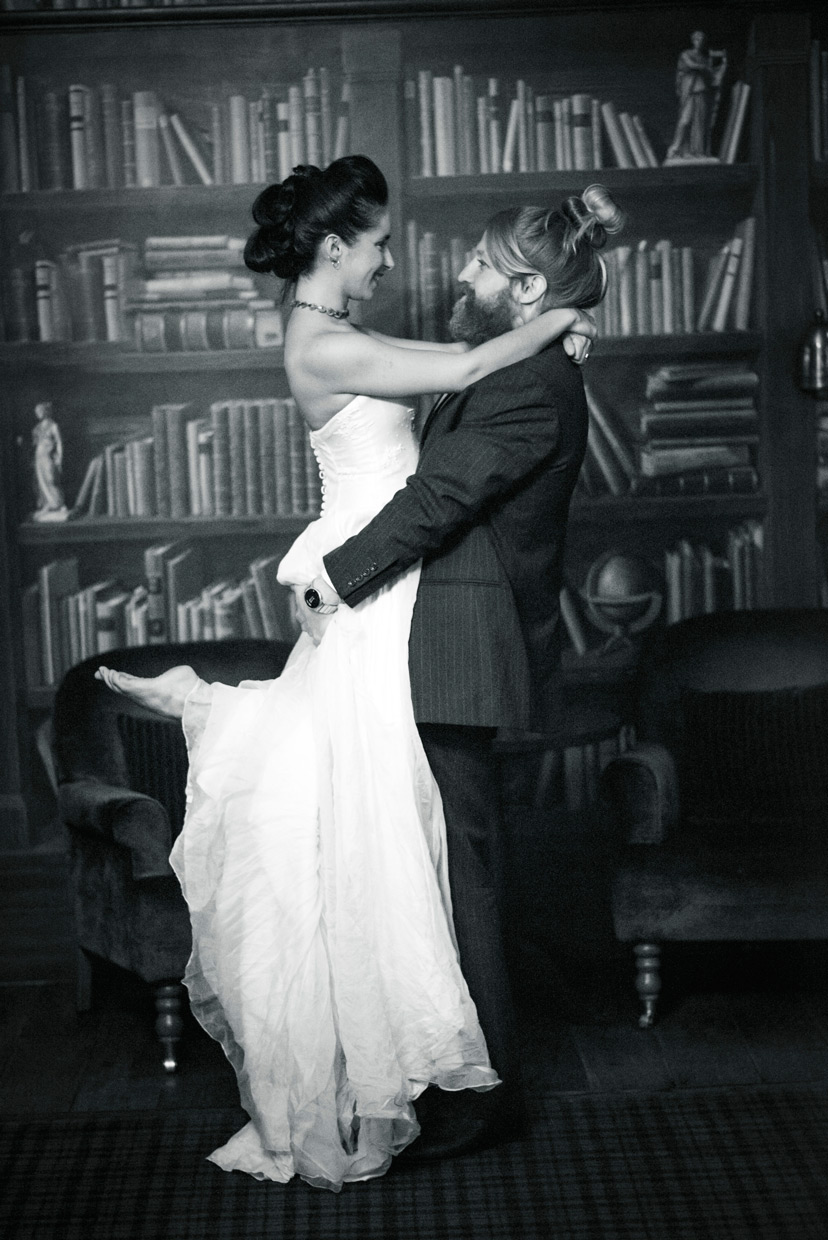
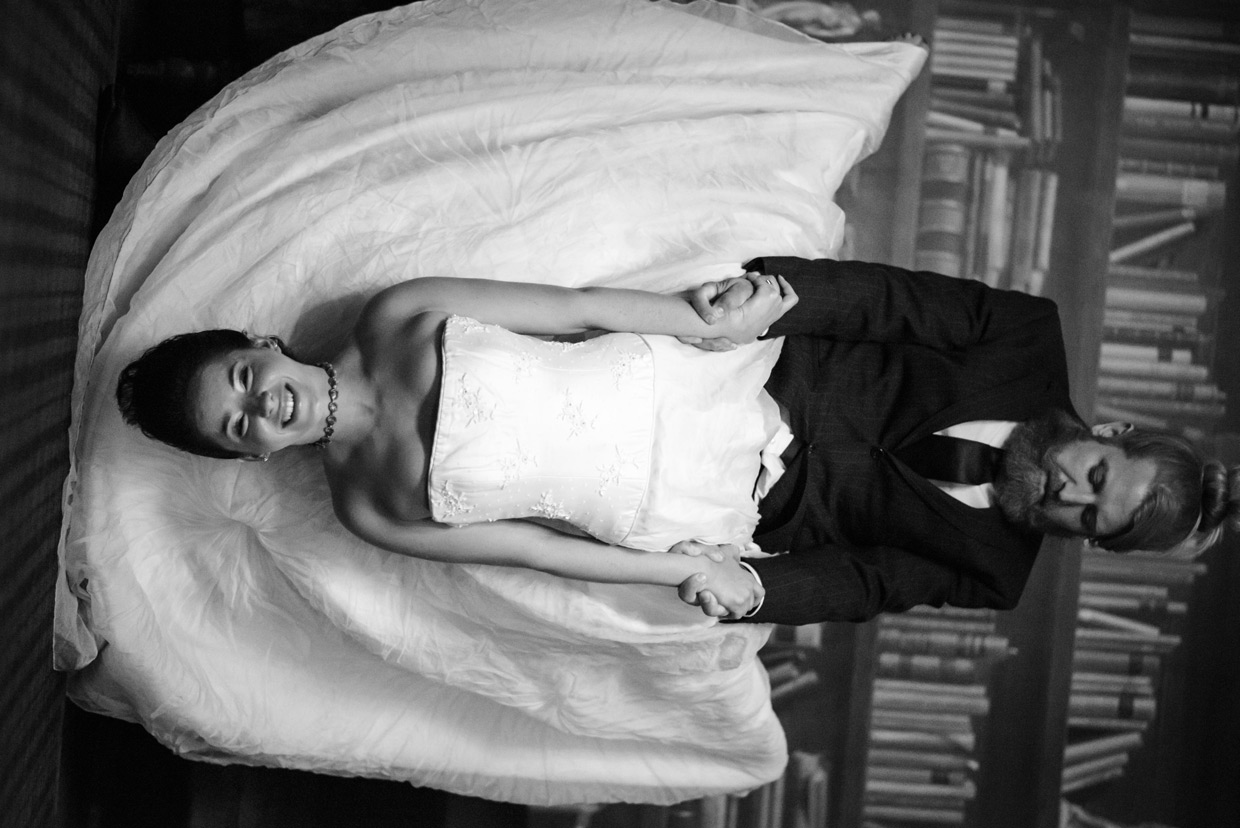
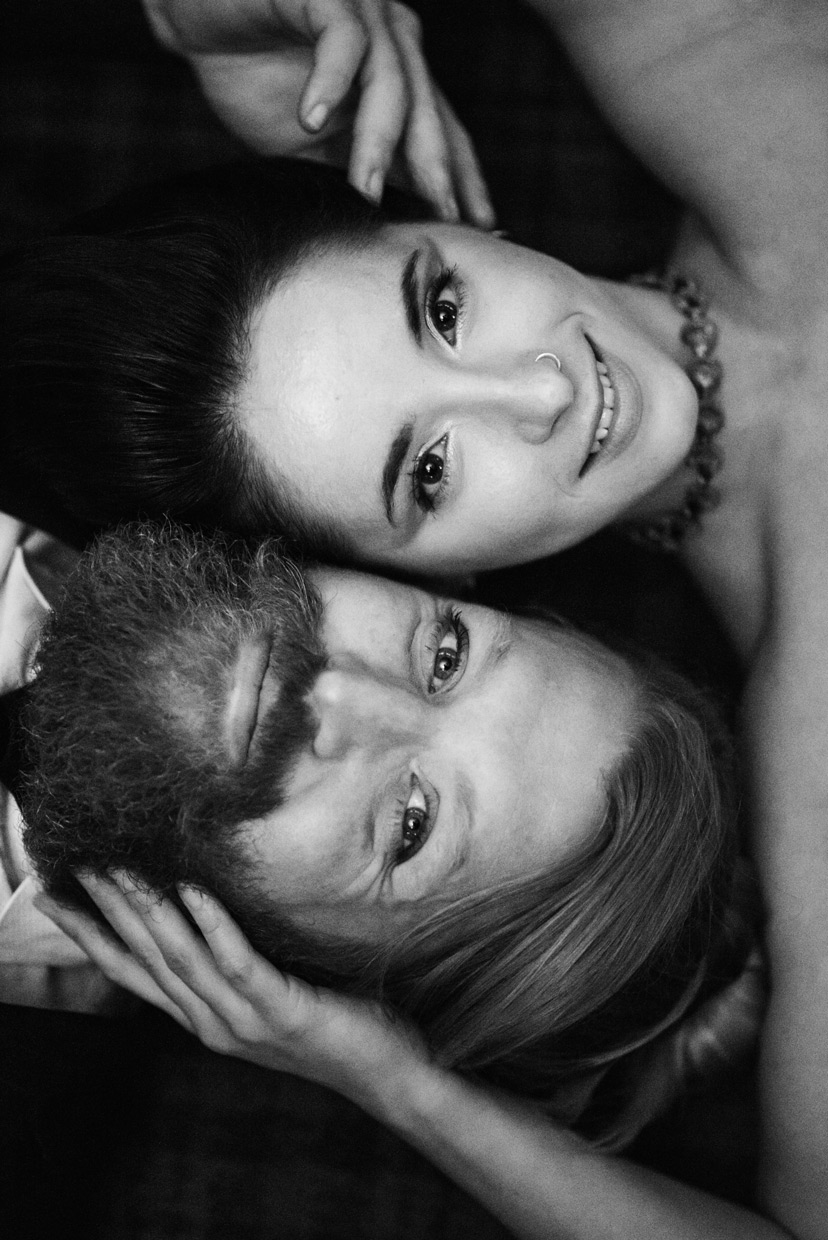
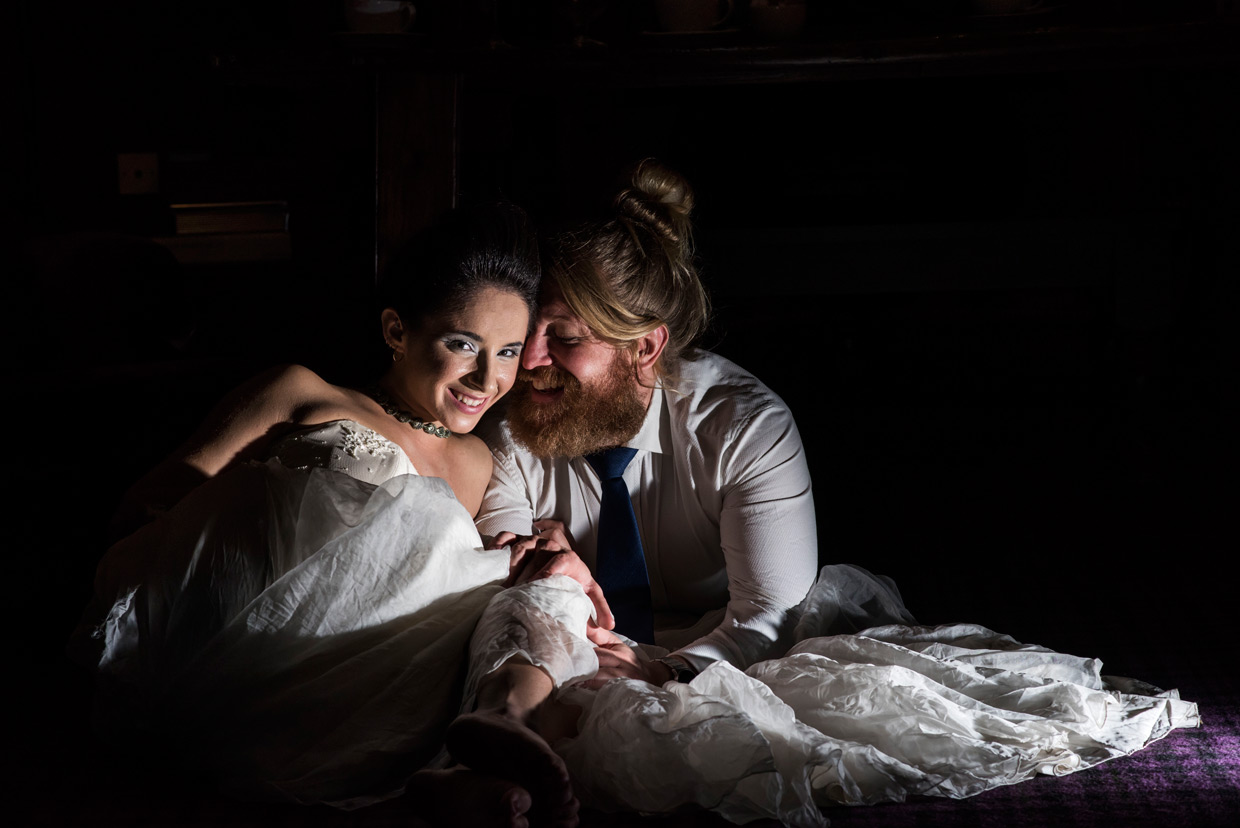
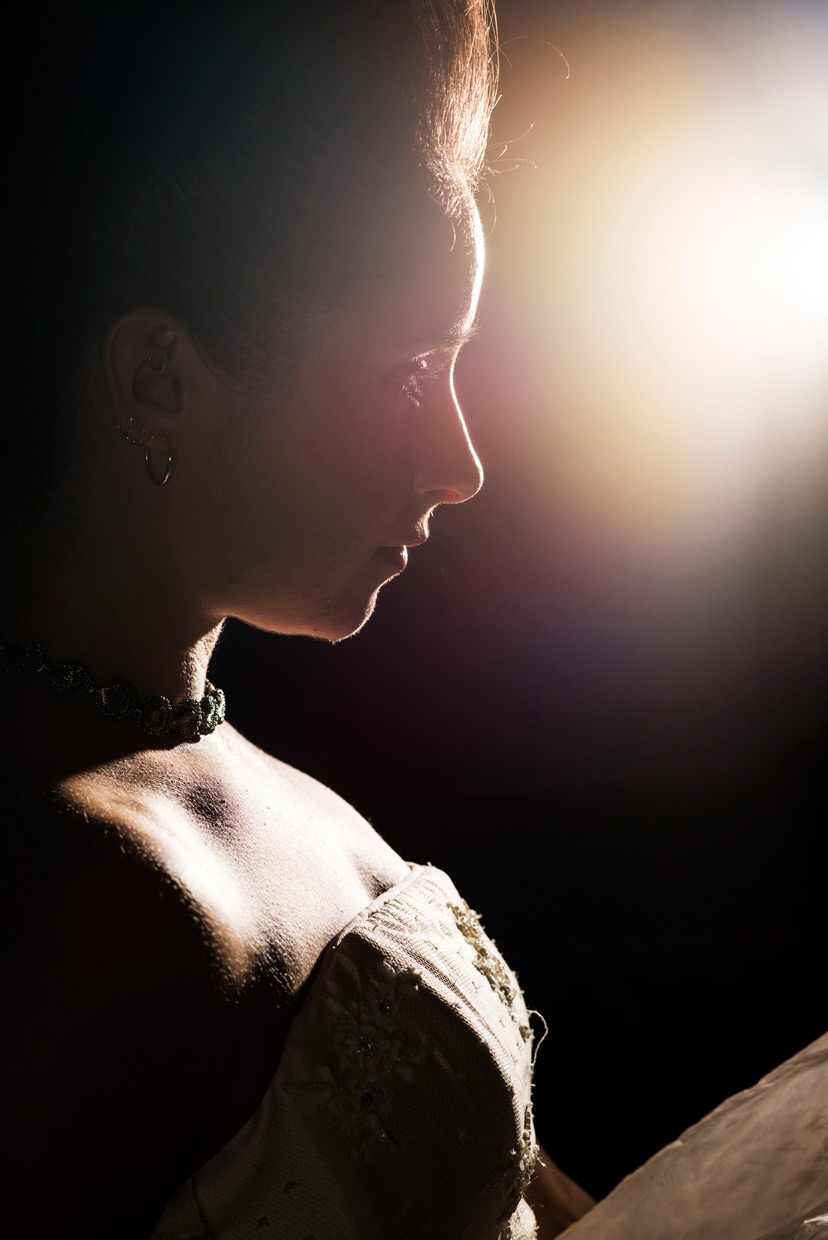
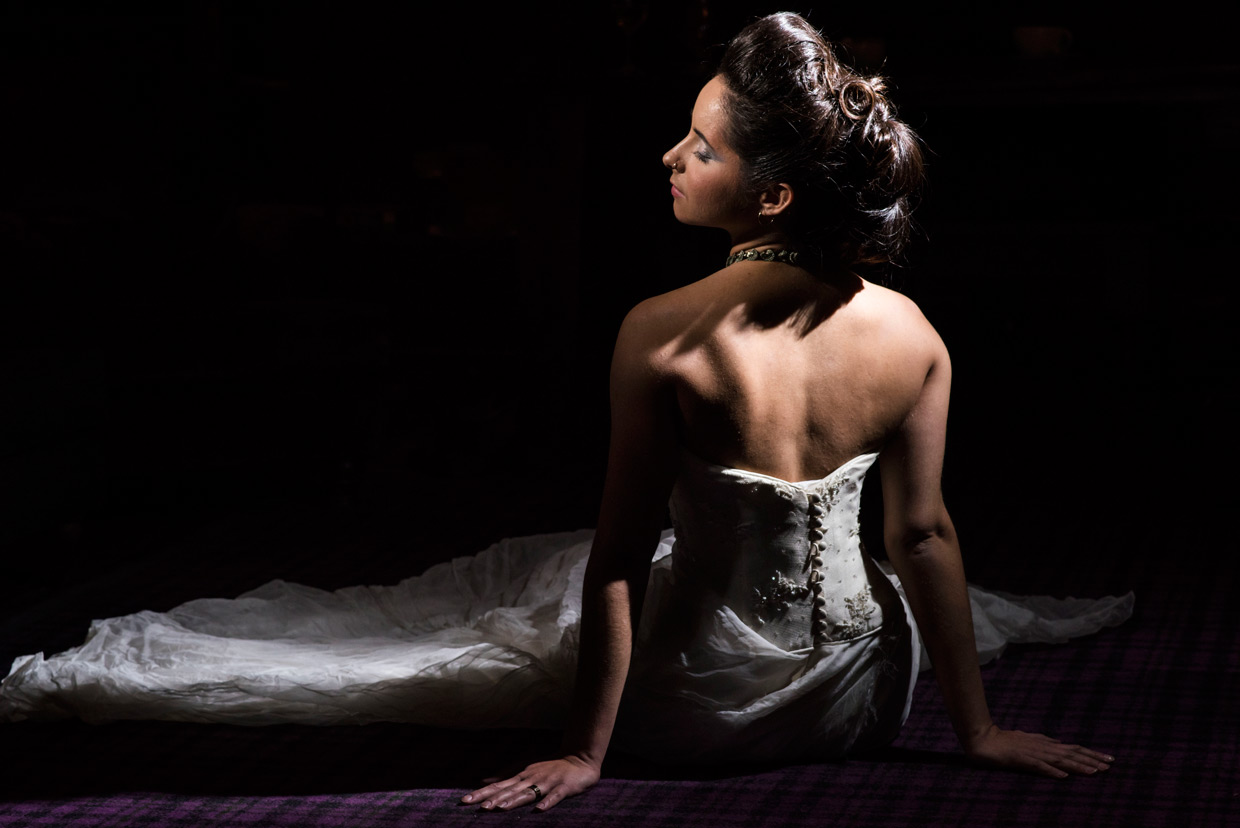
Earlier this week we did a photo shoot where Daisy Russel and Steve Bywater were dressed up as bride and groom. You might recognise them from the acrobatic photoshoot we did at the derelict church. Make-up for this photo shoot was done by Steve’s friend Sunny who is a professional make-up artist. The plan was to start at 7 pm, but that got delayed until 10 pm. So we ended up doing our photo shoot in the middle of the night. We started out in Jesus Green, the plan was to use the alley of trees as a backdrop, then we moved to Hotel du Vin for some warmth and light.
I have also included a Photoshop tip at the end of the blog post that you can use to get rid of shiny skin.




That concludes our fake wedding photoshoot.
A Photoshop tip: Using frequency separation to fix too shiny skin
In one of the above photos of Daisy some of her skin reflected the flash making it look a bit shiny. One way to fix that is to use a technique called frequency separation. What you do is create two layers, one which has the low-frequency components (a blurry version of your image), and the other layer that contains the high frequency components. The second layer is above, and the blending mode is linear light (add). Together they create an image identical to the original image. You can then darken the skin in the bright patch in the first low-frequency layer, while maintaining the fine detail through the high-frequency layer above. The procedure is described below.
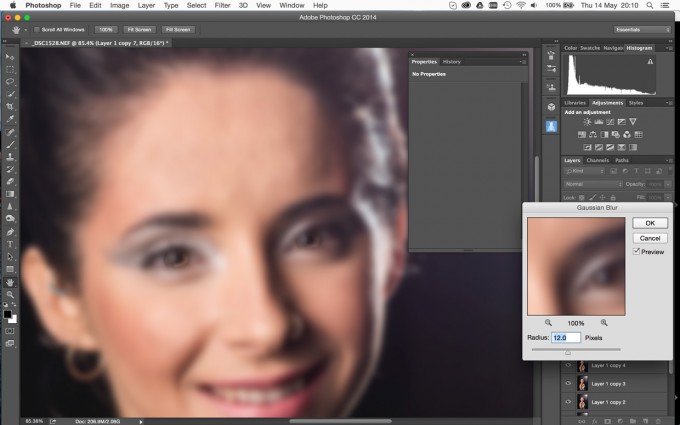
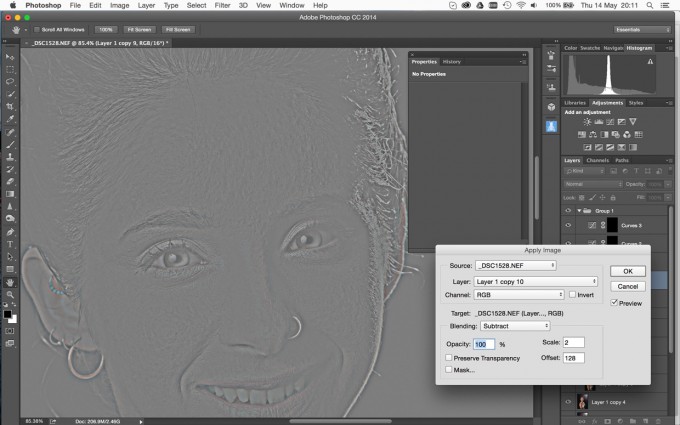
1. Make two copies of your image in different layers (shortcut ⌘J on a Mac). Lets call them H and L.
2. Create the low-frequency layer by using for example Gaussian Blur on the bottom layer L. Adjust the radius of the blur until you get smooth skin and finer details are not visible.
3. Create the high-frequency layer by using Apply Image on the top layer H, then choose Subtract. Next you have to pick which layer to subtract in the menu, choose your blurred layer L. You should get a grey image similarly to what you see here.
4. Set blending mode of the high-frequency layer H to Linear Light.
5. You can now paint using a normal brush, use the clone stamp, or the healing brush. Just make sure that you do not have the “Sample all layers” checked if you use clone stamp or healing brush, since you want to keep the high and low frequency components separated in the two layers.
If you now paint a darker skin tone using a low opacity in the low-frequency layer L, then you can gradually remove the excessive shine. This will darken the skin, while leaving the finer structure intact. It is pretty amazing to see in action.
For most my retouching I just use the spot healing brush directly on the image, but when that is not enough then frequency-separation can provide more control. Give it a try.
– Johannes
Be First to Comment