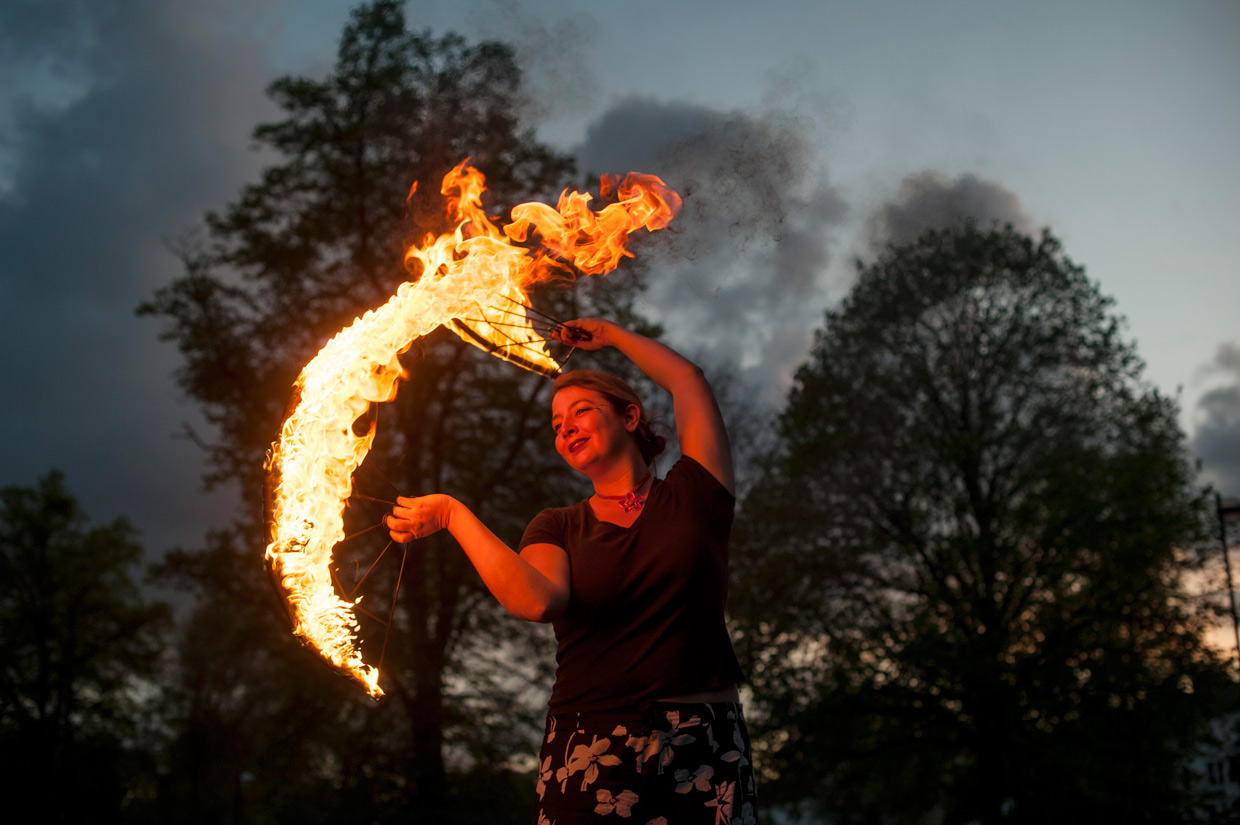
Yesterday we had the third Postdoc Photo Workshop. This time JF and I got help from Meryem Ralser to organise the workshop. The previous two times we have done portrait photography in one form or another, so this time we wanted to do something different. We decided to play with fire. Fire always looks spectacular, but it really shines in the evening. We met up this past Saturday at the Boathouse for a quick bite and to exchange some quick fire photography tips before joining Jelena Aleksic and the Fire Troupers who were setting up on Jesus Green.
There are a few different ways to photograph fire, you can either go for a really short exposure to capture the structure of the flames, or you can take long exposures and use the fire to paint trails in the photo. Some subject look better with short exposures others with long ones. For example a spinning “fire fork” or the “double lit stick” will look really puny at a distance when using a short exposure because the flames get quite small when moving. However, when you capture the trails they make in the air using a longer exposure they can look really impressive. For long exposures you really need a tripod or some other way to fix your camera in place, so if you are stuck with a short exposure, then try to get closer or ask the performer to move more slowly to make the flames look bigger.
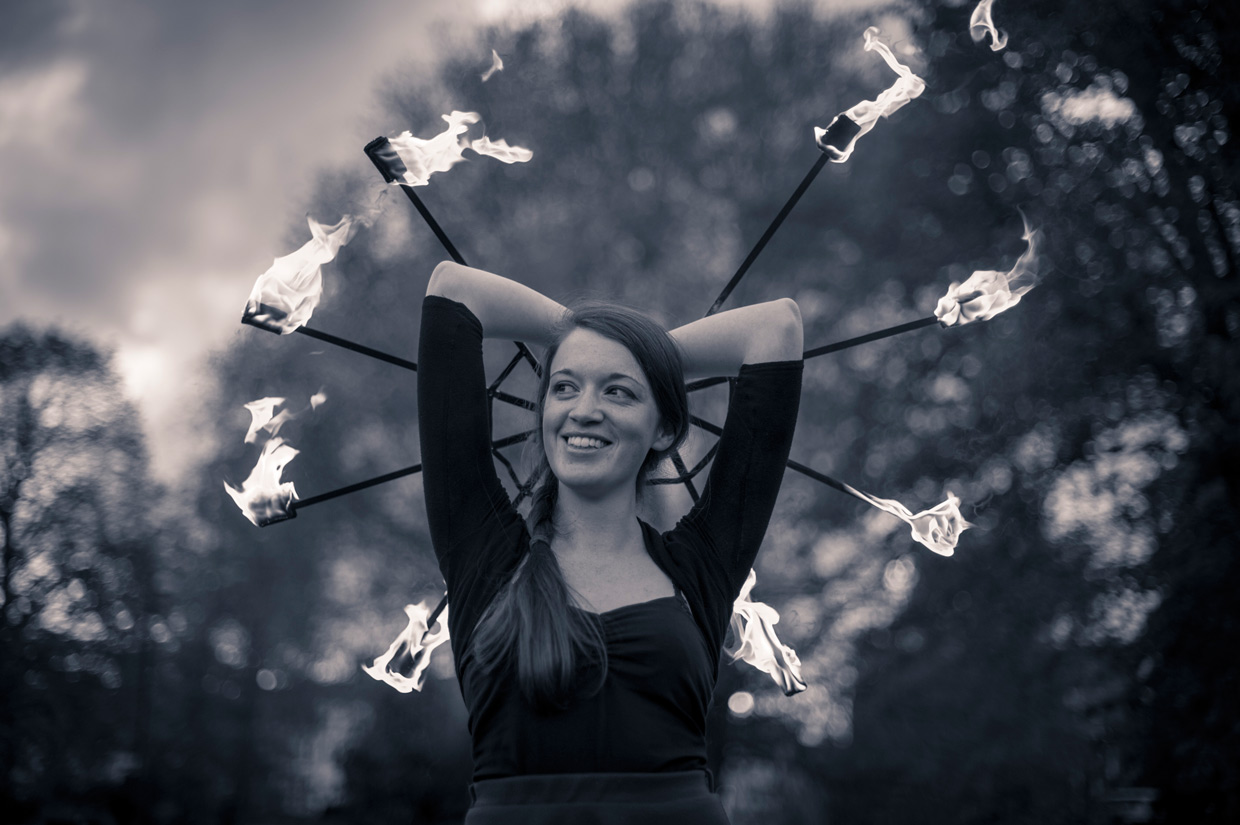
You could also introduce flashes and LED lights into the mix, and I brought some along but never felt the need to take them out of my bag. If I should be completely honest, I forgot about them since I don’t often use artificial lights. With flashes the idea would be that you get both the movement from a long exposure, and the crisp sharpness by using a brief strong illumination from the flash. My worry with flashes is that the light temperature will not match and it ends up looking very artificial. This could probably be counteracted by using the appropriate filters or gels.
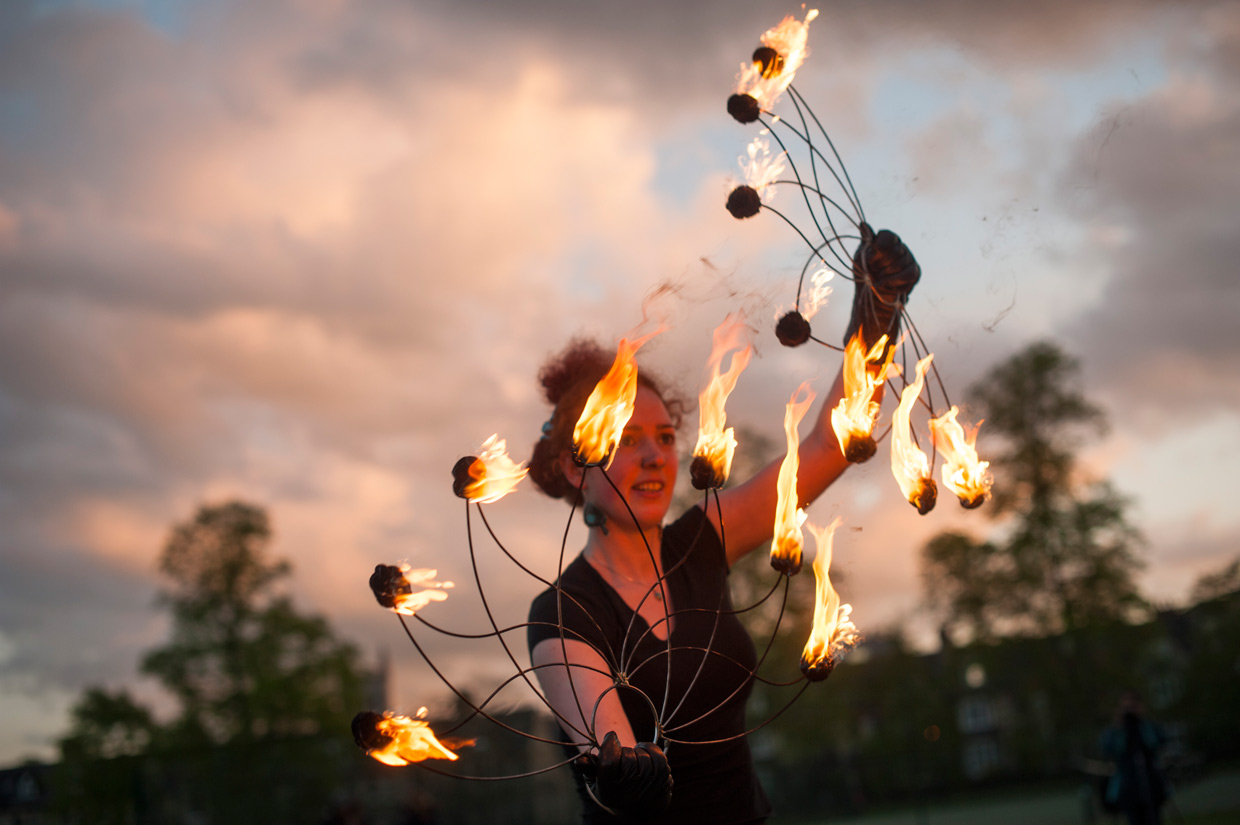
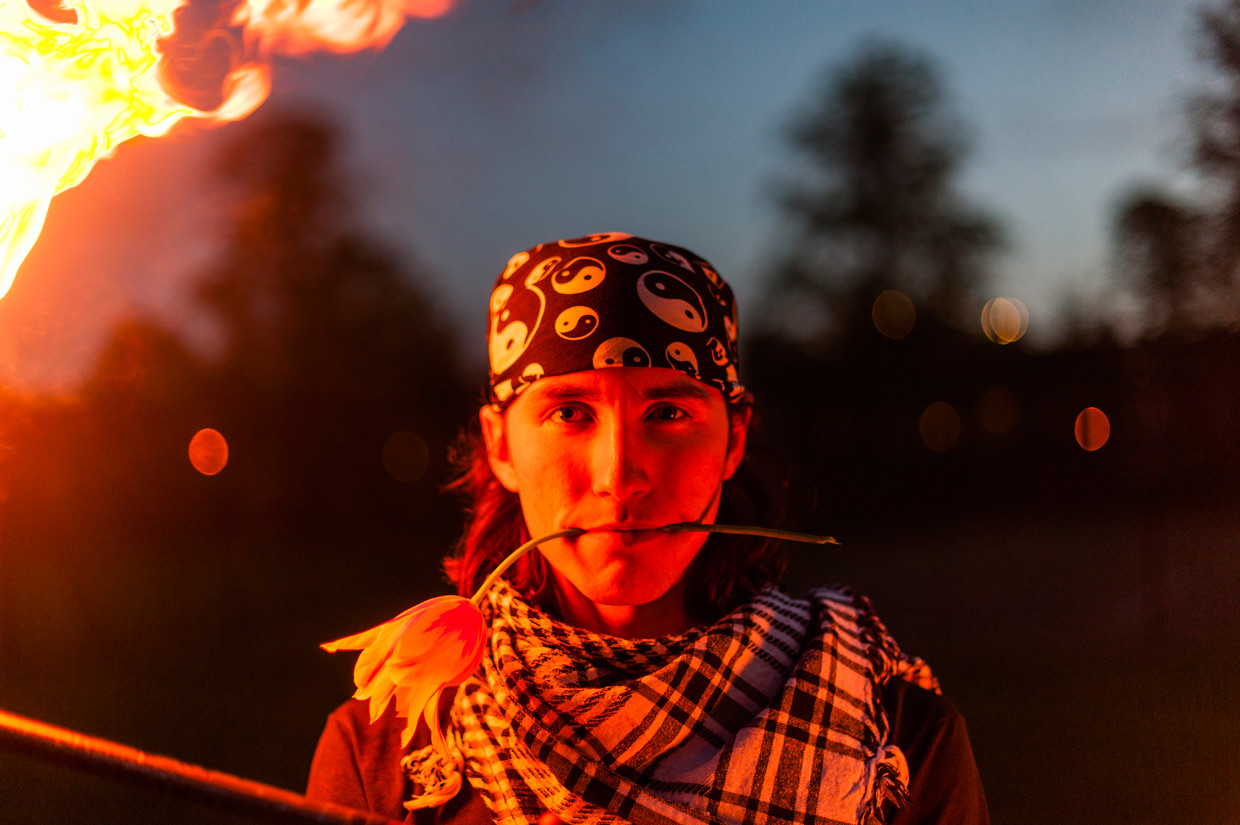
It was still light when the Fire Troupers lit up their fires and started spinning. You do not have to wait for darkness to get good photos, but it does help to either have a darker background behind the fire or you can try to underexpose the photo a bit. The burning flames are quite bright and by reducing the exposure you might bring out a bit more texture in the flame. A completely black background is more dramatic but could easily become quite flat. Having a bit more light in the scene gives depth and makes for a more interesting shot. I got a few quite nice shots from a lower angle, so experiment with your viewpoint. For the long exposures you probably want to wait until it gets darker as the bright sky in a long exposure shot will eventually overpower a moving flame at any given pixel in the picture.
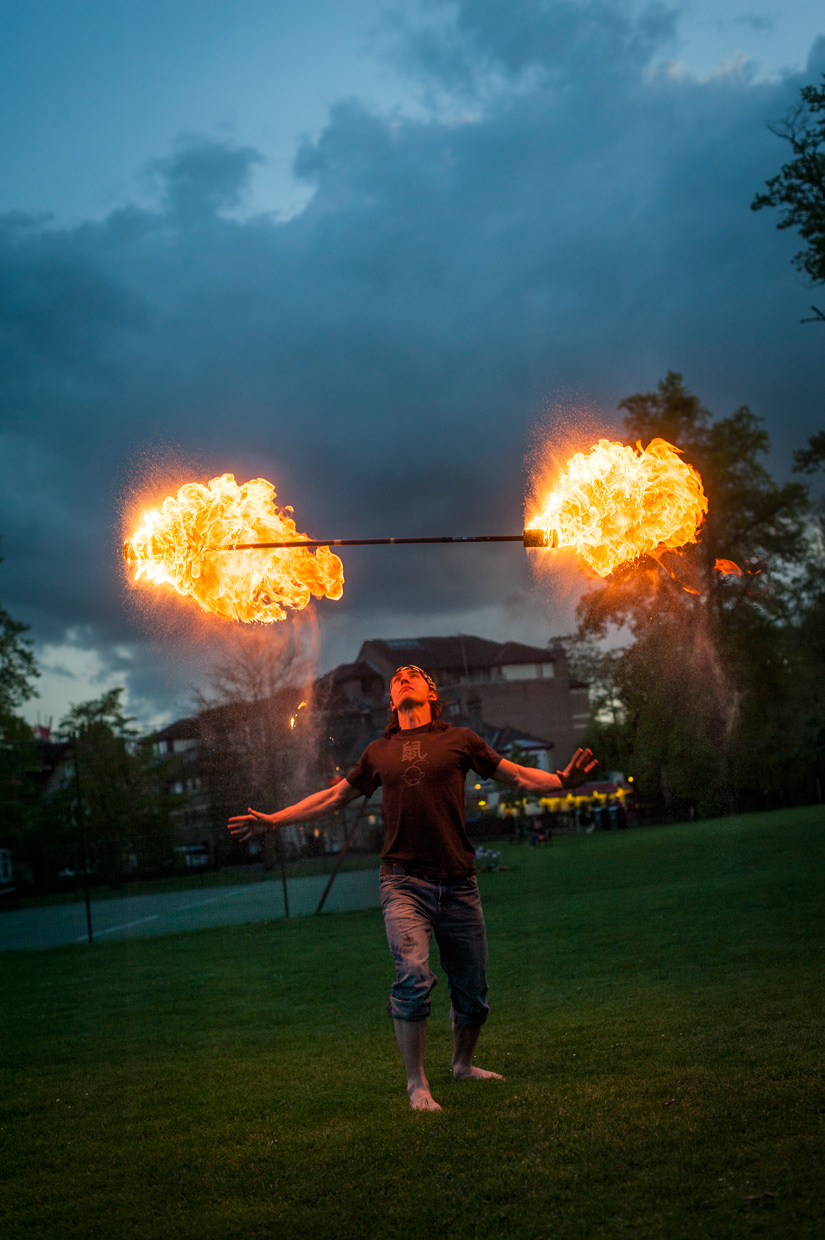
One thing to look out for is the burn-offs, which will make for spectacular shots, but you only have one chance. Right after the Fire Troupers have dipped their wicks in the paraffin oil they need to do a quick spin to get rid of excess oil. This is to avoid splattering burning oil on the clothes and audience while performing. You get these huge balls of fire that can be quite hot if you happen to stand a bit too close. Also they are a lot brighter than the usual spinning so make sure to adjust your exposure accordingly. Be warned though that if you stand too close you will get splattered with paraffin oil, so either be prepared to wipe off your lens and face, or take a few steps back. There is always a fine balance between getting closer to get a good shot, and getting too close. Sometimes it is good to take a few steps back so you can get all of the flame from a burn-off instead of having the top part cropped. I did all my shots with a 50mm prime lens, if you have a wider lens, or a zoom then you have more freedom in your positioning.
We asked the Fire Troupers to spread out on the field, so that all the photographers would not get into each other’s way. However it turns out that photographers are herd animals, drawn to the brightest fire. So there we were standing in a big pack photographing the same one or two spinners. However, after a while we started to split up a little bit which made it easier to interact with them, and start directing the shots so that we got them the way we wanted.
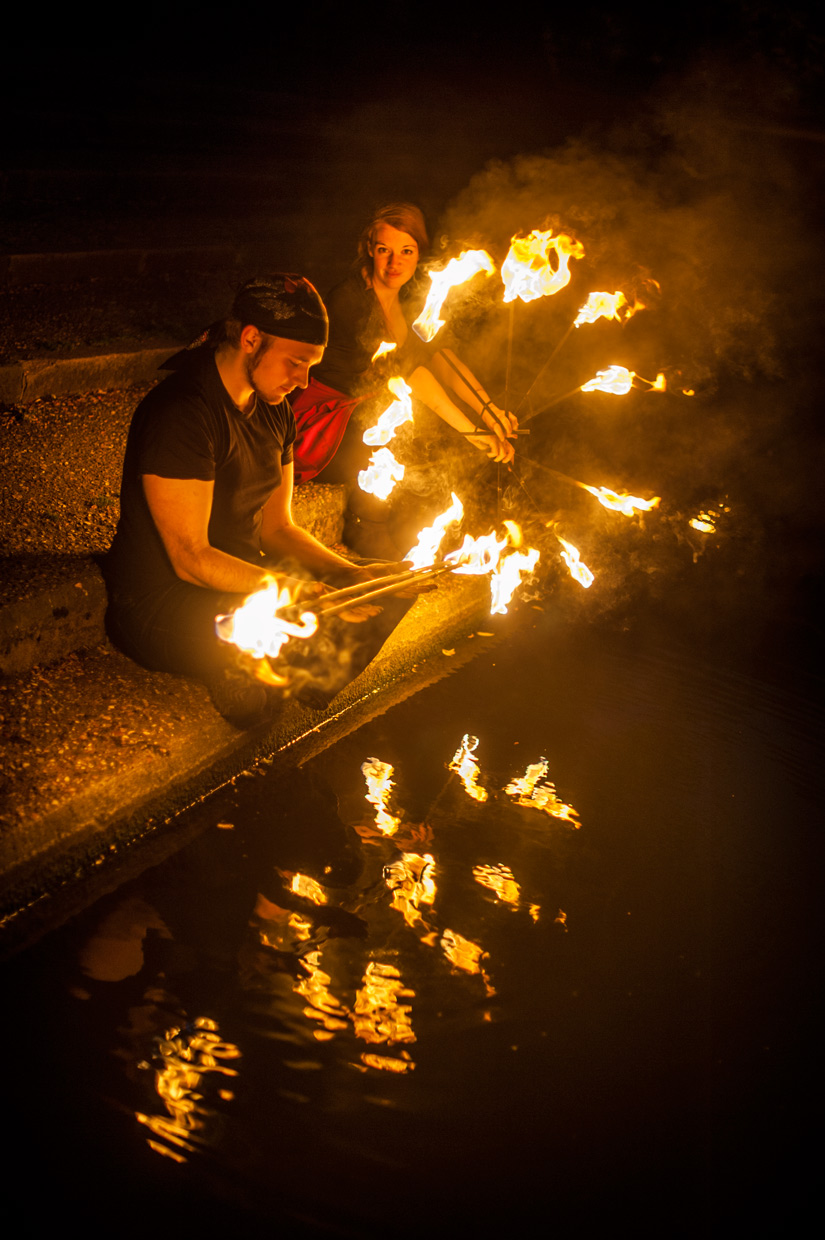
One last thing, it probably helps to use manual exposure when shooting fire. The first few shots will be hit and miss, but by looking at the histogram you can fine tune your exposure and after that you do not need to worry about the camera metering getting confused by the changing light from spinning balls of fire. My advice would be to first pick the shutter time that you want (like 1/300s or 2s), then choose your aperture. I used quite big apertures, small f-numbers for short exposures, and the opposite for the long exposures. Finally you pick the ISO that you are forced to use, I ended up using the LOW setting for a few of the long exposures, and for some of the short exposures I pushed the ISO up to 800.
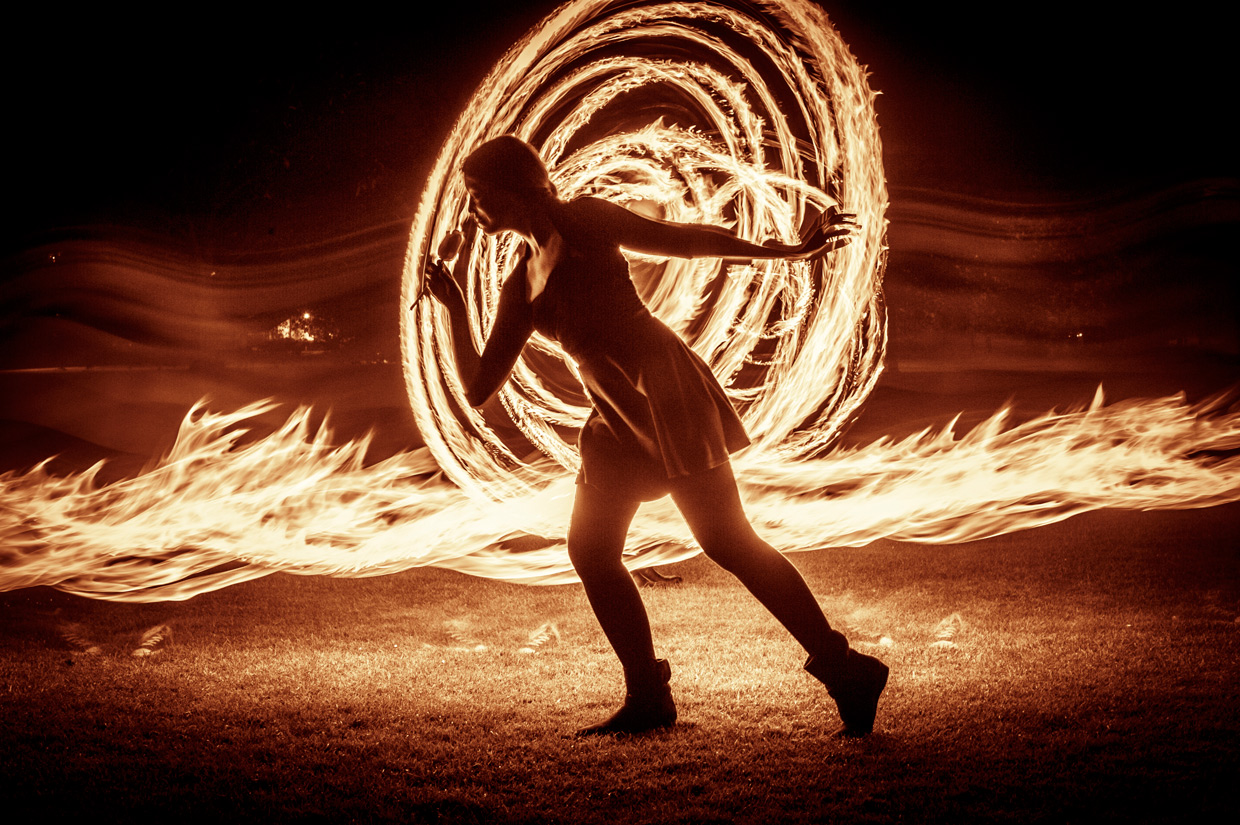
One last thing, for long exposures and moving fire it is the aperture and ISO setting that determines how bright each trail of fire is going to be since the fire moves across different parts of the image. So if your fire trails are faint, try a larger aperture or higher ISO to record more light per unit time, if they are overexposed then do the opposite. Brightening the trails might not work if the sun is still up, because the background gets brighter also, but if it is pitch dark then you should have no problem doing it.
Have fun playing with the fire!
– Johannes
Be First to Comment