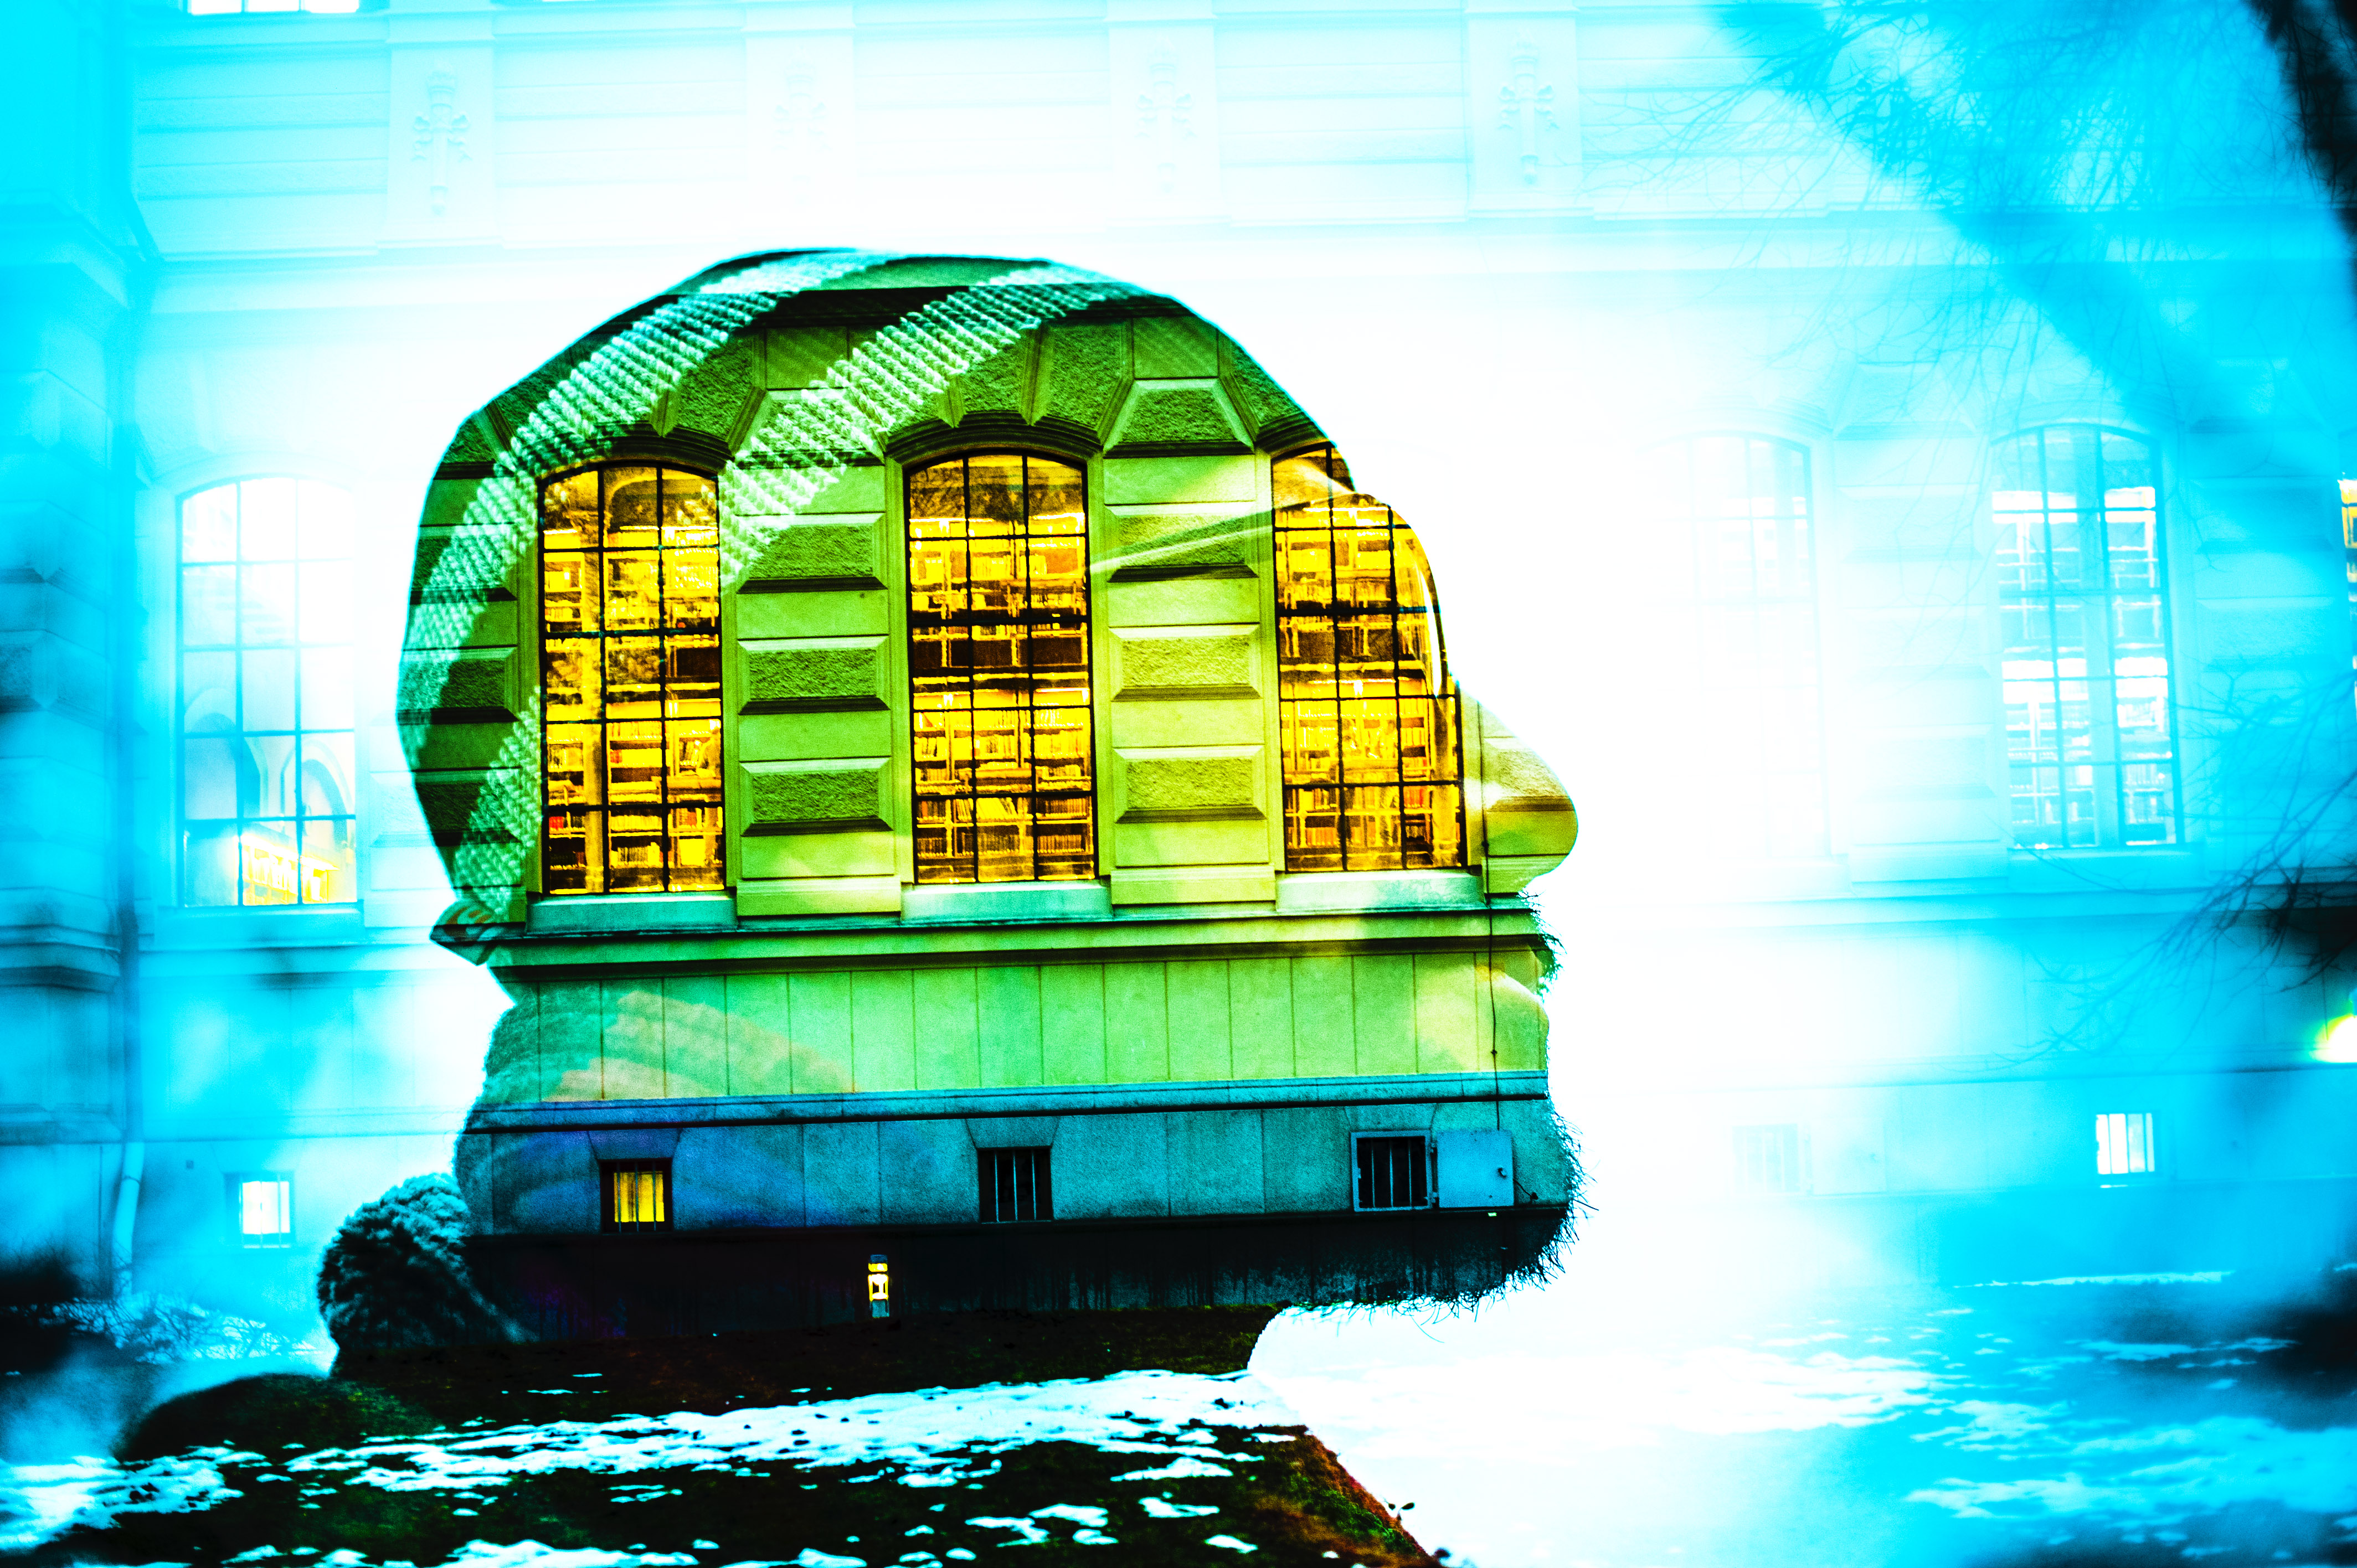
Here is a little bit of creative inspiration for weekend photography: Double exposures! Some cameras have this function built in, but it is also possible to do the same thing in photoshop by using different layers. The idea is straight forward, you take two exposures, that are then combined into one image. My first contact with double exposure was a pure accident. The film in our family camera must have gotten stuck, because it combined an exposure of my grandmother with one of their livingroom. Her necklace happened to line up with the eyes of a girl in a painting on the wall, so it looked like the girl was crying pearls. I was fascinated by that photo, but didn’t think to try and use the idea more creatively back then. Fast forward to about two years ago, and I found the double exposure function on my new camera.
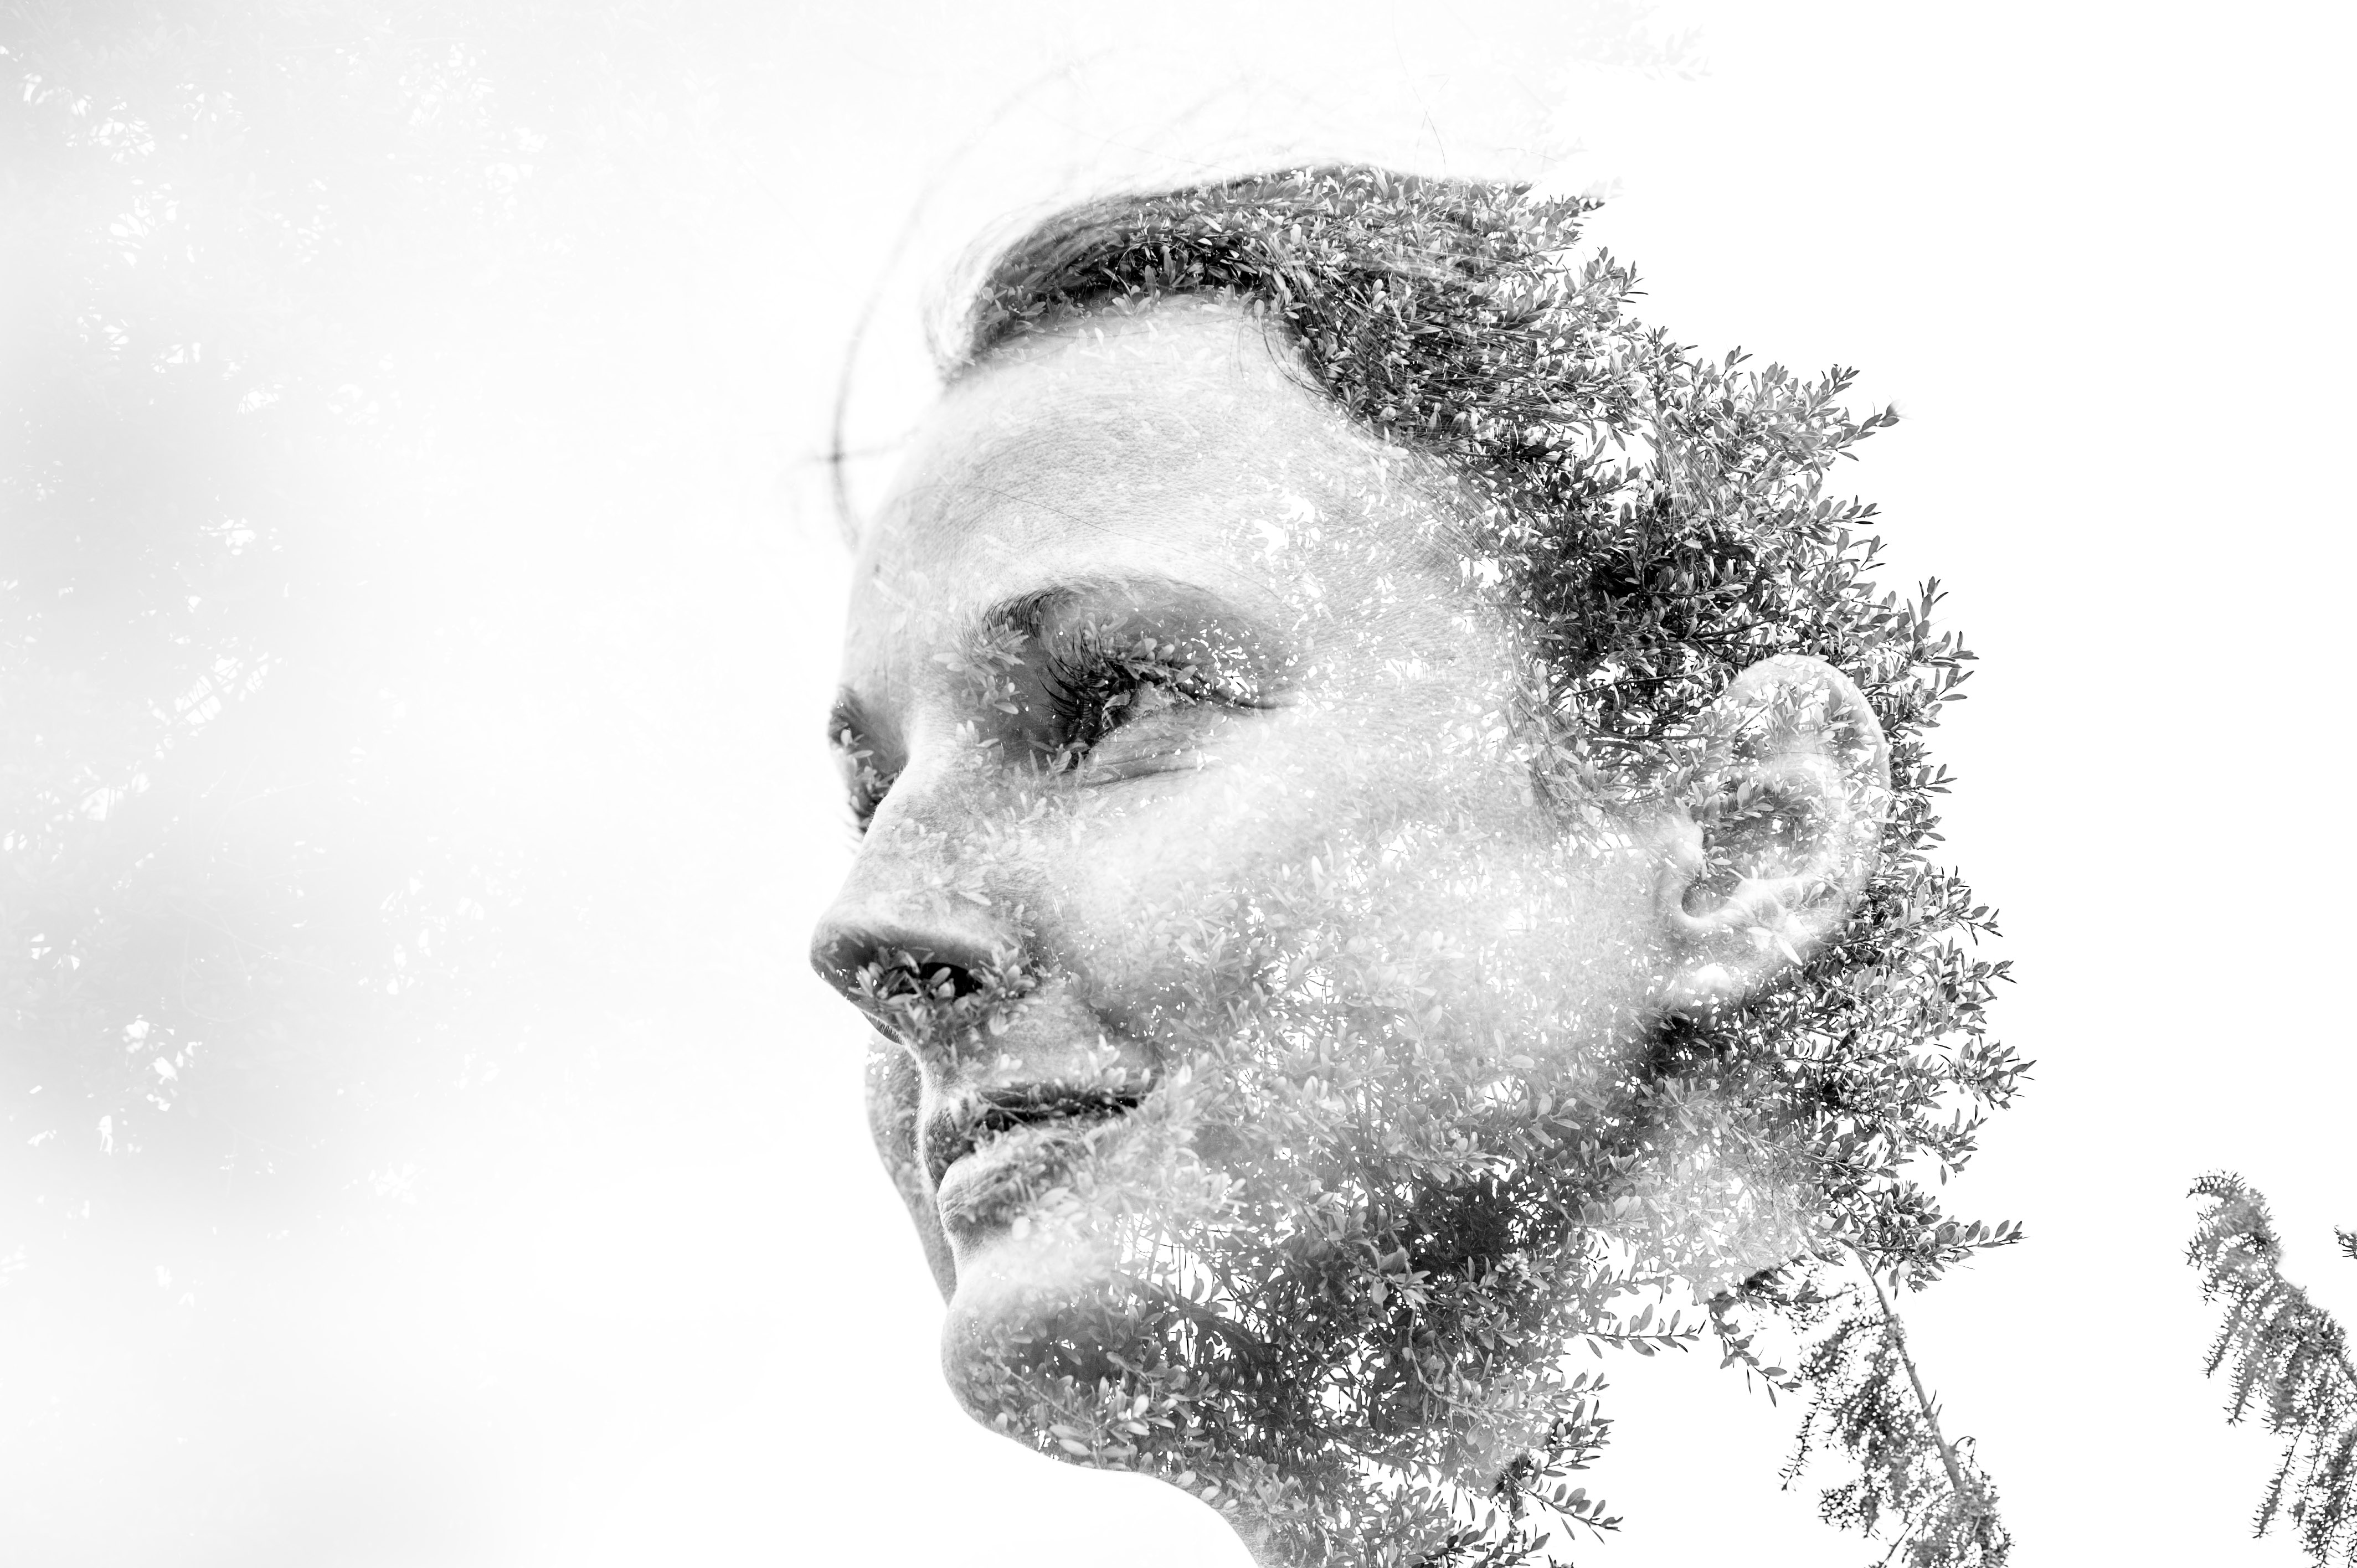
The sensor counts the photons hitting each pixel, but there is a limit on the highest number that it can store. You can abuse this. Let’s say you turn on the double exposure function, then take a photo of a bright sky. After that you turn the camera on a friend and take a second photo with them silhouetted against the sky. If you do it right the pixels with the sky in the first exposure will be saturated with light, and unaffected by the second image since the light counter for those pixels can’t go any higher. The darker pixels corresponding to a branch in the first exposure will still be able to count the light coming in from the second exposure. The resulting image will show your friend built up of branches. The photo below is taken in Cambridge Botanic Gardens, using the above principle. To enhance the effect I did a little bit of photoshop, adjusting the exposure and curves to make the sky ever so slightly more exposed, then I selectively darkened the right part of the image to give a hint of the branches, and lastly lightened some shadows around Agata’s left eye.

You can emulate the double exposure by combining two photos. I’ll discuss that in a later post, but if you are keen to try it out right away, then a tip is to play with the blend mode of the upper layer. Have fun!
/Johannes
Be First to Comment