Before I moved abroad I used to spend a day or so at the end of each year going through all the photos from the past year and have my favourite ones printed at Odenlab, a local photo lab. It was great to have a physical copy in a photo album. When I moved abroad in 2009 this routine stopped. I have been meaning to do it, but it has not happened. Now I am back in Sweden again, and it is time to do something about it. After a bit of thought I decided that the best way to do this was to get my own photo printer. I spent a good amount of time reading reviews and talking to a few friends, and finally decided to buy the Epson SureColor P800, which is the new version of the beloved Epson Stylus Pro 3880.
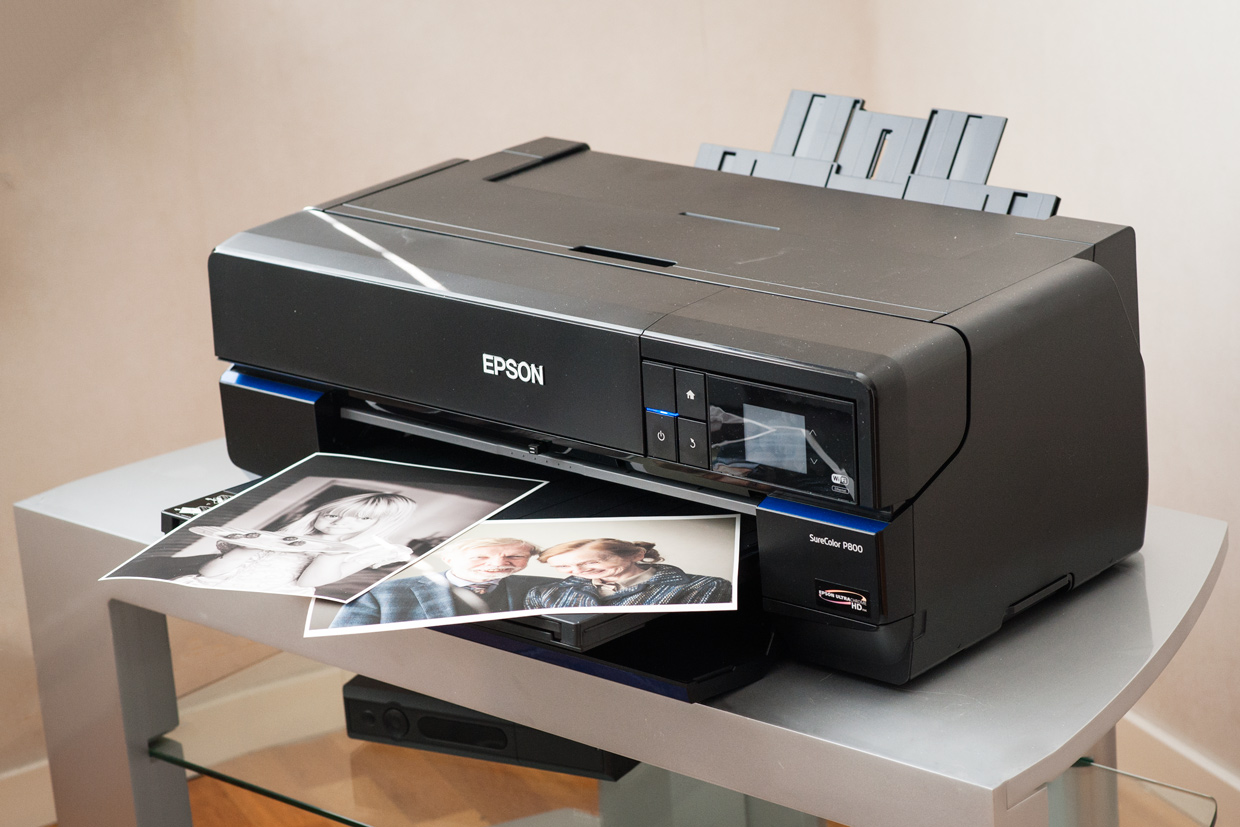
This post is about my first impression of using the printer. It weighs around 20 kg, and is quite big. It is built to handle A2 papers. Luckily my parents have a hand truck to carry big things which was really useful. Many thanks for the help, mum and dad!
While getting things up and running I ran into a few problems, so I thought it might be a good idea to share my experience, in case anyone else encounters the same problems. I bought my printer from Kameradoktorn.se and they were really helpful in getting things sorted. I watched a few Youtube tutorials which gave useful information to a print newbie like me; shake your ink cartridges before inserting them, and do head alignment (more about that below).
You can download your drivers from Epson’s webpage, by going to their support page. There is also an updated version of the firmware available for the P800. Be aware that there might be differences between EU and US versions.
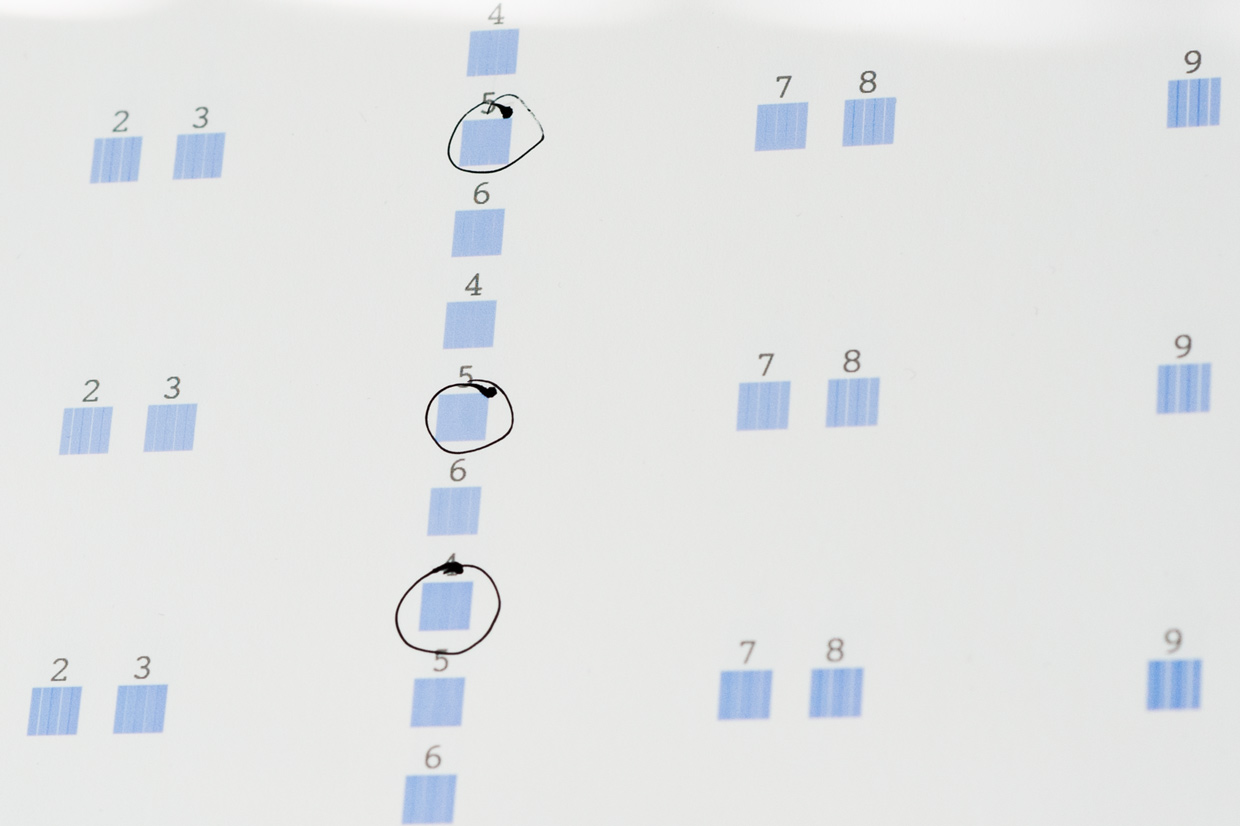
The first thing I did was to print a head alignment paper. This is useful if you want to be able to use the high speed option without seeing banding on your photos. You pick the boxes with the least defects for each set on the printout, and input the numbers back into the printer.
The P800 uses nine different ink cartridges. Each of the colours has a dedicated line, but for the two black inks, one for glossy paper and one for matte paper. These two share the same channel. This means that if you switch from glossy to matte paper, you also need to switch ink, which takes a bit of time and wastes a bit of ink.
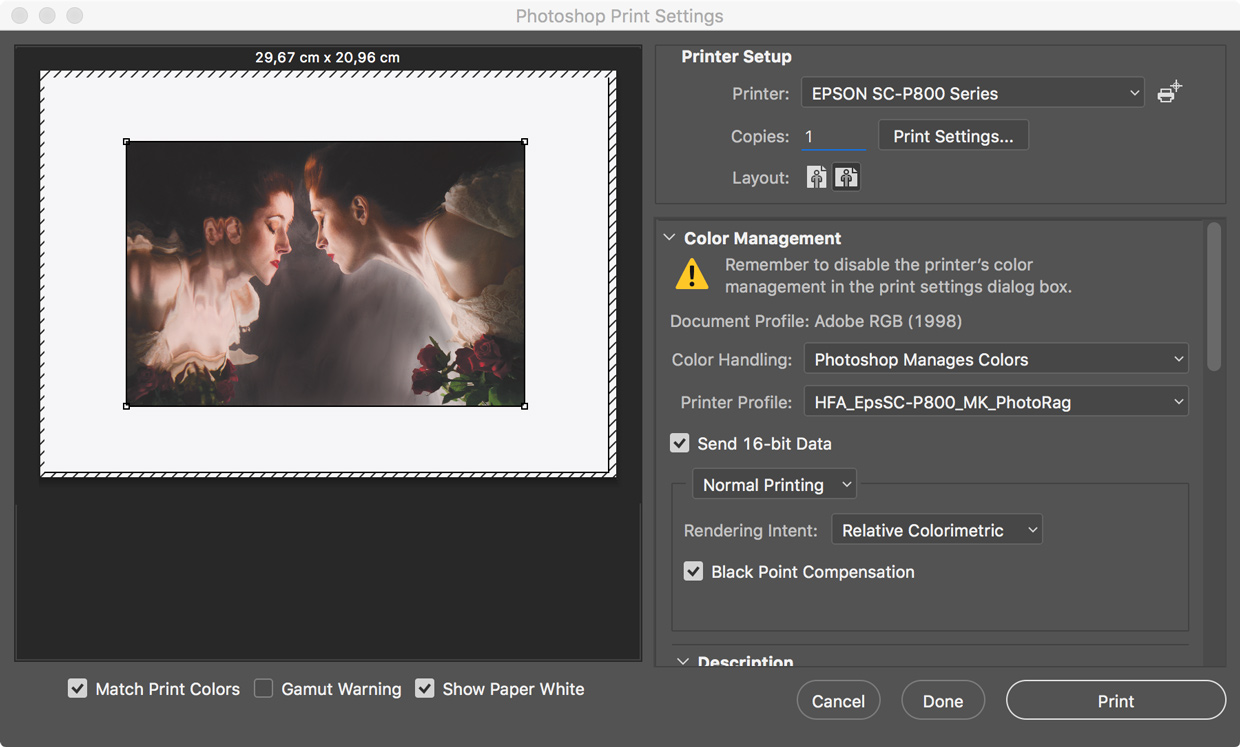
Depending on what paper you print on you should pick the appropriate ICC colour profile in Photoshop. I had bought some Photo Rag paper from Hahnemühl and downloaded the ICC file from their webpage.
I re-edited my old RAW file and saved it as a TIFF to get 16-bit data to send to the printer. For Rendering Intent I picked “Relative Colorimetric” based on a recommendation from this Youtube video. Todd Schneider explained that relative colorimetric keeps the central part of the colour pallet constant, and just squeezes the parts that are outside the printer’s pallet into the range, this preserves skin tones. For nature prints, with a large range of colours, for example in the sky, where you want to preserve the relative range as much as possible, then use perceptual. See the B&H video for more details. I also left black point compensation on. This means that rather than clipping all the darkest tones to black, some are instead brightened slightly, to give a gradual fall off, preserving a bit of detail in the shadows (more info here).
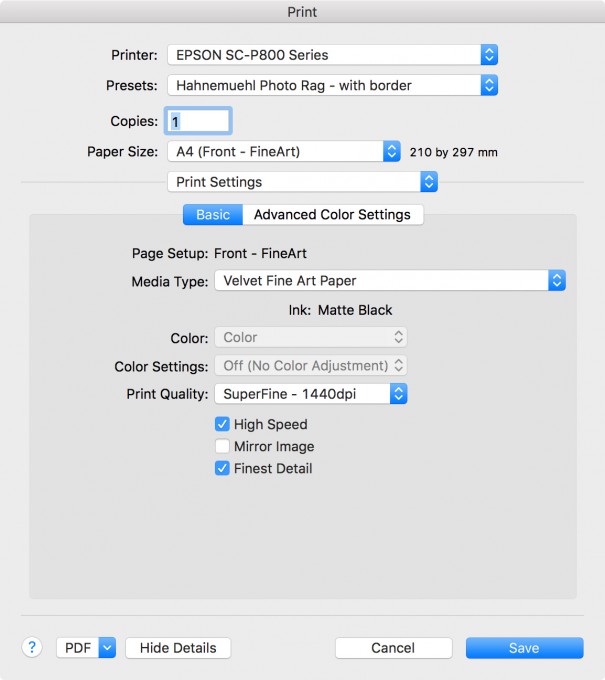
After you finish this dialogue, but before printing, you need to go into the Printer Setup dialogue. Here click on the pull down menu that shows “Layout”, and select “Print Settings”. This was not obvious to me at first, and caused a lot of headache as I never found the paper selection. Select your Media Type. If you pick the wrong one, the printer might use the wrong ink. This caused me to use Photo black ink on my matte paper, which gave a bland look to the print. Note that when you select paper size A4 there are different options, some of which allow you to print all the way to the edge of the paper, without a white border.
To be on the safe side I turned off automatic black ink changing on the printer. That way it will refuse to print if the ink specified in the profile does not match the ink you have selected on the printer.
Finally time to print. With “high speed” it goes quite quickly.
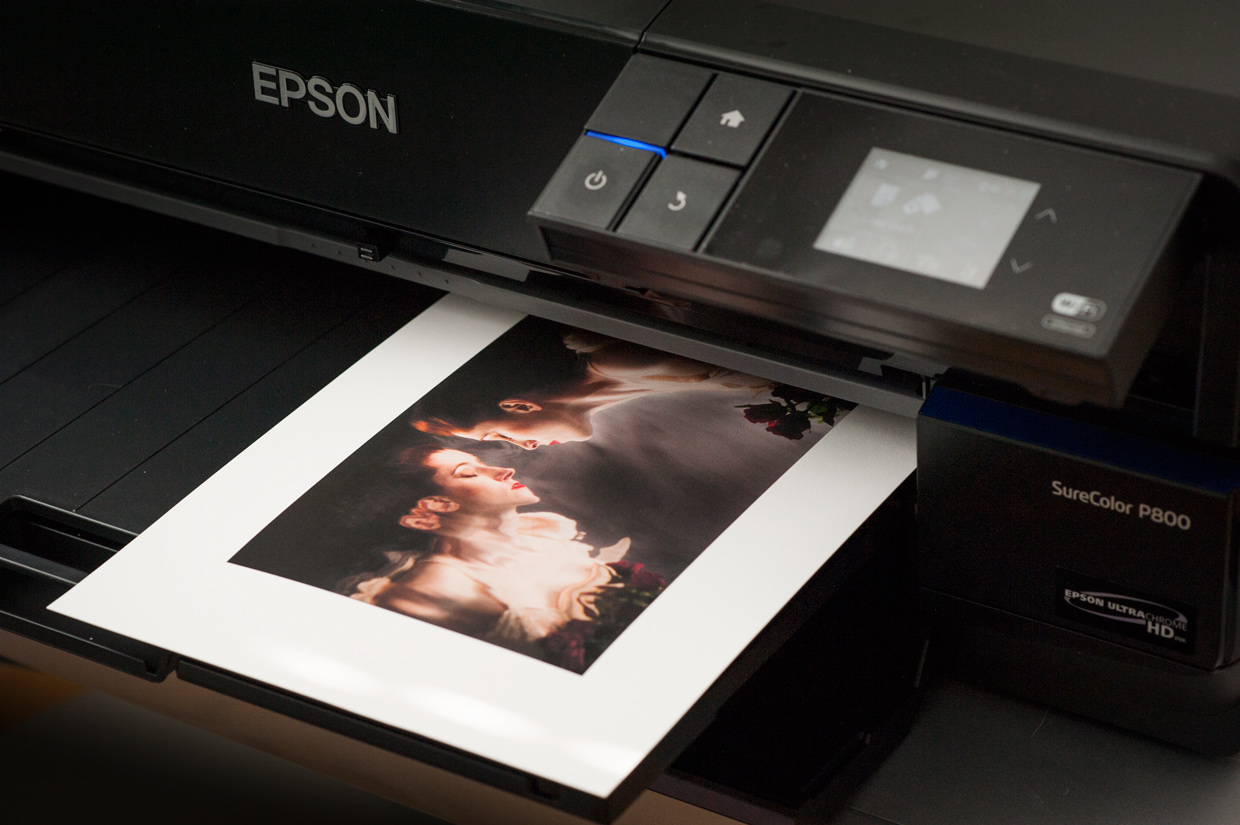
I have only had the printer a few days now, but I am happy with the results so far. Going to be fun to experiment with different formats, papers and maybe even some cardboard or other materials.
— Johannes
Hi Johannes, great that you can make your own A2-sized prints! I was wondering how you collect your prints into photo albums. Do you have them bound or collect them in a regular photo album, or so?
Best regards, Sander
Hej Sander! I am not sure yet. I have made one photo book for my brother from when his family visited Cambridge. My current plan is to try one of those albums where you glue photos in, to get more flexibility with size and format. Will keep you posted. How do you collect your photos, any recommendations?