I recently bought my first second-hand lens, a vintage Nikon 135 mm f/2.8 AI lens which has been recommended by the Angry Photographer on YouTube. The lens was sold by Nikon between 1977 and 1986. Normally I check lenses on DXOmark, however, this old lens has not been tested there. Instead I found a page called PixelPeeper which aggregates Flickr photos based on what camera took them. Satisfied that the lens could take good photos I started browsing Ebay for a week or so, and eventually settled for a lens in mint condition from Japan. I received it earlier this week, and today finally got a chance to test it.
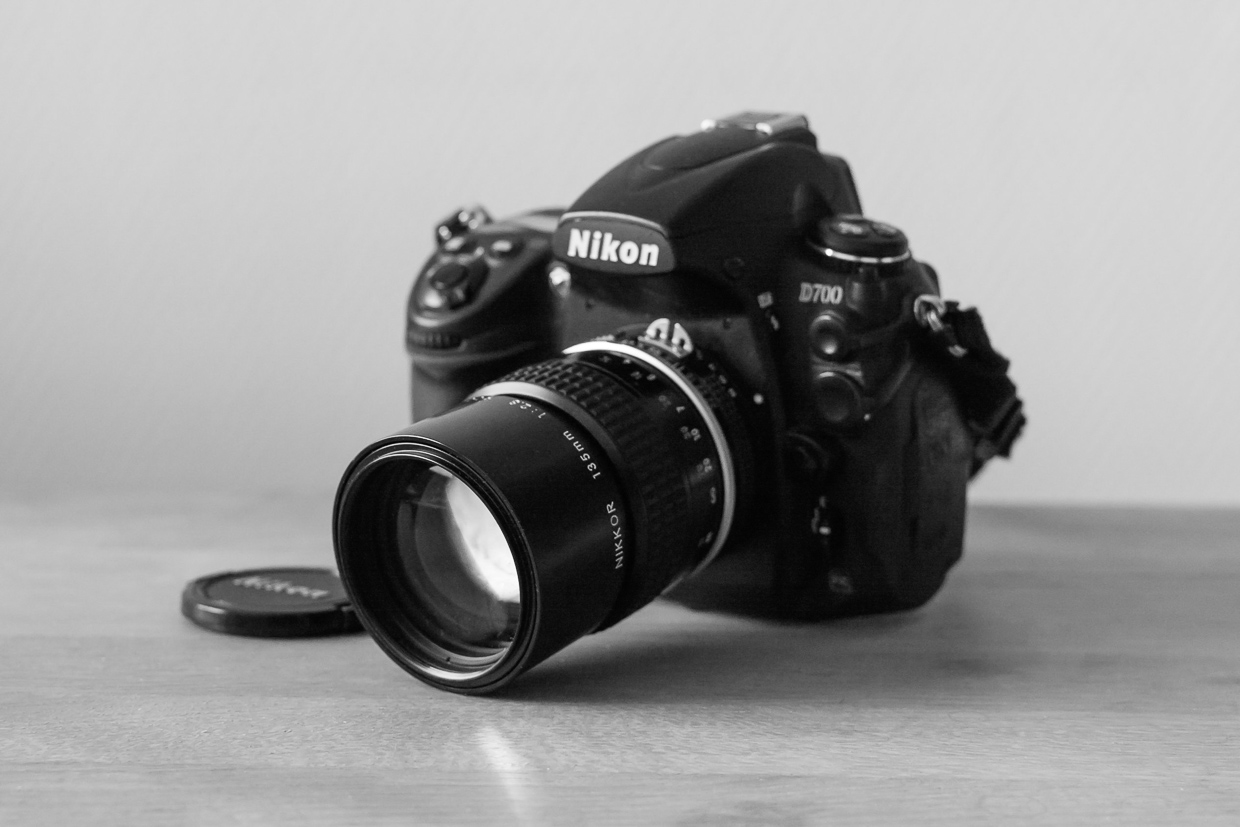
The lens was listed as AI-S, however, as I found out this morning, I received the older AI version. The main difference is that the AI-S version lets the camera control the aperture, while the AI lens does not. When you first mount an AI lens on the camera the aperture shows up incorrectly as F0 (see bullet list below for how to fix that). Another difference between the AI-S and AI versions is that the AI lens has a longer throw on the focusing ring. One way to tell the two apart is that the number 32 for the aperture is orange on AI-S and blue on AI. The two versions are similar enough, and the seller offered me a partial refund, so I am keeping it.
Things to do when you mount an AI lens:
- Go into the Setup menu, select “Non-CPU lens data” and enter focus length 135 mm and maximum aperture f2.8. This will allow the camera to display the correct aperture.
- Set your camera body to manual focus. On my D700 there is a switch that lets me choose between C,S and M (continuous, single, manual) focus.
- Practice manual focusing. Dial in the focus, but overshoot slightly, then overshoot in the other direction, then find roughly the middle of that. Sometimes you might need a few more movings back and forth.
Many of these old vintage lenses contain Thorium-232, which is used to increase the refractory index, allowing for smaller lens elements. Thorium-232 is radioactive, with a half-life of 14 billion years, which means that even though some of these lenses are 40+ years there is still a long lasting reservoir of particles that can decay. The long half-life also means that it is not very active. Thorium-232 decays into Radium-228, which in turn decays into Actinium-228, and the chain of decay continues until it eventually decays into lead. Some of these intermediate products have shorter half-life, ranging from fraction of seconds to years. This might sound dangerous, but in reality it is not quite so bad. I found a thesis by some students at KTH that had studied the radioactivity of old lenses, including the Nikon 135mm f/2.8, you can find more information there. Their conclusion is that the radioactive levels are low enough not to be harmful with normal use.
After work today my colleague Hazal Koptagel kindly agreed to join me for a short walk, so I could try out the lens.


All in all I am pretty happy with this lens. It will take some getting used to framing with it as I am so used to the 50 mm, and the 135 mm focal length just brings me so much closer to my subject. I am curious if the lens could be used to photograph dance with. You really have to slow down when you use a manual focus lens, but that is fine if you do posed shots when you know where the subject will be ten seconds later. There were so many blurry photos, but that should just be a matter of practice. The large throw of the focusing ring meant it takes some time to go from the shortest range at 1.3 meters, to infinity focus, but it also means that you will be able to finely adjust focus.
Thanks to Hazal for joining me on the photo walk!
— Johannes
Be First to Comment